
Show summary Hide summary
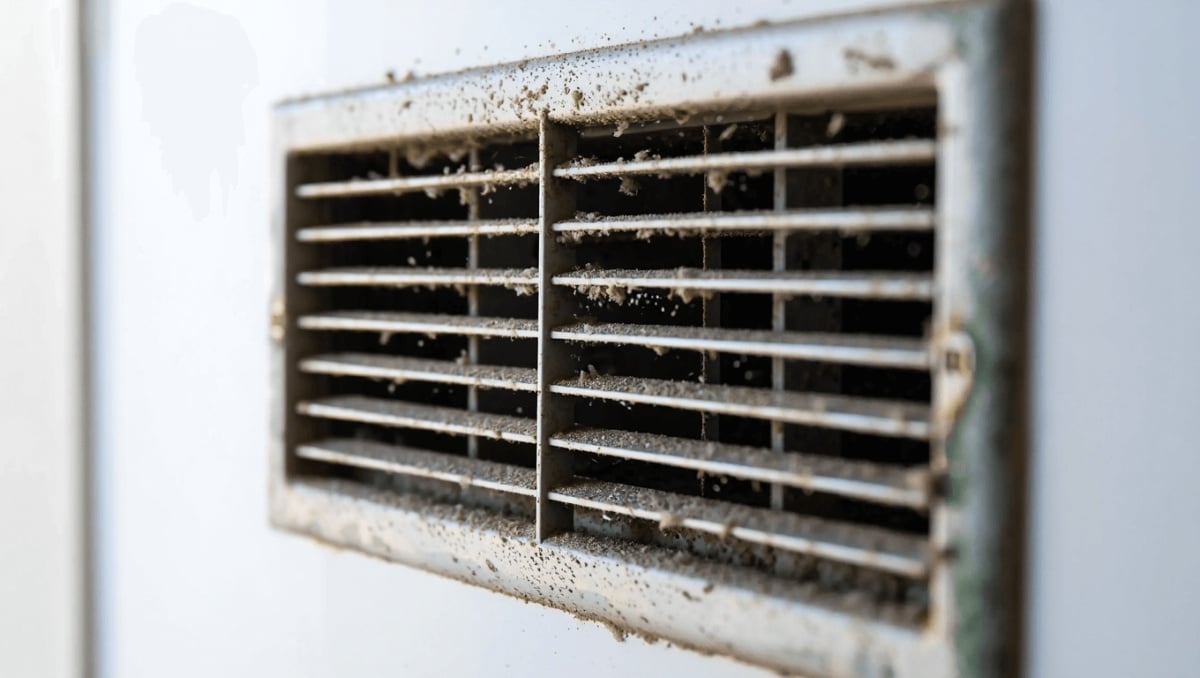
Dusty vent covers are a small but constant source of poor indoor air and wasted cooling. With a few pantry staples and a short bit of effort, you can restore metal and plastic grilles to near-new condition. Read on for a practical, step-by-step routine that keeps vents clean, improves airflow, and protects your HVAC system.
Why clean air vent covers improve comfort and efficiency
Blocked or dirty vent covers reduce airflow and can force your system to work harder. They also act as a reservoir for dust, pet dander, and grime that can reenter living spaces.
Michaels holiday finds under $25: 20 new gifts that look like $50
Target wall-mounted find frees up countertop space: timeless style for small kitchens
- Cleaner vents help air circulate better.
- Removing dust can lower allergy triggers.
- Maintaining covers reduces long-term strain on HVAC units.
Regular attention to vent covers is an easy way to protect air quality and save energy.
Kitchen ingredients and tools that work best
You don’t need specialty chemicals. Most vent covers respond well to mild soap, white vinegar, and basic cleaning tools.
- Warm water (a tub or large basin)
- Mild dish soap
- White vinegar (regular household vinegar)
- Soft brushes or microfiber cloths
- A soft duster for initial dusting
- Dry towels or a hair dryer on low for quick drying
These items are safe on metal and plastic grilles. Keep wood vents out of prolonged contact with water.
Step-by-step: Clean vent covers using soap and vinegar
- Power down your HVAC. Switch off the system before removing covers. This prevents debris from being drawn into the ducts and keeps the fan from running while you work.
- Remove the vent cover. Inspect how it is secured and choose the right screwdriver or tool.
- Dust first. Use a duster or a soft brush to knock loose particles free before washing.
- Mix your cleaning solution. Combine warm water with a splash of dish soap and about one part white vinegar to four parts water. Exact amounts are flexible.
- Soak metal or plastic covers for several minutes in the solution.
- Gently scrub. Use a soft brush or microfiber cloth to loosen stubborn grime. Avoid abrasive pads that can scratch finishes.
- Rinse and dry thoroughly. Wipe with a dry towel and let air-dry completely before reinstalling. A hair dryer on low can speed drying.
- Replace filters if needed. If your HVAC has intake filters, swap them before reattaching the grille.
- Reattach the cover and restart the system.
Do not force wet covers back into place. Always ensure they are fully dry to avoid moisture entering the ductwork.
Special care for wood vent covers
Wood vents require a different approach. Do not soak them or use acidic cleaners.
- Wipe with a lightly damp cloth.
- Dry immediately with a soft towel.
- Use wood-safe cleaners and avoid prolonged exposure to liquids.
Keep wood vents as dry as possible to prevent warping or finish damage.
Signs you should hire a professional for duct work
Cleaning the visible vent covers is one thing. Deep duct cleaning should be left to trained technicians when issues go beyond surface dirt.
- Persistent dust clouds after cleaning
- Strong moldy or musty odors
- Visible mold, rodent nesting, or heavy debris inside ducts
- Uneven airflow across rooms despite clean covers
When these signs appear, contact a licensed HVAC cleaner for inspection and safe duct cleaning methods.










