
Show summary Hide summary
- What you’ll need to build a pot-based birdbath (cheap and simple)
- Step-by-step assembly for a stable, multi-tier birdbath
- Design choices to make your birdbath safer and more attractive
- Why birds and pollinators will visit your DIY water feature
- Maintenance and weather-proofing tips
- Creative variations and placement ideas
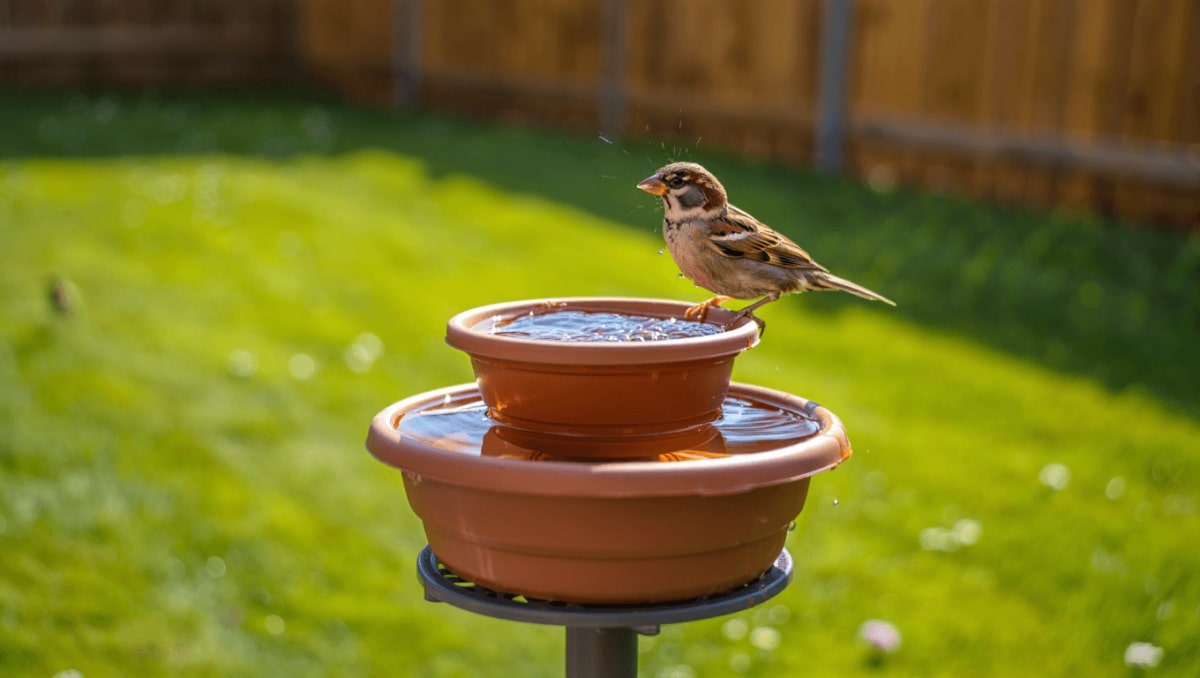
Watching birds pause for a quick splash is one of the simplest joys of gardening. You don’t need an expensive stone basin to invite feathered visitors. With a few discarded nursery pots and saucers you can craft a tiered birdbath that looks great and draws birds and pollinators to your yard.
What you’ll need to build a pot-based birdbath (cheap and simple)
- Various plastic nursery pots and matching saucers
- Strong exterior adhesive like polyurethane or construction adhesive
- Hot glue for temporary holds
- Small decorative rocks or gravel
- Outdoor spray paint (optional)
- Sandpaper for roughing plastic surfaces
- Protective gloves and a clean cloth
Michaels holiday finds under $25: 20 new gifts that look like $50
Target wall-mounted find frees up countertop space: timeless style for small kitchens
Step-by-step assembly for a stable, multi-tier birdbath
1. Choose sizes and a layout
- Pick one large pot and saucer for the base.
- Use medium and small sets for higher tiers.
- The saucer must be a little wider than the pot to form a shallow basin.
2. Prepare surfaces for a lasting bond
- Wipe away dirt and let parts dry.
- Lightly sand contact areas on plastic so glue grips better.
- Test-fit each pot and saucer to confirm balance before gluing.
3. Glue and stack securely
- Apply a generous bead of exterior adhesive between pot rim and saucer.
- Hold or clamp in place until tacky.
- Repeat for each tier and stack from largest base to smallest top.
Tip: Hot glue helps while you work, but choose a water-resistant adhesive for long-term durability.
Design choices to make your birdbath safer and more attractive
- Add a layer of small rocks to each saucer to give birds footing.
- Use shallow water levels to suit small songbirds.
- Alternate pot colors for a playful look or spray-paint the whole piece for a modern finish.
- Consider terracotta or ceramic pots for the base if your area gets windy.
Important: A wide, heavy base reduces tipping risk. The taller the structure, the larger its foundation must be.
Why birds and pollinators will visit your DIY water feature
Birds need clean, shallow water for drinking and bathing. A tiered birdbath offers multiple heights and ledges. Butterflies and other pollinators may also stop by to sip while puddling on moist surfaces.
Small rocks in saucers provide traction and mimic natural pools. Moving or sparkling water will boost attraction, but even still water draws more wildlife than none at all.
Maintenance and weather-proofing tips
- Refresh water every few days to prevent stagnation.
- Clean saucers with a scrub brush and mild soap monthly.
- In freezing climates, bring the birdbath inside or keep it shallow to avoid cracking.
- Reinforce glue joints if they start to weaken after heavy rain or winter cycles.
Creative variations and placement ideas
- Make a tabletop version for patios using one tier only.
- Create a garden focal point with three large tiers in a flower bed.
- Combine mixed materials: a ceramic base, plastic mid-tier, and a metal dish on top.
- Position the birdbath near shrubs or low branches to give birds quick escape routes.
Gardener and creator Ish Kamran, known online as @gardening.with.ish, popularized a quick assembly method using pots and trays. His approach shows how fast you can build a useful wildlife feature from items you already have or can buy cheaply.










