
Show summary Hide summary
- Why bright oak looks so orange — and what to aim for
- How to create a custom stain that beats store colors
- Step-by-step: testing and adjusting your blend
- Preparing cabinets so the stain performs well
- Applying your custom stain for consistent color
- Choosing a clear finish and final assembly tips
- Common pitfalls and quick fixes
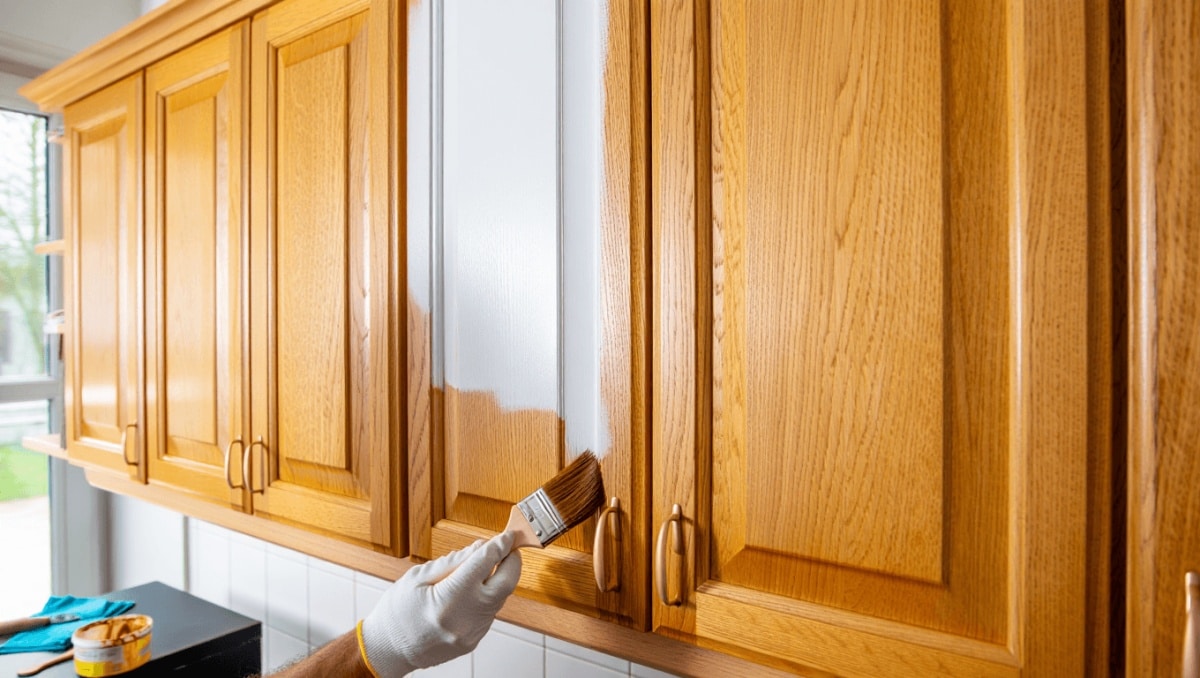
If your kitchen still shows the glow of 1990s-era oak, there’s an easy, do-it-yourself route to a subtler, more modern look. You don’t need to rip out cabinets or paint over wood grain. By blending stains and choosing the right finish, you can tame orange and red undertones and create a custom color that suits your space.
Why bright oak looks so orange — and what to aim for
Oak often leans warm due to its natural grain and the tannins in the wood. With age and older clear coats, that warm hue can deepen into prominent orange or red highlights. Many homeowners want to neutralize those tones without losing the texture of the oak.
Michaels holiday finds under $25: 20 new gifts that look like $50
Target wall-mounted find frees up countertop space: timeless style for small kitchens
When planning a cabinet refresh, decide whether you want:
- a softer, neutral brown that retains grain; or
- a darker, moodier finish that masks warmth; or
- a modern grayed or blackened look while keeping wood texture.
Mixing stains gives you flexibility. It lets you dial back redness without stripping the doors or switching to opaque paint.
How to create a custom stain that beats store colors
Ready-made cans show a general idea, but color varies by wood and by existing finish. A factory label won’t predict how a stain will read over bright oak or a prefinished surface.
Rules to follow when blending
- Only mix stains of the same base. Oil with oil, water-based with water-based.
- Stick to one brand when possible. Similar bases mix predictably.
- Avoid mixing complements from opposite sides of the color wheel. They can produce muddy results.
- Record exact ratios so you can replicate the formula later.
Start with small test amounts. Tablespoon samples are fine. If three tablespoons of dark walnut plus one tablespoon of light brown gives the tone you want, scale that ratio up to full-can quantities when ready.
Step-by-step: testing and adjusting your blend
Testing is the most important part of the process. A stain can look correct when wet and shift as it dries.
- Mix a small sample in a disposable cup or jar.
- Apply to a scrap of the same oak or to a hidden area of a cabinet door.
- Wipe off excess using the method you will use on the full project.
- Let the sample dry fully before judging the color.
If the test does not remove the orange or red enough, tweak the mix. Small adjustments work best — add a bit more of a cooler or darker shade. If it’s way off, wipe the wet sample away. For oil stains use mineral spirits; for water-based stains use water.
Keep a notebook with measurements and drying times. A reliable formula saves time and eliminates guesswork when you scale up.
Preparing cabinets so the stain performs well
Surface prep changes results. Cleaning and light abrasion help the new stain absorb evenly.
- Remove all hardware and take doors off hinges.
- Degrease surfaces with a TSP-based cleaner or a specialty cleaner.
- Rinse with clear water and allow to dry completely.
- Lightly scuff surfaces with a synthetic abrasive pad to open the grain.
- Wipe away dust with a damp cloth and let dry.
These steps reduce blotching and give you a smooth base for your custom stain.
Applying your custom stain for consistent color
Application technique affects how color reads across a door or drawer front. Work in a system to maintain uniformity.
- Use a quality brush to apply the stain, working with the grain.
- Wipe off excess with a separate dry brush or lint-free cloth.
- Compare finished pieces as you go so colors match across the set.
- Allow oil-based stains at least 24 hours to cure before topcoating.
Evenness matters more than speed. Slow, controlled passes and consistent wiping yield the most professional results.
Choosing a clear finish and final assembly tips
Once the stain is dry, protect the wood with a clear topcoat. Waterborne polyurethane is popular for kitchen cabinets.
- Apply at least two thin coats for durability.
- Use a foam pad or high-quality brush to minimize brush marks.
- Sand lightly between coats with a fine abrasive if needed.
- Consider swapping hardware to modernize the look further.
Reattach hardware and hang doors only after the final coat has fully cured. This avoids fingerprints and scuffs during installation.
Common pitfalls and quick fixes
Even careful projects can hit snags. Here are practical remedies:
- Blotchy absorption: sand lightly and re-stain a thin coat.
- Too warm a tone: add a cooler or darker stain to the mix and retest.
- Dry-but-uneven sheen: add a thin extra clear coat and level it out.
Documenting your process and testing thoroughly minimizes surprises and keeps color predictable.










