
Show summary Hide summary
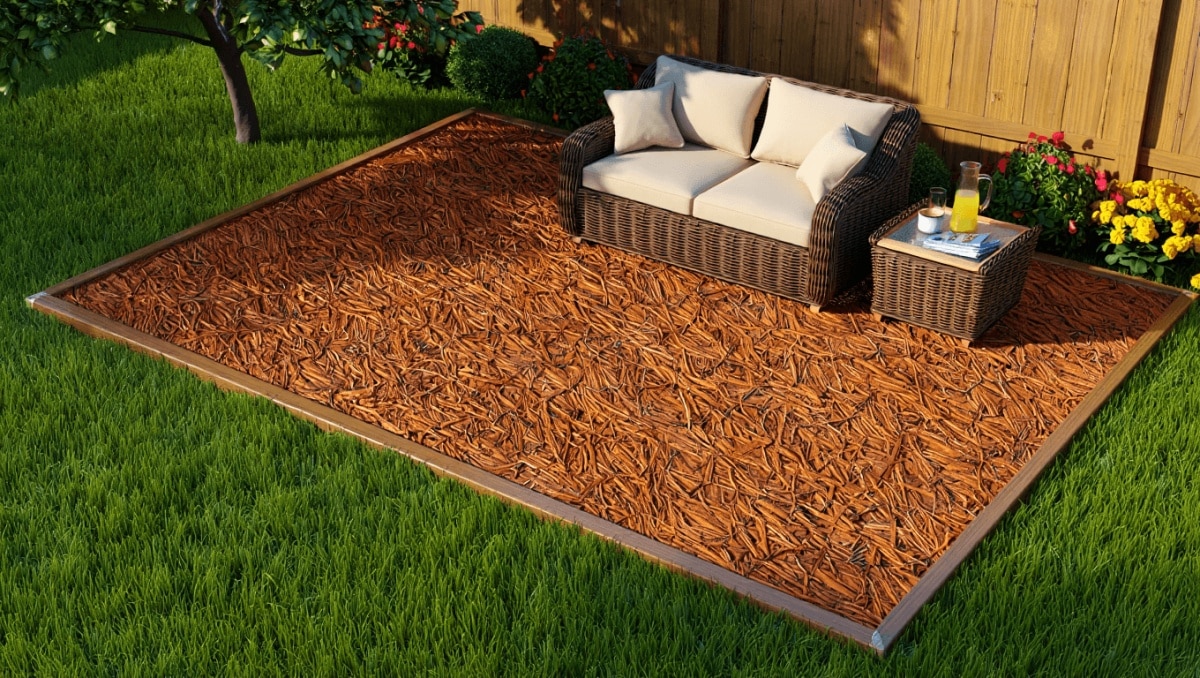
Want a pleasant outdoor gathering spot without the price and permanence of concrete? A simple mulch patio gives you a natural-looking, low-cost space you can build over a single weekend. It preserves your garden feel, costs far less than poured patio slabs, and is easy to refresh when it needs attention.
Why a mulch patio is a smart alternative to concrete
A mulch patio keeps your backyard feeling organic and informal. Compared with concrete, it is:
Michaels holiday finds under $25: 20 new gifts that look like $50
Target wall-mounted find frees up countertop space: timeless style for small kitchens
- Much cheaper to install, especially if you can source free or low-cost wood chips.
- Less permanent—you can change the layout or remove it later with minimal effort.
- Better for drainage, since water soaks through instead of running off a hard slab.
- Quick to assemble; most of the work is simple labor rather than skilled trades.
Wood-chip mulch works best for a long-lasting, natural surface. Organic mulches break down over time, so expect to top up the area now and then. If you want a more durable option, consider rubber mulch, but note it will change the aesthetic.
Materials, costs, and where to get them
Gather these basic supplies before you start. Many items are inexpensive and often available locally.
- Wood chips or bark mulch (bulk bags or delivered loads)
- Landscape fabric or weed barrier
- Edging materials (bender board, pavers, bricks, or stones)
- Garden staples or landscape pins
- Rake, shovel, wheelbarrow, and gloves
- Optional: compacting tool if you prefer a firmer surface
Check municipal brush-clearing programs and tree services for free chips. Local garden centers and landscape suppliers sell bulk mulch by the cubic yard. Using reclaimed bricks or leftover pavers can reduce costs and add character.
A simple weekend timeline to build your DIY mulch patio
Day 1: Layout and containment
- Choose a flat area that receives the right amount of sun and is near utilities if you want lighting.
- Mark the perimeter using rope, spray paint, or garden hose.
- Install edging to contain the mulch. Lightweight bender board, bricks, or stacked stones work well.
- Clear vegetation and smooth the soil inside the border. Remove roots and large stones.
Day 2: Weed barrier and mulching
- Lay landscape fabric across the cleared area and secure it with staples or rocks.
- Spread a 2–4 inch layer of wood-chip mulch, keeping it below the top of the edging.
- Rake the surface level and compact lightly with foot traffic or a tamper.
- Place furniture and accessories. Use pavers or a small section of decking under heavy items to reduce sinking.
Design tips to keep the patio cozy and functional
- Define a clear doorway or path with stepping stones to reduce wear in concentrated spots.
- Combine mulch with planting beds for a seamless, natural look.
- Use larger gravel or pavers as a durable landing where chairs or table legs sit.
- Layer outdoor rugs on top of the mulch to create a firmer surface and add style.
Edging choice affects both appearance and durability. Stone or brick gives a formal border. Flexible bender board is quick and cheap. Recycled materials add personality and keep costs down.
Upkeep, lifespan, and safety considerations
Mulch breaks down over time. Expect to refresh the surface every one to two years. Plan to add more mulch periodically and rake to maintain an even appearance. Exposed wood can fade; light raking or replacing top layers restores color.
- Weed control: Landscape fabric cuts most growth, but occasional pulling will be needed.
- Comfort and safety: Wood chips can splinter. Keep shoes on and consider finer bark if you plan to go barefoot.
- Moisture: Mulch holds moisture; avoid placing it against house siding or wooden structures.
If you need a surface that lasts longer with less refresh work, rubber mulch or compacted crushed stone are alternatives. Each choice balances cost, look, and maintenance in different ways.










