
Show summary Hide summary
A rough, stained concrete driveway doesn’t always need a full resurfacing job to look good again. With the right equipment and a little know-how, you can sand away weathered texture and surface stains, restoring curb appeal at a fraction of the cost. This approach preserves original patterns and finishes while improving sealer adhesion for longer-lasting protection.
Why sanding can be a smarter option than resurfacing
Michaels holiday finds under $25: 20 new gifts that look like $50
Target wall-mounted find frees up countertop space: timeless style for small kitchens
Sanding removes the top layer of degraded concrete rather than covering it. That matters when your driveway is stamped, colored, or has desirable surface character. Resurfacing masks the original finish and adds material on top. Sanding, by contrast, cleans and levels without hiding the existing look.
- Preserves stamped or stained finishes so patterns remain visible.
- Improves sealer penetration by opening pores for deeper protection.
- Costs less than hiring a resurfacing contractor or buying resurfacing mix.
- Can be done with rental equipment most homeowners can access.
Essential machines and safety gear
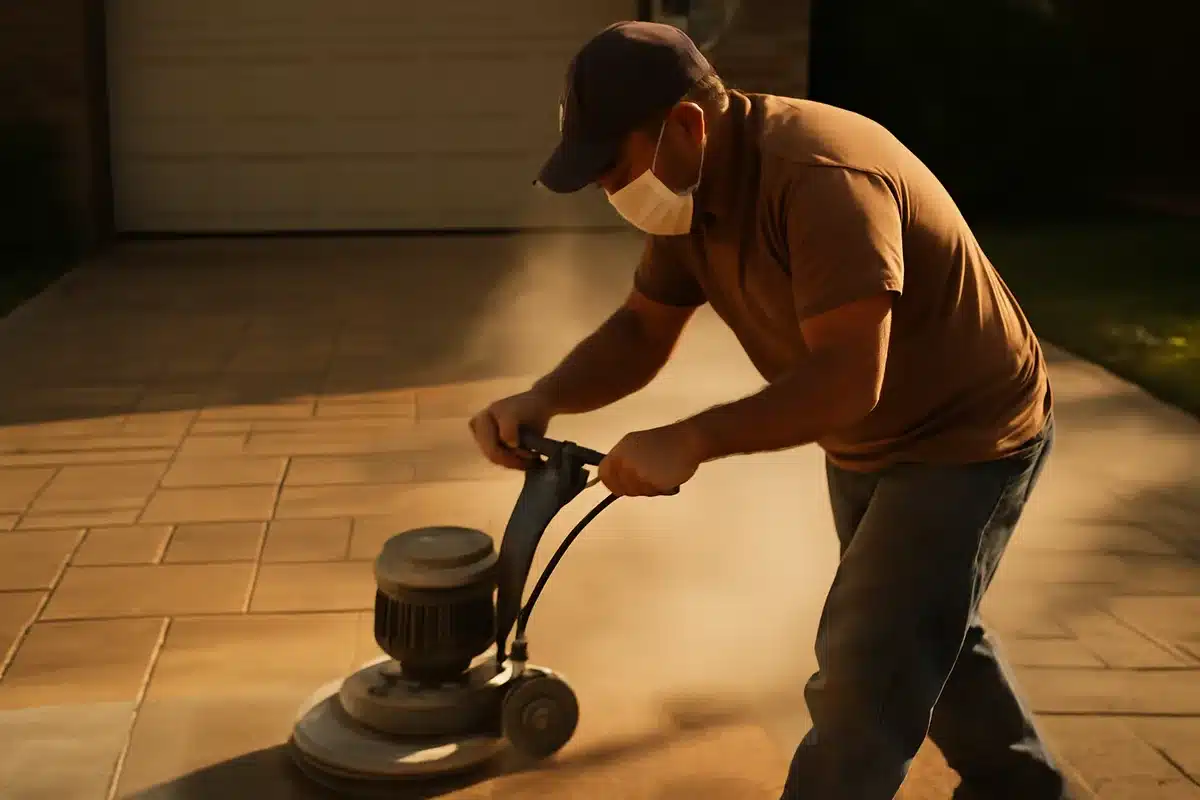
Choose equipment based on driveway size and damage level. Bigger jobs need walk-behind machines. Small patches can be handled with handheld tools.
Recommended sanders
- Walk-behind drum sander — best for heavy surface damage.
- Orbital floor sander — balances control and aggressiveness.
- Floor buffer with abrasive pads — good for light smoothing.
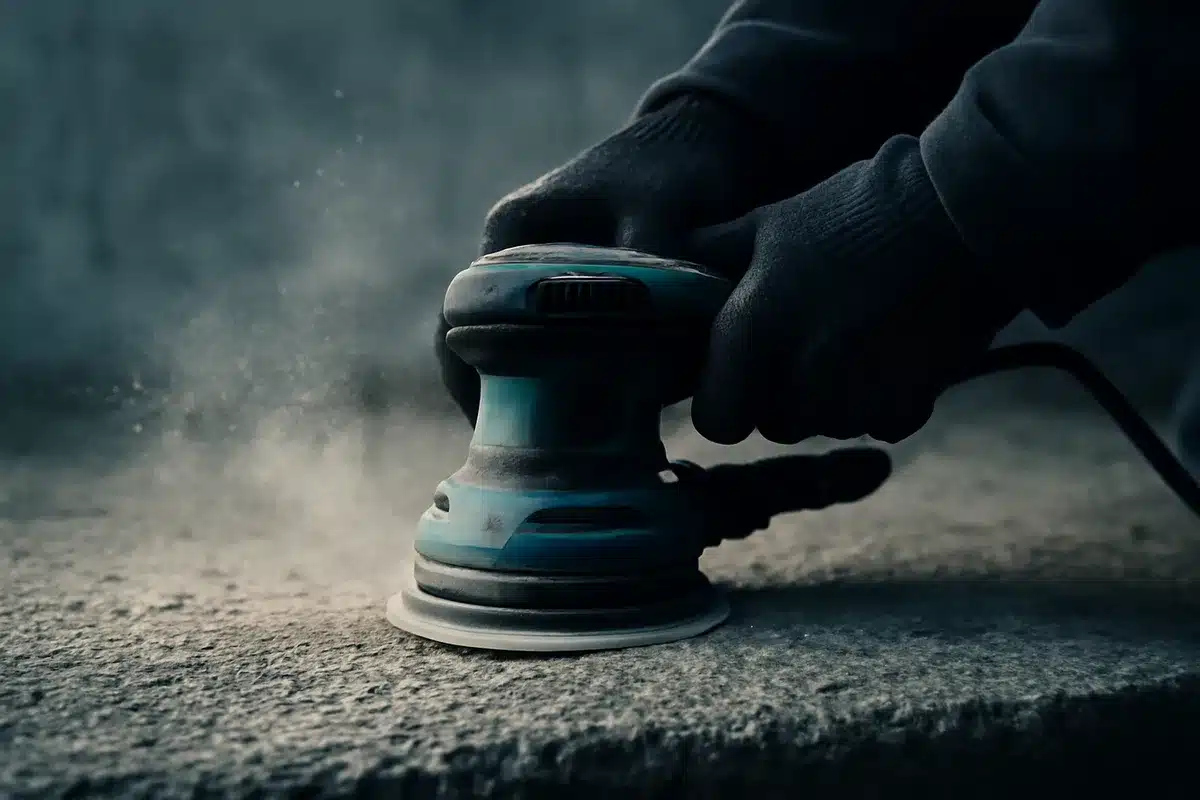
- Handheld belt or orbital sanders — for edges, steps, and spot work.
Personal protection and dust control
- NIOSH-approved respirator rated for silica dust.
- Goggles or a full-face shield to protect eyes.
- Long sleeves, gloves, and disposable coveralls to avoid skin contact.
- Use a vacuum with a HEPA filter or a dust shroud if your sander supports one.

How to sand a concrete driveway: a clear sequence
Work methodically and on a dry day. Wet concrete or recent rain will ruin sanding results and clog abrasives.
- Clean the surface: Remove leaves, oil, and loose debris with a broom and degreaser.
- Repair cracks: Fill gaps with a suitable concrete patch or flexible sealant and allow full cure.
- Choose your grit plan: Start coarse when the surface is pitted. For mild wear, begin with a medium grit.
- Sanding passes: Move the machine in overlapping passes. Keep a steady pace to avoid gouging.
- Check your progress: Stop, sweep or vacuum dust, and inspect. Repeat with a finer grit if needed.
- Final cleanup: Remove all dust and debris before sealing.
Which grit should you use?
- 40–60 grit — for severe surface damage and deep stains.
- 80 grit — suited to moderate wear and general smoothing.
- 120 grit — for a refined but not glossy driveway finish.
Do progressive passes from coarse to fine for the best result. Most driveways do not require polishing beyond 120 grit.
Finishing with sealers and ongoing care
After sanding, apply a penetrating concrete sealer to lock in the improved appearance. Penetrating sealers soak in and protect without creating a plastic film. They help repel stains and slow future wear.
- Apply according to manufacturer instructions on a dry day.
- Allow the recommended cure time before driving on the surface.
- Reapply sealer annually or as performance indicates.
Consistent maintenance—cleaning, spot repairs, and yearly sealing—keeps the driveway looking refreshed and prevents the need for major work later on.










