
Show summary Hide summary
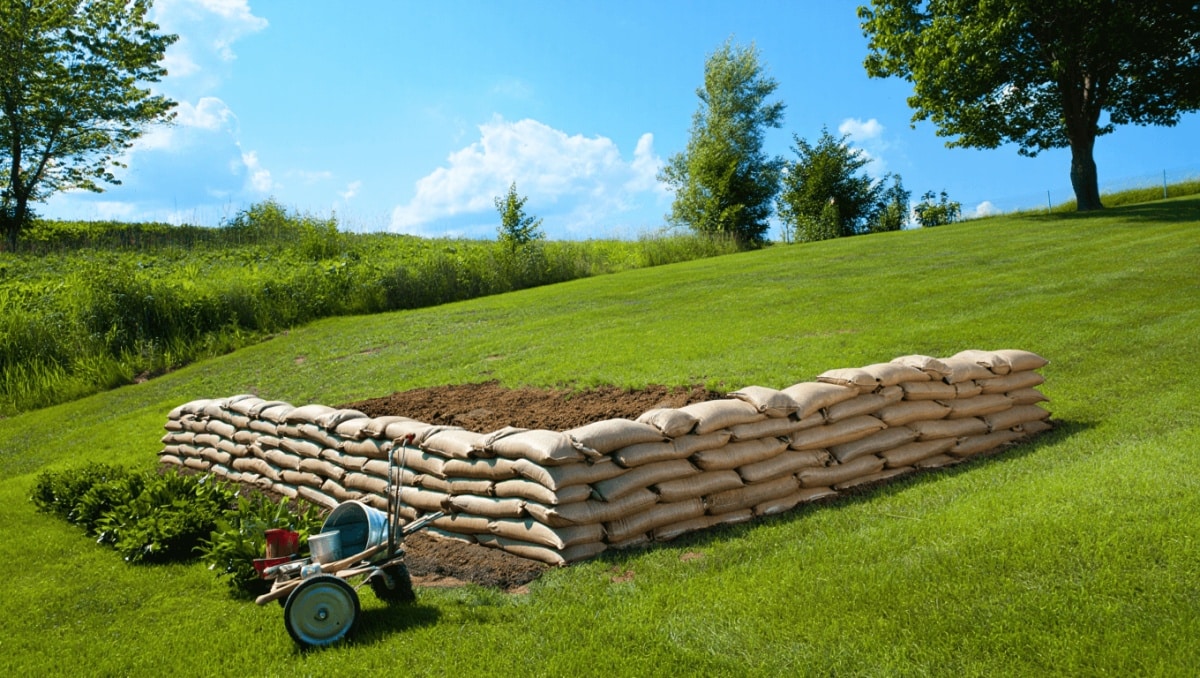
If your yard slopes and every gardening chore feels like a workout, a retaining wall can transform that space. Natural stone and poured concrete look great but often carry steep prices. Sandbags offer a budget-friendly, surprisingly sturdy alternative that many homeowners can build in a weekend.
Why sandbags make sense for DIY retaining walls
Sandbags are simple materials. They are flexible, heavy, and interlock when stacked. Those traits make them ideal for resisting soil pressure and stopping erosion.
Michaels holiday finds under $25: 20 new gifts that look like $50
Target wall-mounted find frees up countertop space: timeless style for small kitchens
Flexibility and weight let the bags conform to uneven ground and form a tight barrier. That same design has kept floodwaters at bay for decades. Used correctly, sandbag walls can hold back slopes and stabilize landscape beds.
Compared with stone or concrete, sandbag walls are quick to assemble. They also let you adjust the shape as you work. If you want a temporary solution or a test layout before a permanent wall, sandbags are a smart choice.
Materials, costs, and shopping tips for a sandbag wall
Costs vary, but sandbags are typically far cheaper than masonry. Here are common price points to plan around.
- Empty polypropylene or burlap bags: roughly $0.40–$0.50 per bag when bought in bulk.
- Bulk sand: starts near $25 per ton, depending on delivery and region.
- Pre-filled pallets: expect about $1,200 for a 3,000-pound pallet if you prefer not to fill bags yourself.
- Tools: a hand tamper, mallet, shovel, and level are usually sufficient.
Buying empty bags and filling them on site usually gives the best value. Rent a small utility loader for large projects to save time. If you expect the wall to be permanent, consider combining sandbags with a gravel drainage backfill.
Step-by-step guide to building the wall
1. Prepare the site
- Clear vegetation and roots from the wall footprint.
- Level the base area so bags sit flat.
- Install a short trench if you want extra anchoring at ground level.
2. Fill the bags the right way
- Fill bags to about half capacity. This makes them more malleable.
- Tie or stitch the tops closed to prevent spillage.
- Use coarse sand when possible. It packs well and resists erosion.
3. Stack with technique
- For low walls (under 12 inches), a single-file row works fine.
- For taller walls, make the base width about three times the wall height.
- Alternate courses in a running bond or with opposing right angles for stability.
- Tuck tied tops under the next course to minimize exposure.
4. Compact and check alignment
- Use a hand tamper or rubber mallet to flatten each row.
- Continue packing until rows sit flush and gaps close.
- Keep checking level and batter so the wall leans slightly into the slope.
Drainage, safety, and local rules to watch
Water is the main enemy of any retaining structure. Provide drainage behind the wall to prevent pressure buildup.
- Install gravel backfill and a perforated drainpipe where possible.
- Use landscape fabric between soil and gravel to slow clogging.
- Check local codes. Many towns allow temporary or low sandbag walls without permits.
- For walls taller than about 4 feet, you may need a permit or engineered plans.
Proper drainage and adherence to local regulations will extend the life of the wall and keep you compliant.
Camouflage and long-term upgrades
Sandbags are functional but not decorative. There are several ways to improve looks and longevity.
- Plant evergreen shrubs like boxwood or arborvitae in front to hide the bags.
- Train climbing vines on a trellis for a green façade.
- Cover exposed faces with geotextile fabric and a thin soil layer for planting.
- When ready, replace visible rows with stone or timber while keeping the sandbag core for support.
Many homeowners use sandbags as a low-cost long-term solution or a temporary measure before investing in masonry. With proper installation and drainage, they can perform reliably for years.










