
Show summary Hide summary
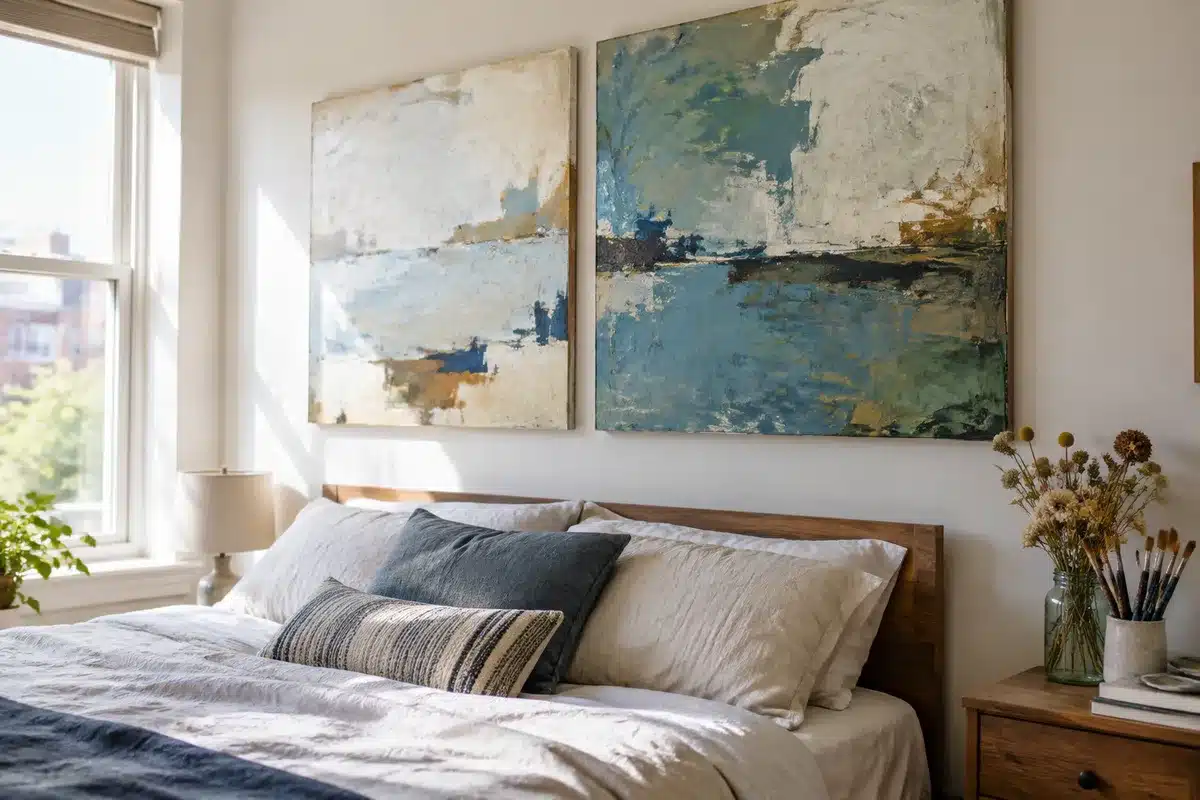
Your bed sets the tone for the whole bedroom, so settling for a plain headboard feels like a missed chance. A simple DIY using pre-stretched canvases can transform a wall into a textured, gallery-style headboard without bulk. This approach is flexible, budget-friendly, and adaptable to any decor, whether you want a weathered art piece or a crisp, painted panel.
Pick the right canvas sizes and measure for your bed
Michaels holiday finds under $25: 20 new gifts that look like $50
Target wall-mounted find frees up countertop space: timeless style for small kitchens
How wide and tall should your headboard be?
Headboards typically extend slightly beyond the mattress. For reference, a queen headboard is often around 62 inches wide, while a king runs about 80 inches.
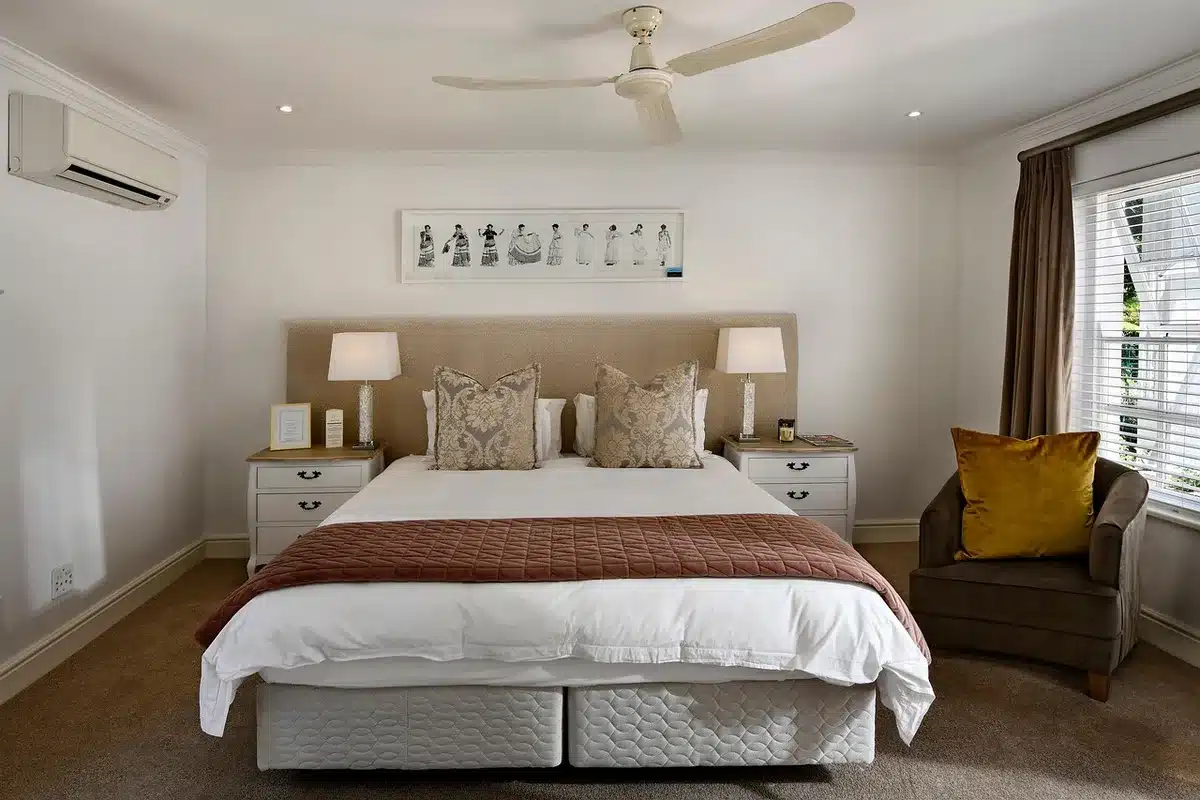
Height varies with style. Many people keep a queen or full headboard about 28 inches above the mattress top. Others prefer taller, statement pieces that can be 50 inches or more.
Canvas sizing strategies
- Use two matching canvases to span the bed width. Two 24 x 36-inch canvases work well for a modest queen headboard.
- For more overhang and drama, try two 28 x 40-inch canvases.
- Mix several smaller canvases with spacing between them to create a gallery effect above the bed.
Materials and tools you’ll need for a textured canvas headboard
Gathering the right supplies makes the process smooth. Many craft stores offer pre-stretched canvas packs you can start with.
- Pre-stretched canvas (two or more, depending on size)
- Joint compound or wall spackle for texture
- Stencils for repeated motifs
- Dried botanicals, twine, jute, or lightweight found objects
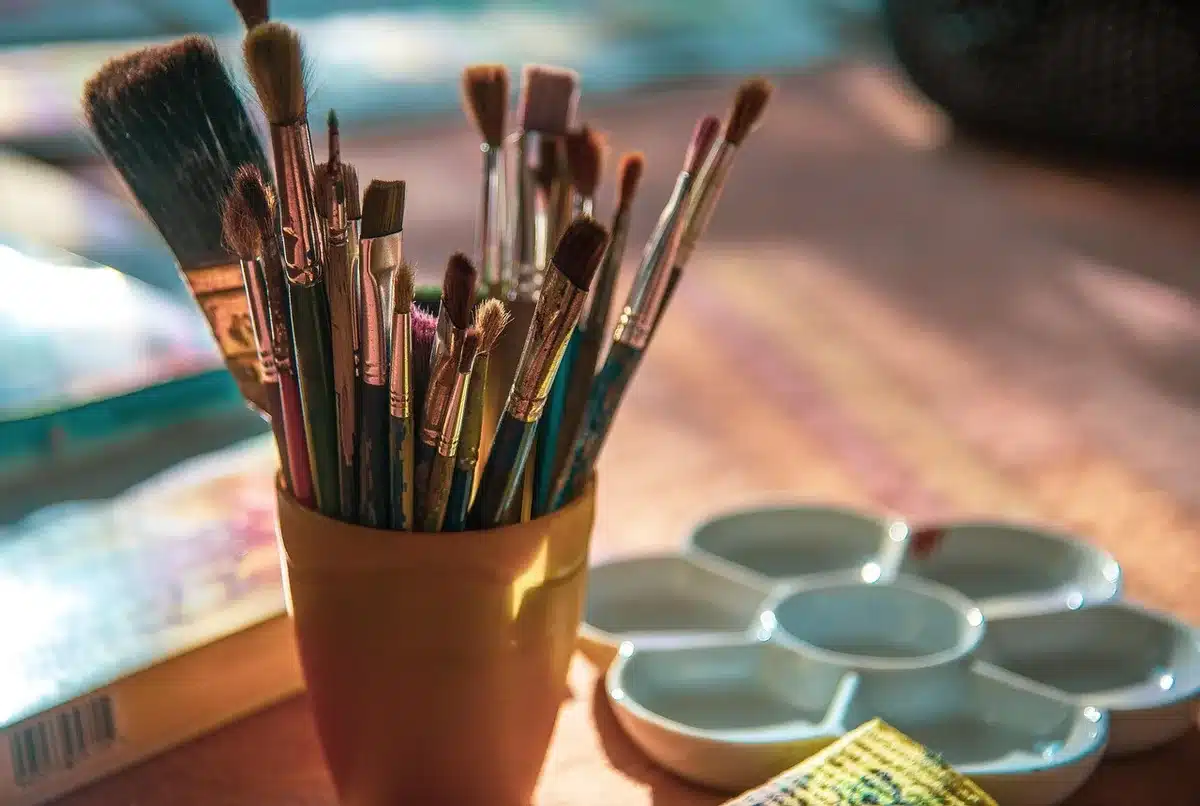
- Acrylic paint or crackle medium, plus brushes and rollers
- Mounting hardware: picture hangers, anchors, or a French cleat
Tip: Test adhesives and spackle on a scrap canvas first to confirm adhesion and color response.
Step-by-step: Build texture and pattern like a pro
Layering texture
- Lay your canvas face up on a protected surface.
- Position dried leaves, rope, or fabric where you want raised elements.
- Apply joint compound or spackle over and around items to secure them and add texture.
- Let the compound dry between layers. Multiple thin layers create depth without cracking.
Adding paint and effects
- Use a stencil to center a medallion or motif, or freehand a geometric design.
- Apply base coats, then dry-brush highlights to emphasize texture.
- For a weathered finish, consider a crackle medium or diluted washes of color.
- Alternatively, keep it smooth: paint a bold pattern for a modern look.
Note: Creators who shared this method reported the piece stayed intact for years when sealed properly.
Design variations and room-specific ideas
- Kids’ rooms: playful stencils like animals or stars and bright paint.
- Minimal or modern: monochrome canvases with crisp geometric shapes.
- Boho or natural: incorporate jute, dried botanicals, and muted earth tones.
- Layered look: use staggered canvases with slight gaps for dimensionality.
Creative tip: Impress textiles (like coarse jute) into the still-wet spackle to capture real fabric texture.
Mounting options and care to keep it looking great
Decide whether the canvases will hang or simply lean. Hanging gives a polished finish. Leaning is renter-friendly and low-effort.
- Use a French cleat for heavy, permanent installations.
- Consider wall anchors and picture hangers for individual canvases.
- Seal textured surfaces with a clear matte medium to reduce dust buildup.
Safety reminder: Secure heavy pieces to studs or use rated anchors to avoid accidents.










