
Show summary Hide summary
- Why a tree stump makes an ideal birdbath pedestal
- Picking the right basin: buy or repurpose for a DIY birdbath
- Simple methods to attach a basin to a stump
- Placement tips to make birds feel safe
- Planting and landscape choices that attract more birds
- Maintenance and safety: keep the water fresh and the site safe
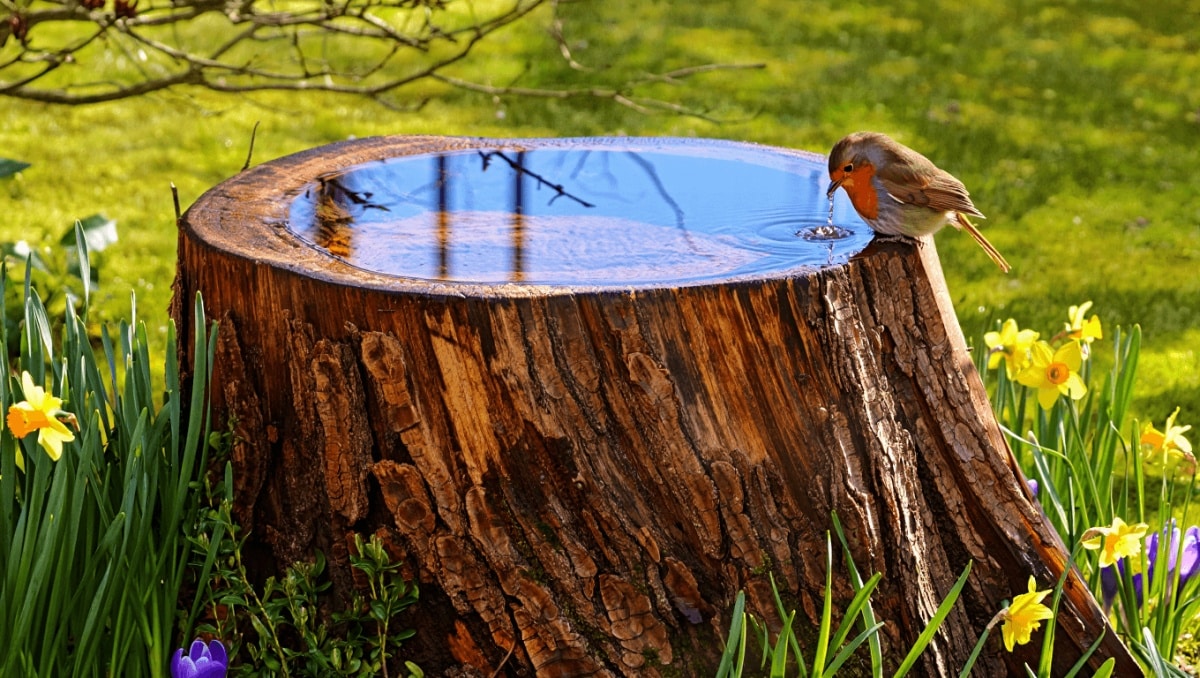
A weathered tree stump in your yard can be more than yard waste; with a little imagination it becomes a charming, low-cost birdbath that draws songbirds and adds rustic beauty. This simple DIY turns a leftover trunk into a focal point that benefits wildlife and reduces disposal hassle.
Why a tree stump makes an ideal birdbath pedestal
Stumps are sturdy, already anchored in place, and naturally fit a garden’s aesthetic. Turning one into a birdbath avoids the expense of removal and gives you a built-in stand at the right height.
Michaels holiday finds under $25: 20 new gifts that look like $50
Target wall-mounted find frees up countertop space: timeless style for small kitchens
Birds prefer water about three feet off the ground, so many stumps are a perfect match. The rough texture of the trunk also helps birds perch safely while bathing or drinking.
Picking the right basin: buy or repurpose for a DIY birdbath
Your choice of basin defines the look and budget of the project. You can purchase a shallow birdbath bowl, or reuse household or farm items for an eco-friendly option.
- Commercial options: ceramic, concrete, or fiber clay bowls made for birdbaths.
- Upcycle ideas: large frying pans, shallow serving bowls, glass lids, metal lids, or even an old hubcap.
- Look for shallow, wide vessels so birds can wade and splash safely.
When choosing materials, consider durability, weight, and how the basin will fasten to the stump.
Simple methods to attach a basin to a stump
There are several secure ways to mount a basin to the top of the stump. Pick the approach that matches your tools and the basin material.
- Level the top: use a chainsaw or grinder to create a flat surface.
- Adhesive method: apply an exterior-grade silicone to bond many bowl types.
- Bolting: drill through the basin and wood, insert a rust-resistant bolt, and seal around the hole.
- Bracket system: clamp brackets to the bowl’s edges and fasten to the side of the stump.
- Stake retrofit: if your bowl has a metal stake, cut it short, drill a matching hole into the stump, and insert the stake.
Seal any gaps to prevent water from leaking into the wood and speeding decay. Use outdoor caulk or a waterproof sealant as needed.
Tools and supplies to have on hand
- Chainsaw, saw, or sander for leveling
- Drill with wood and metal bits
- Exterior silicone or marine adhesive
- Stainless-steel bolts, washers, and brackets
- Sealant to waterproof attachment points
Placement tips to make birds feel safe
Position matters for attracting feathered visitors. Choose a location that balances visibility and cover.
- Place the stump in partial shade so water stays cool.
- Keep it about 10 feet from dense shrubbery where predators can lurk.
- Allow nearby perches—branches, fences, or low shrubs—so birds can approach and retreat safely.
Grouping the birdbath with feeders or nesting boxes creates a small wildlife hub. A multi-station stump setup can include a feeder on one trunk and a bath on another.
Planting and landscape choices that attract more birds
Surrounding the stump with the right plants boosts its appeal. Many flowering species also provide seeds and insects for birds.
- Annuals such as cosmos and marigolds add color and attract insects.
- Native shrubs and grasses offer cover and food sources.
- Plant a layer of groundcover to reduce mud and keep the area tidy.
Water features combined with bird-friendly planting create a reliable draw for local species.
Maintenance and safety: keep the water fresh and the site safe
Regular care preserves the birdbath and protects wildlife. Stagnant water can spread disease and attract pests.
- Change the water every two to three days, more often in hot weather.
- Clean the basin monthly with a scrub brush and mild soap, then rinse well.
- Check attachment points periodically for looseness or rot.
- Consider adding a shallow rock or pebbles so fledglings can exit easily.
Inspect the stump for deep rot. If decay undermines stability, relocate or reinforce the basin for safety.










