Show summary Hide summary
- Which Dollar Tree trays make the best paver molds
- Materials to gather and safety you must follow
- Choosing the right concrete and consistency
- How to cast stepping stones step by step
- Ways to add color and texture without spending much
- Practical tips to extend life and avoid common mistakes
- Placement ideas and ongoing care for DIY pavers
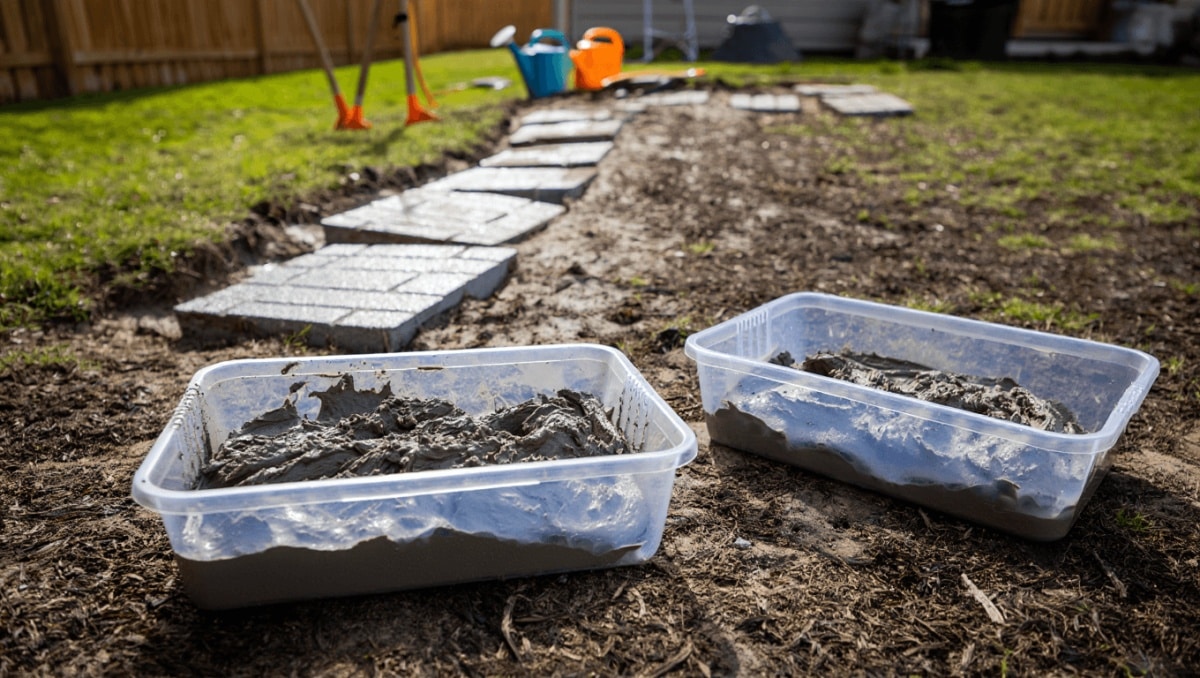
If your yard turns to mud every time it rains, a low-cost path of stepping stones can rescue your lawn and your shoes. You don’t need expensive slate or custom molds. With a few clear plastic trays from Dollar Tree and a bag of concrete, you can cast charming pavers that look intentional — not like a DIY afterthought.
Which Dollar Tree trays make the best paver molds
Not all plastic trays are equal. Pick a shape and size that fits your design and the traffic the stones will see.
Target wall-mounted find frees up countertop space: timeless style for small kitchens
Budget backyard makeover: turn an old laundry hamper into a cement planter
- Small, decorative trays — Deviled-egg or chip-and-dip trays create floral or scalloped stones ideal for cottage gardens.
- Larger catering trays — Bigger veggie or party trays yield standard stepping stones with more surface area.
- Stiff, clear plastic — Look for firmer plastics that keep their shape when you tap or move them.
Materials to gather and safety you must follow
Gather a basic kit before you begin. Proper protection keeps the project safe and comfortable.
- Bagged concrete mix (basic Quikrete or a countertop mix)
- Vegetable oil for mold release
- Water and a mixing bucket
- Mixing tool or paddle and a trowel
- Optional: glass gems, shells, beads, or concrete dye
- Protective gear: gloves, long sleeves, safety glasses, and a dust mask
Concrete is caustic. Avoid skin contact and dust inhalation while mixing and pouring.
Choosing the right concrete and consistency
Trade-offs and a simple mixing guide
Home crafters debate the best concrete. Bagged mixes are cheap and accessible. Specialty mixes can give a smoother finish. Adding sand or small gravel can improve durability.
For easy casting, aim for a batter-like texture. Add water slowly while stirring. The mix should mound slightly and hold shape.
- If it crumbles, add a touch more water.
- If it runs, it’s too wet — add dry mix in small batches.
How to cast stepping stones step by step
- Coat the inside of the plastic tray with vegetable oil. This prevents sticking and speeds demolding.
- Mix concrete outdoors or in a well-ventilated area. Wear a dust mask when adding dry mix to the bucket.
- Pour the concrete into the tray. Tap the mold on a flat surface to release air pockets.
- Smooth the top with a trowel or the back of a spoon. Create a slight camber so water sheds off the stone.
- Embed decorative items now, pressing them into the surface so they show after curing.
- Let pieces cure undisturbed. Follow the manufacturer’s curing time. Typical initial set is 24–48 hours.
- Demold carefully. If needed, flex the plastic slightly and lift the stone out.
Ways to add color and texture without spending much
Concrete starts gray, but you can introduce color without a big budget. Consider these options:
- Place colored glass gems, plastic jewels, or small stones into the mold before pouring for a mosaic look.
- Use concrete dye mixed into the wet concrete for uniform color.
- Paint the surface after curing with masonry paint and follow with a sealer.
- Stamp designs into the surface with natural items like leaves or textured fabrics while the mix is wet.
Embedding items before pouring saves on paint and gives permanent color in high-traffic areas.
Practical tips to extend life and avoid common mistakes
- Work in small batches. Fresh concrete is easiest to manage when mixed in limited quantities.
- Don’t overwater the mix. Too much water weakens the stone and causes cracking later.
- Let stones cure fully before placing them under load or in freeze-thaw conditions.
- Seal stones if you want vibrant color and stain resistance.
- Reinforce thin areas by increasing thickness in future casts or by adding small mesh or fibers to the mix.
Placement ideas and ongoing care for DIY pavers
Lay stones directly on compacted soil, on a sand bed, or intersperse them with gravel. For a casual path, space them to allow grass to grow between stones.
- Use a rubber mallet to level stones into position.
- Top up joints with sand or fine gravel to lock them in place.
- Clean with a brush and mild detergent. Reseal every few years for long-lasting color.