
Show summary Hide summary
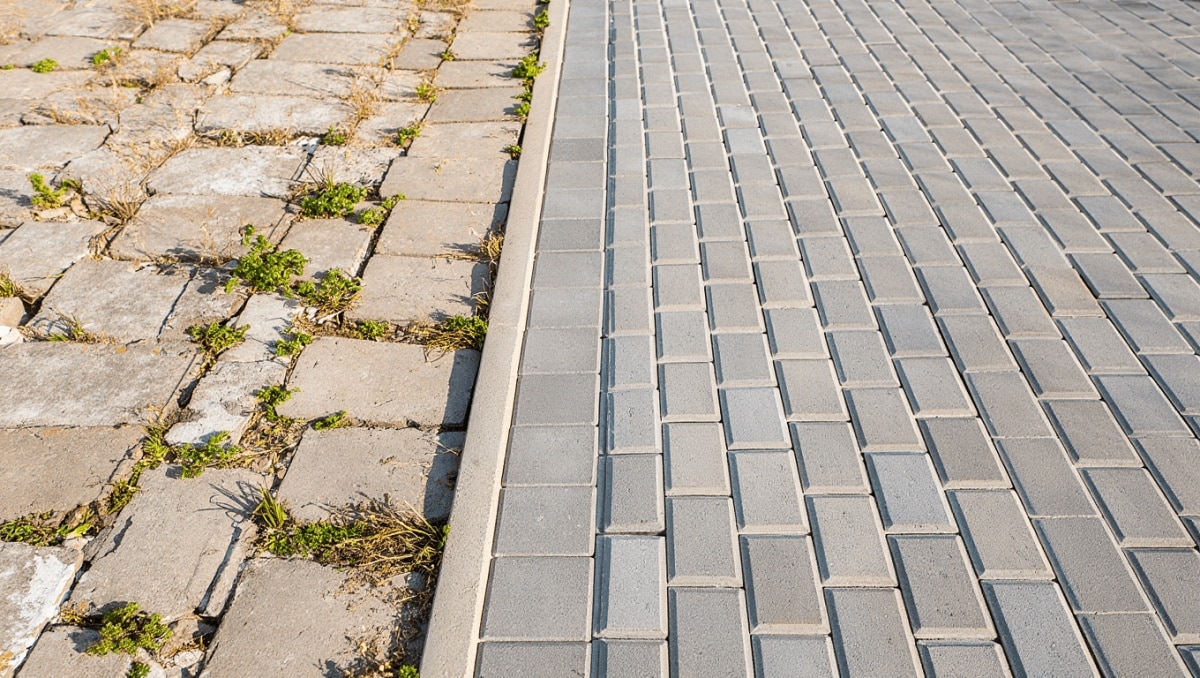
If your driveway edges are crumbling or weeds are pushing through cracked concrete pavers, there is a solid, long-lasting alternative worth considering. Belgian blocks — quarried stone pieces with a classic look — can transform the edge of a driveway into a durable, low-maintenance border that complements many home styles. They cost more up front but often outlast concrete and cut down on repairs.
What Belgian blocks are and why they matter for driveways
Belgian blocks are rectangular blocks of natural stone, most commonly granite. They look similar to cobblestone but are usually more uniform in size. That regularity makes them ideal for tidy, long-lasting edging along driveways, walkways, and property lines.
Michaels holiday finds under $25: 20 new gifts that look like $50
Target wall-mounted find frees up countertop space: timeless style for small kitchens
- Durability: Stone resists weather, salt, and vehicle stress better than many concrete pavers.
- Aesthetic longevity: Natural stone ages gracefully, developing a patina instead of cracking.
- Versatility: they work with gravel, asphalt, concrete, and other paving types.
Comparing costs: upfront price vs lifetime value
Belgian blocks are pricier than common concrete pavers. Material alone usually ranges from $8 to $20 per foot. Professional installation commonly pushes the cost to $25–$45 per foot.
Concrete pavers start lower, often $4–$6 per foot for materials and $13–$30 per foot installed. But cheaper materials can mean more repairs later. If you value long-term performance, stone often proves more economical over many years.
How to plan your Belgian block edging
Proper planning reduces mistakes and keeps costs under control. Take careful measurements and decide on the visual layout before buying materials.
- Measure the total length of edging required.
- Choose orientation: end-to-end, side-by-side, or angled.
- Decide whether blocks will sit on soil or a concrete bed.
- Factor in drainage and slope so water won’t pool against the blocks.
Step-by-step installation guide for DIY or pros
Installing Belgian blocks is straightforward but labor intensive. Hiring a pro can save time and prevent common errors. If you take the DIY route, follow steps to ensure the edge stays stable.
- Mark the edge with spray paint or string to keep a straight line.
- Dig a trench deep enough for the block plus base material. Deeper trenches add stability.
- Add a compacted base layer: crushed stone or gravel is common.
- Set blocks in place. Use concrete if you want a permanent bond.
- Fill joints and gaps with stone dust or mortar depending on your finish goal.
- Clean the area and allow materials to set before driving on the edging.
Pro tip: If using concrete, don’t rush the mix. Properly mixed concrete sets more reliably and keeps blocks from shifting.
Tools, materials, and preparations you’ll need
- Belgian blocks (ordered by linear footage and size)
- String line, stakes, spray paint
- Shovel, masonry chisel, and rubber mallet
- Compactor or hand tamper
- Crushed stone or gravel for base
- Concrete mix (optional) and mortar or stone dust for joints
- Safety gear: gloves, eye protection, knee pads
Design tips and common placement ideas
Belgian blocks can be subtle or make a statement. They suit traditional and modern homes. Try these ideas:
- Border a gravel drive for a clean, restrained edge.
- Frame a driveway apron where asphalt meets lawn or garden.
- Use blocks at driveway ends to create a finished transition to walkways.
- Pair stones with low plantings or lighting for curb appeal.
Maintenance expectations
Once set, Belgian blocks need little upkeep. Periodic brushing to remove debris and checking for settled joints is usually enough. The natural stone resists freeze-thaw cycles and erosion better than many manufactured pavers.










