
Show summary Hide summary
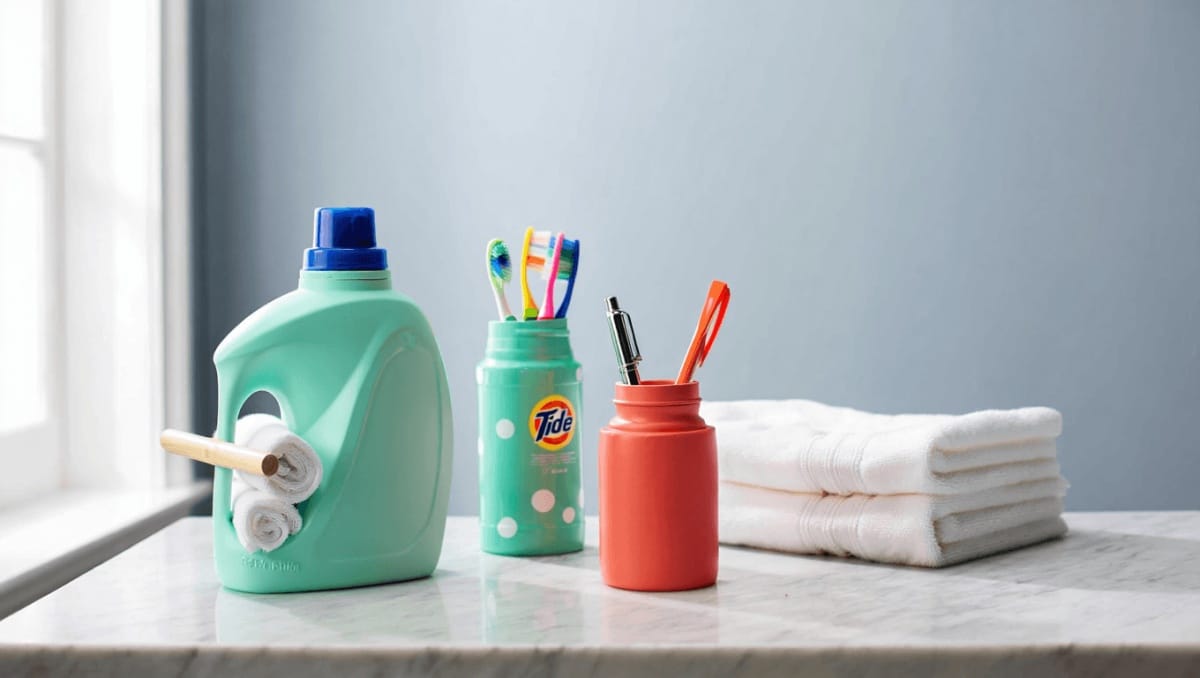
Empty detergent jugs can do more than sit in recycling bins. With a few tools and small supplies, they become practical, attractive storage for bathrooms, laundry rooms, and entryways. Simple cuts, some paint or paper, and a wooden dowel turn a discarded bottle into a basket with a handle.
Why laundry bottles are perfect for DIY storage
These containers are sturdy and already shaped to hold items. Their handles make them natural candidates for handheld bins. Upcycling detergent bottles saves money and reduces waste. You likely have several on hand, so this project starts at zero cost.
Michaels holiday finds under $25: 20 new gifts that look like $50
Target wall-mounted find frees up countertop space: timeless style for small kitchens
- Durable plastic resists wear.
- Handles double as anchor points for a wooden bar.
- Wide mouths make inserting liners and items easy.
- Shapes work for pods, brushes, toys, and toiletries.
Essential supplies for the project
Gather tools and materials before starting. The following list covers the basic build and common decorative options.
- Empty detergent bottle with handle, rinsed and dry.
- Permanent marker to map your cut.
- Utility knife or strong scissors for cutting plastic.
- Sandpaper or a file to smooth raw edges.
- Thin wooden board or a thick dowel for the handle.
- Glue suitable for plastic, like hot glue or strong craft glue.
- Paint, Mod Podge, or adhesive shelf liner for decoration.
- Optional: napkins for decoupage, twine, fabric liner, or knobs.
Step-by-step: Make a handled storage basket
Follow these stages for a clean, practical result.
- Clean and prep: Remove the cap. Rinse the bottle and remove labels. Use rubbing alcohol or vinegar to loosen stubborn glue.
- Plan your cut: Draw the profile you want. A curved dip in the center works well, so the ends stay higher to secure the handle.
- Cut carefully: Use a utility knife to score, then finish with scissors if needed. Cut away from your body. Keep cuts small and controlled.
- Create handle holes: Punch or drill matching holes near the raised ends. Make them just wide enough for your dowel or rod.
- Smooth edges: Sand any sharp plastic. Apply twine or fabric trim along the rim to hide rough spots.
- Fit the handle: Cut the wood slightly wider than the basket. Slide it through both holes and secure with glue or end caps so it can’t slip out.
- Decorate: Paint the exterior or use decoupage to apply patterned napkins. For a cleaner look, try peel-and-stick wallpaper or contact paper.
- Finish the interior: Line with fabric or paint for a polished finish. Add felt dots to the bottom to protect surfaces.
Creative finishes and practical variations
Adapt the concept to different needs and styles. These ideas keep the project fresh and useful.
- Bathroom caddy: Use fabric lining and decoupage for a soft look suitable for cotton pads and brushes.
- Laundry organizer: Make a stack of three for clothespins, pods, and stain sticks.
- Kids’ art bin: Bright paint and stickers make the bin playful and durable.
- Entryway catchall: Attach hooks to the handle to hang keys or sunglasses.
- Rustic style: Leave the wood natural and wrap the rim with jute for farmhouse vibes.
Alternative adhesives and coverings
If decoupage isn’t your thing, try these options:
- Contact paper for instant pattern and water resistance.
- Spray paint formulated for plastic for quick, even color.
- Fabric glued with spray adhesive for texture.
Safety tips and cleanup steps
Small precautions keep this craft safe and tidy.
- Work on a stable surface. Protect it with cardboard.
- Wear gloves when cutting to avoid slips.
- Cut slowly and score before making full cuts.
- Ventilate when using paints or strong glues.
- Dispose of scrap plastic responsibly or save for another project.
How this small act helps the planet and your wallet
Reusing plastic containers cuts down on single-use purchases. It also keeps material in circulation longer. Repurposing detergent bottles reduces landfill waste and gives a second life to sturdy plastic.











