
Show summary Hide summary
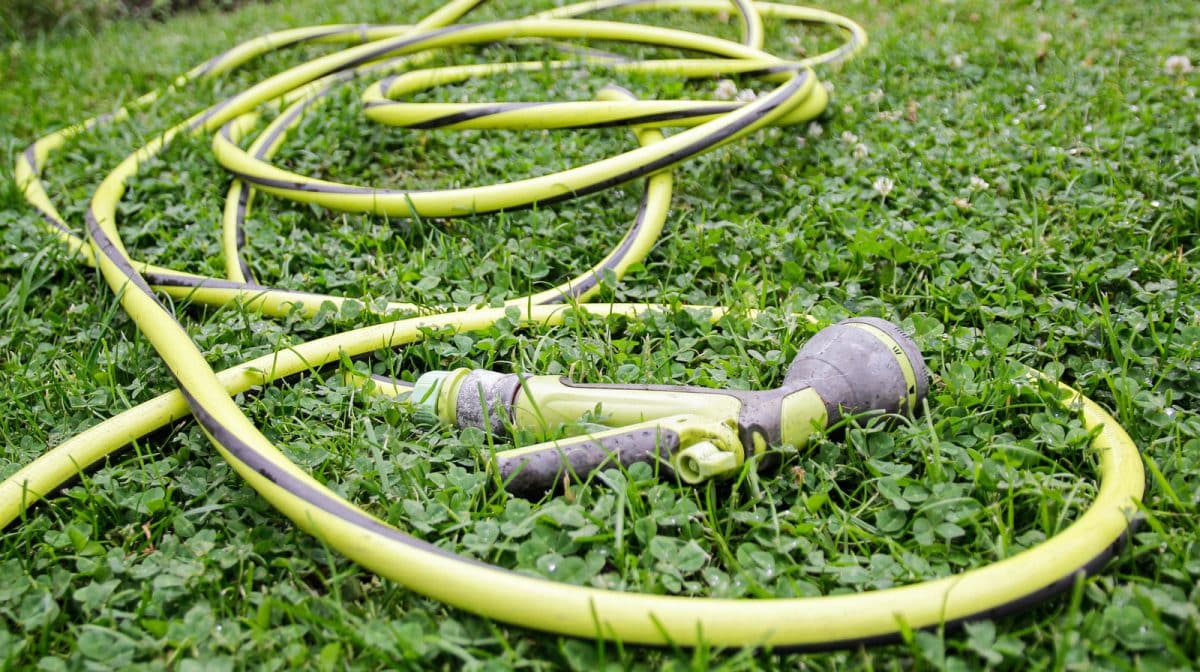
Garden hoses have a knack for turning tidy yards into tripping hazards. If you’re tired of stepping over coils, untangling nozzles, or wrestling a stiff hose onto a reel, a simple, low-cost trick can tame the mess. With a common five-gallon bucket and a few fasteners, you can create a compact hose organizer that keeps the hose, nozzle, and small accessories off the ground and out of the way.
Why a bucket works as a practical hose storage solution
Hose reels can be bulky and pricey. A bucket mounted near the spigot is small, inexpensive, and readily adaptable. It stores the hose wrapped around the outside and hides fittings and sprayers inside. For many homeowners, that combination solves the main complaints about hose clutter: tripping risks, weather exposure, and the missing nozzle mysteriously vanishing into the yard.
Michaels holiday finds under $25: 20 new gifts that look like $50
Target wall-mounted find frees up countertop space: timeless style for small kitchens
This approach is ideal when you want a quick, functional fix that won’t break the bank. It also lets you customize the look to match siding or landscaping.
Materials and tools you’ll need for a bucket hose organizer
Gathering the right parts up front speeds the job and ensures a sturdy installation.
- 5-gallon plastic bucket with lid (or large refillable pail)
- Exterior-grade screws appropriate for your wall type
- Large fender washers to spread load on the bucket
- Short wood board for an internal shelf (optional)
- Small hinges or flexible strip for a lid if needed
- Drill and drill bits, screwdriver, utility knife
- Paint for plastic (optional) and sandpaper for prep
Step-by-step: Install a wall-mounted bucket hose reel
Where to place it
Mount the bucket as close to the hose bibb as possible. That reduces stress on connections and makes coiling fast. Position it at comfortable waist height so winding the hose is easy.
How to fasten it securely
- Hold the bucket in place and mark three attachment points: two near the top and one centered lower.
- Choose screws made for your exterior material: masonry anchors for brick, decking or exterior wood screws for siding backed by studs.
- Put large fender washers between the screw head and the bucket. Wide washers reduce the chance of the plastic tearing.
- Tighten the screws snugly but avoid over‑compressing the plastic.
Adding internal storage
For a tidy stash of nozzles and small tools, cut a shelf from a short board to sit partway into the bucket. Make the shelf about 75–85% of the bucket’s diameter so it fits without forcing the bucket’s walls outward. Round the edges where it meets the curve if you like, but a straight board works fine.
Decide on the spacing between shelf and lid so the latch or hinge won’t collide. A short hinge often helps maximize usable storage space.
Attach, coil, and tidy
Fasten the hose to the bibb and loop it around the outside of the bucket. Place the nozzle and other small items inside the bucket or on the shelf. If the handle interferes, you can remove it. Finally, fit a lid to keep out pests and rain.
Options for lids, hinges and weatherproofing
Factory-made hinged lids for five-gallon buckets are rare. You can improvise several ways to get a secure cover:
- Cut a standard bucket lid into two and join with metal hinges.
- Use a flexible UV-resistant strip or rubber hinge for a durable, weatherproof connection.
- Punch aligned holes and fasten with heavy-duty cable ties for a low-cost pivot.
If you prefer a ready-made alternative, consider a 35-pound cat-litter pail with a built-in hinge. Those pails often come with molded lids designed for repeated opening.
Cost comparison and aesthetic tips
Basic five-gallon buckets and lids can be found for under $10. Add screws, washers, and a hinge, and the total still often stays below the price of a cheap wall-mounted steel reel. If you plan to paint the bucket to match your trim, prep the surface first and use paint formulated for plastics. Follow the manufacturer’s instructions to improve adhesion.
For a more finished look, you can:
- Use a bucket in a neutral color or wrap it with weatherproof trim.
- Mount it behind a low privacy panel or plant shield to hide it from view.
- Add a simple wooden rack nearby for shovels, rakes, and other tools.
Other creative variations and upgrades
There are many ways to adapt this DIY idea to suit your needs. Consider these upgrades:
- A metal ring or short post inside the bucket to guide the hose and prevent kinking.
- A small padlock or latch if you want to secure the contents.
- Upgrading to an insulated or UV-stable pail if your climate is extreme.
- Attaching a small hook on the outside for a spray-wand or gloves.
Whatever route you choose, the goal is the same: keep the hose neat, reduce tripping hazards, and have your nozzle ready when you need it. This simple bucket hack delivers that functionality for a fraction of the cost and complexity of many store-bought reels.










