

Show summary Hide summary
A gravel driveway can look timeless and hold up for years, but neglected drainage will turn it into a maintenance headache. One simple shape — a raised center or “crown” — is the key to shedding water and avoiding ruts, potholes, and washouts. Fixing or rebuilding that crown restores performance and saves money over time.
How a crown keeps a gravel driveway working
Michaels holiday finds under $25: 20 new gifts that look like $50
Target wall-mounted find frees up countertop space: timeless style for small kitchens
Gravel paths and driveways rely on slopes, not just stone, to last. A crown means the middle of the drive sits slightly higher than the edges.
- Better drainage: Water runs off to the sides instead of pooling.
- Less surface damage: Standing water softens the base and creates potholes.
- Longer lifespan: Proper drainage reduces the need for frequent reshaping and refilling.
Without a crown, rain and melting snow will collect in the center or along wheel tracks. Over time, traffic compacts the wet spots and washes fines away. That leads to low areas that attract more water, making repairs cyclical and costly.
What a properly built gravel driveway contains
A durable gravel driveway is more than a top layer of rock. It is a constructed section with depth and differing materials.
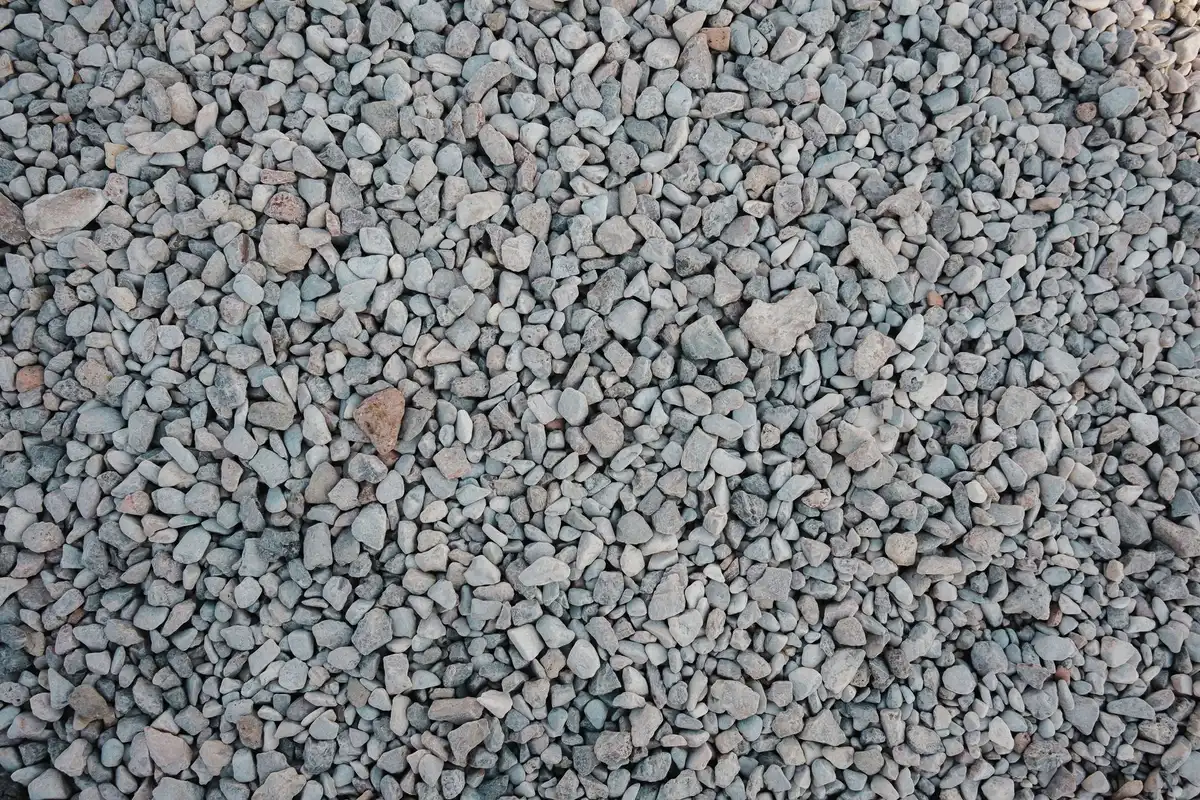
- Many installations start with a trench 8–12 inches deep.
- Builders often place several layers of aggregate, from larger stone at the bottom to crushed rock on top.
- The crown is formed during grading, leaving the center a few inches higher than the edges.
That layered approach, compacted and graded, creates a stable surface. If the crown flattens, water begins to undermine those layers. Restoring the slope is essential to protect the base and the surface gravel.
Signs you need to regrade or recrown
Watch for these indicators that your driveway needs attention:
- Puddles that last more than a day after rain.
- Frequent potholes along the middle or wheel paths.
- Rutting or washboarding that gets worse quickly.
- Gravel shifting to the ditches, leaving a flat center.
Addressing problems early is cheaper than rebuilding sections later. A restored crown prevents small issues from becoming large repairs.
How professionals rebuild a crown
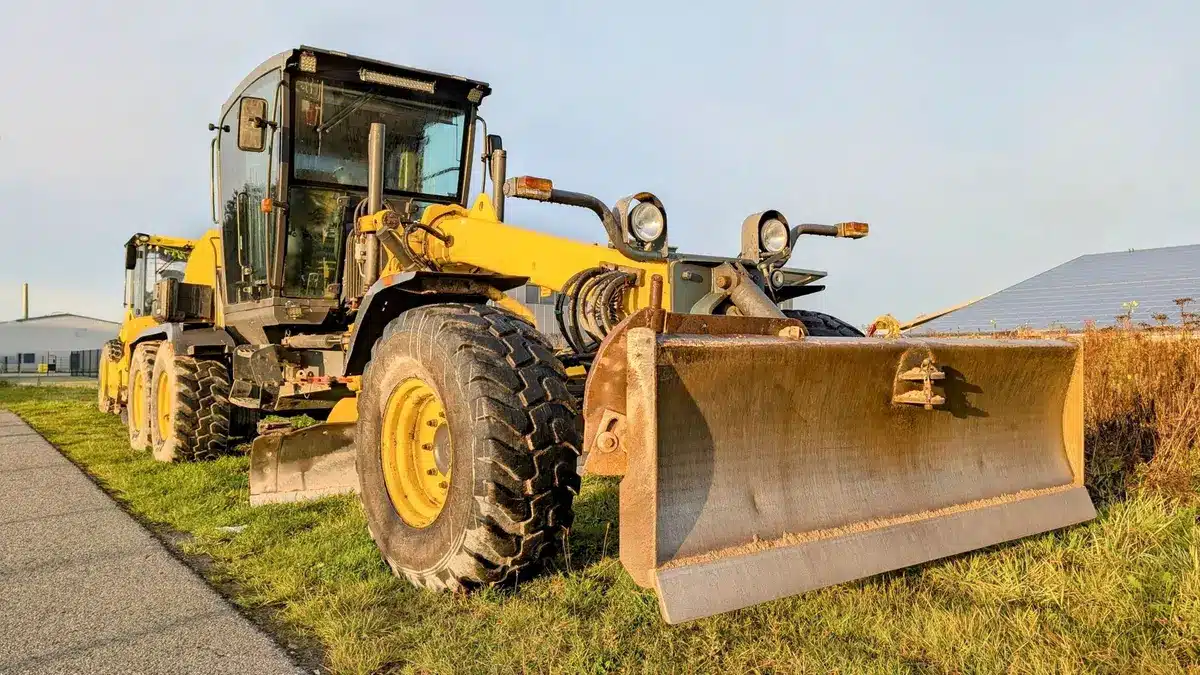
Recreating a crown on a substantial driveway usually needs heavy equipment and skill. Contractors typically follow a few core steps.
Step-by-step process
- Loosen the existing surface to break up compacted layers.
- Remove vegetation, debris, and oversized rocks.
- Shift material from the edges to the center using a blade or grader.
- Top up low areas with fresh gravel and shape a slope of about ½ inch per foot of width.
- Compact the newly formed crown for stability.
Directional grading equipment is often used to move material efficiently and create a uniform slope. Compacting after grading locks the new profile in place and limits future movement.
DIY options and small-scale fixes
On short or light-use drives, homeowners can handle crown repair with basic tools.
- Use a heavy-duty gravel rake or landscape rake to move stone toward the center.
- Break surface crusts with a manual tamp or small plate compactor.
- Fill low spots with fresh aggregate and compact in layers.
- Consider a drag harrow to roughen and redistribute material before final shaping.
These methods work on small pads or drives with low traffic. For longer drives or repeated problems, call a contractor with grading equipment.
Budgeting the work: cost factors to consider
Price varies by driveway size, condition, and region.
- Simple regrading often ranges from about $0.50 to $2.50 per square foot.
- Costs rise if excavation, new base material, or major gravel delivery is needed.
- Equipment rental or contractor hourly rates add to the total for larger jobs.
Investing in a proper crown and compacting pays off by reducing repeat repairs and preserving the driveway’s structure.










