
Show summary Hide summary
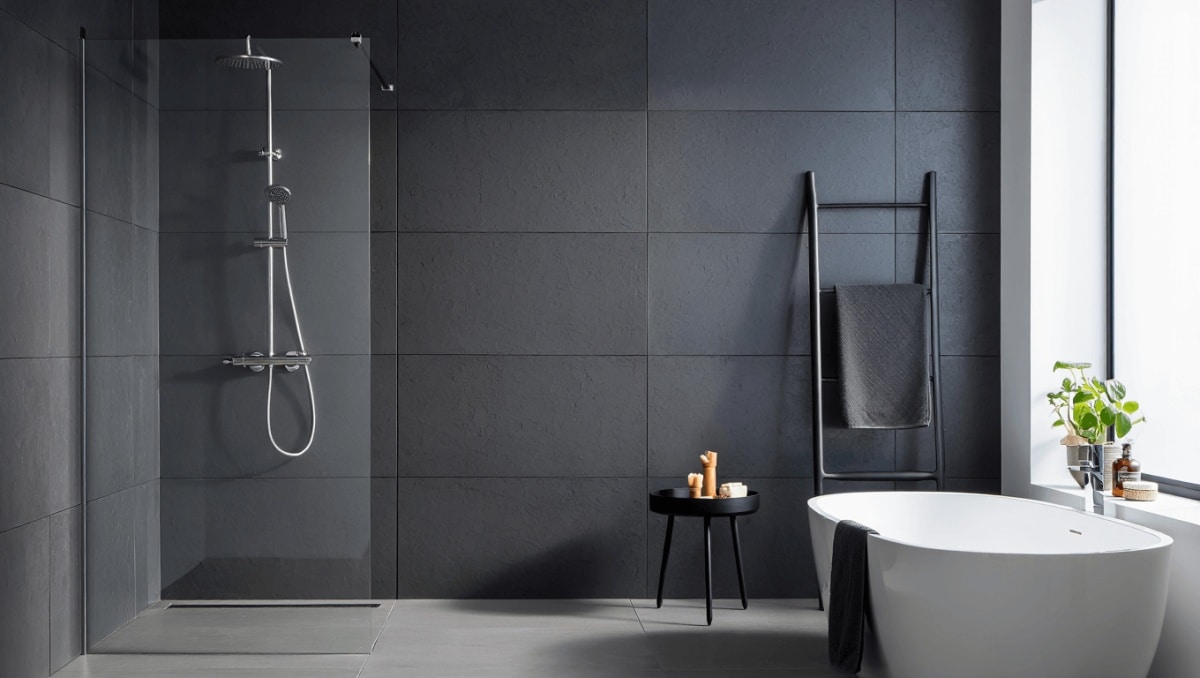
Say goodbye to the era of plain white subway tile. A growing number of homeowners and designers are swapping grout lines for continuous, textured finishes that give bathrooms a moody, lived-in look. These grout-free surfaces—microcement, limewash, roman clay, and plaster—create depth and warmth while simplifying maintenance. If you’re planning a 2026 bathroom refresh, these options deserve attention.
Why textured, grout-free showers are replacing classic tile
Design tastes are shifting toward raw, imperfect materials. People want bathrooms that feel handcrafted and calm. Textured wall treatments deliver that vibe.
Michaels holiday finds under $25: 20 new gifts that look like $50
Target wall-mounted find frees up countertop space: timeless style for small kitchens
- Seamless surfaces remove grout lines that trap grime and mildew.
- Natural finishes add character and visual depth.
- They make small bathrooms feel cohesive with a single continuous color.
- Color options extend beyond white to moody greens, soft pinks, and warm neutrals.
These finishes align with broader trends toward organic textures and understated luxury. They also solve a common chore: no more scrubbing grout lines.
Key materials for a grout-free shower and how they differ
Each material creates a distinct look and has its own installation needs. Below are the most popular choices and what to expect from each one.
Microcement: modern concrete look without the drawbacks
Microcement mimics concrete but is engineered for walls. It’s a blend of resins, minerals, and cement. That makes it less porous than raw cement.
- Applies smoothly over existing tile or drywall.
- Available in many colors and finishes.
- Durable and suitable for continuous surfaces.
- Requires a professional finish for best results.
Best for homeowners who want a contemporary concrete aesthetic with low maintenance.
Roman clay: tactile, artisan texture
Roman clay sits between paint and plaster. Craftspeople trowel it on in overlapping strokes. The result reads as textured and hand-finished.
- Creates warm, layered surfaces.
- Needs a smooth substrate like plaster or joint compound.
- Not thick enough to hide tile without a base coat.
- Topcoat sealing is essential in a shower area.
Best for bathrooms where a soft, artisanal surface is desired.
Limewash: matte, stone-like depth
Limewash is thin and mineral-based. It’s mixed with water and pigments, then brushed on. The finish is matte and slightly variegated.
- Creates a subtle, historic patina.
- Can be applied over paint or on prepared plaster.
- Less forgiving over uneven surfaces.
- Requires a protective waterproof seal for wet zones.
Best for those seeking a soft, weathered look with natural ingredients.
Plaster finishes: smooth or textured continuity
Plaster offers a range of textures from satin-smooth to highly tactile. It brings a timeless, cohesive surface when applied correctly.
- Forms a continuous, grout-free wall.
- Needs proper base preparation and skilled application.
- Can be tinted for full-color walls.
- Finish longevity depends on sealers and maintenance.
Best for full-room treatments and classic, enduring aesthetics.
How to choose the right textured finish for your shower
Start by defining priorities: style, budget, and maintenance. Each finish addresses those needs differently.
- Match the finish to the bathroom’s overall mood. Darker, moody hues feel intimate.
- Consider coverage: do you want the whole bathroom drenched in color?
- Assess substrate condition. Many finishes need a smooth underlayer.
- Decide on DIY or pro installation. Microcement and plaster often need pros.
Think about long-term upkeep. Grout-free surfaces cut cleaning time, but textured walls can show soap residue more than glossy tile.
Waterproofing, installation tips, and maintenance essentials
Moisture management is non-negotiable in showers. Proper prep extends the life of textured finishes.
- Ensure a waterproof substrate or membrane is in place.
- Use a compatible sealer recommended by the finish manufacturer.
- Schedule re-sealing as advised—this protects color and prevents water penetration.
- Hire installers familiar with wet-room applications for the best results.
For cleaning, use mild, non-abrasive products and a soft cloth or brush. Avoid harsh chemicals that can break down sealers. With the right protection, these finishes hold up well and keep your shower visually seamless.










