
Show summary Hide summary
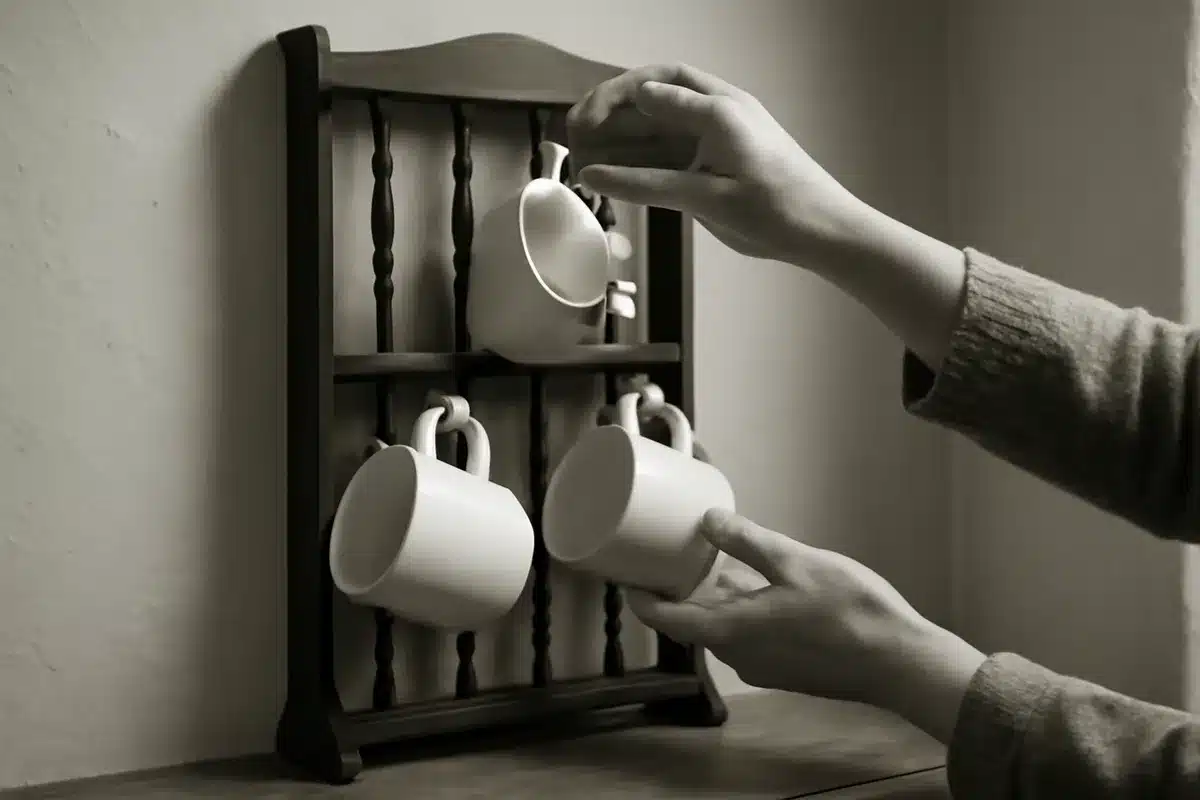
An overlooked magazine rack can become one of the most useful pieces in a small kitchen. With a few tools and a little paint, that vintage wooden frame can be remade into a compact, wall-mounted mug rack. The idea is simple, practical, and ideal for freeing up cabinet space while adding handmade charm to your breakfast nook.
Why a magazine rack is perfect for wall-mounted mug storage
Michaels holiday finds under $25: 20 new gifts that look like $50
Target wall-mounted find frees up countertop space: timeless style for small kitchens
Old magazine racks often have turned spindles and a sturdy rectangular frame. Those spindles make natural pegs for hanging mugs. Upcycling this furniture keeps it out of the landfill and gives you functional storage that also serves as decor. For tiny kitchens, a vertical mug hanger frees counter space and makes daily dishes easier to access.
Materials and tools you’ll want on hand
- Rectangular wooden magazine rack with spindles
- Hand saw or miter saw for cutting spindles
- Wood glue and wood filler (e.g., DAP)
- Hammer and small nails or screws
- Spray primer and spray paint in your chosen finish
- D-ring picture hangers or keyhole brackets and screws
- Sandpaper and a clean cloth
- Optional: clamps and a drill
Step-by-step: turn the rack into a mug hanger
1. Prepare the frame
Start by separating one side of the rack so you can work on a flat panel. Clean the wood and remove any loose bits. Make sure the base will be strong enough to carry the weight of several mugs.
2. Reuse and shorten the spindles
Remove the vertical spindles and cut them roughly in half. Decide whether the top or bottom half will become the peg. Shorter spindle ends make tidy, spaced pegs that hold mug handles well.

3. Reinstall and secure the pegs
Apply wood glue into the spindle holes and press the cut spindle pieces in place. Alternate top and bottom halves for visual interest. Lightly tap each peg with a hammer so it sits snugly. Let glue dry fully before moving on.
4. Fill gaps and smooth the surface
Use wood filler on any empty holes or imperfections. Once the filler is dry, sand the surface smooth. Wipe away dust so paint will adhere evenly.
5. Prime and paint for a polished look
Spray with an all-surface primer and let it dry. Finish with a few light coats of matte spray paint. White is versatile, but any color can be picked to match your kitchen palette. Hold cans 8–12 inches away and spray in even passes.
6. Mounting the rack to the wall
Attach two D-ring picture hangers or keyhole brackets to the back. For maximum stability, anchor screws into wall studs. Hang the rack horizontally or vertically, depending on how many mugs you want to display.
Practical tips, styling ideas, and safety notes
- Test weight before filling the rack. Add mugs slowly to ensure the pegs hold.
- Mix mug sizes for a casual look. Keep heavy travel mugs to the lower pegs.
- Try accent pieces — a copper mug with faux greenery softens the display.
- If the rack wobbles, add a wall anchor or reposition screws into studs.
- Use satin or matte finishes to hide brush marks and finger smudges.
Where to find the right vintage rack and inspiration
Check thrift stores, estate sales, and online marketplaces for wooden magazine holders. Look for classic turned-spindle models; they make the best pegs. Video tutorials from home-craft channels can show cutting and gluing techniques in real time if you prefer visual guidance.











