

Show summary Hide summary
- Why a pitchfork often beats a rake for spreading mulch
- Choose the right pitchfork: types and features that matter
- How to spread mulch with a pitchfork: step-by-step
- Practical tips to speed the job and protect your back
- Common mistakes to avoid when using a pitchfork for mulch
- When to bring the rake back into play
Most gardeners reach for a rake when it’s time to lay mulch. But a different tool — one many people already own — can make the job faster, cleaner, and less tiring. Swap the wide fan of a rake for a set of long, strong tines and you’ll find spreading mulch becomes more efficient, with fewer trips and less fuss.
Why a pitchfork often beats a rake for spreading mulch
Michaels holiday finds under $25: 20 new gifts that look like $50
Target wall-mounted find frees up countertop space: timeless style for small kitchens
A pitchfork is designed to penetrate loose material. Its long tines sink into a pile and hold mulch so you can move larger amounts at once. This design reduces the number of shuttle trips from pile to bed.
The result: less effort and faster coverage. The tines also let you comb through the mulch as you deposit it. That action breaks up clumps and creates a more even finish without extra tools.
Choose the right pitchfork: types and features that matter
Not every pitchfork is ideal for mulch. Think about tine spacing, head width, and handle length before you pick one from the shed.
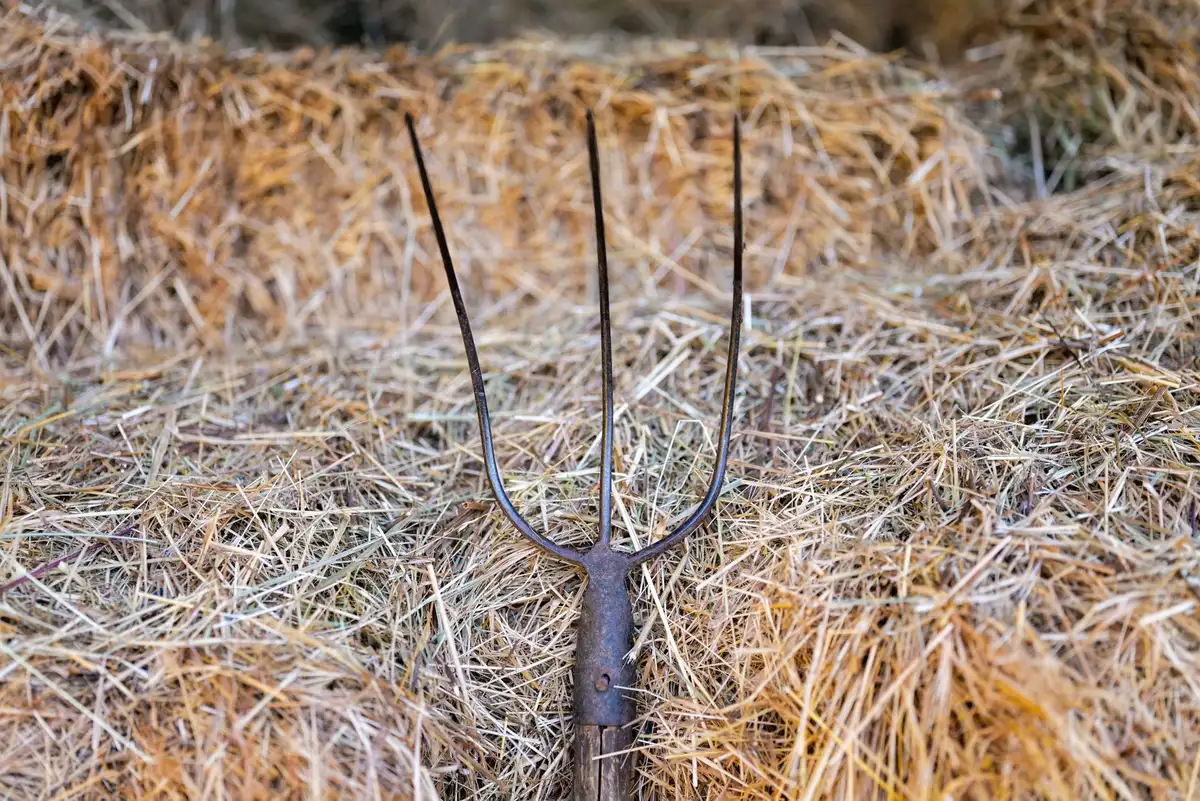
- Bedding fork: Narrower, closely spaced tines that hold lightweight mulch well. Good for neat scoops and smaller beds.
- Ensilage or manure fork: Wider head with more tines. Works best for large projects where moving volume matters.
- D-grip or short-handle fork: Easier to control in raised beds or tight spaces.
- Long-handle fork: Reduces bending and back strain on open ground and wide areas.
Also consider handle material. Fiberglass handles are light, durable, and resist rot. Wooden handles feel traditional but can be heavier and require more care.
How to spread mulch with a pitchfork: step-by-step
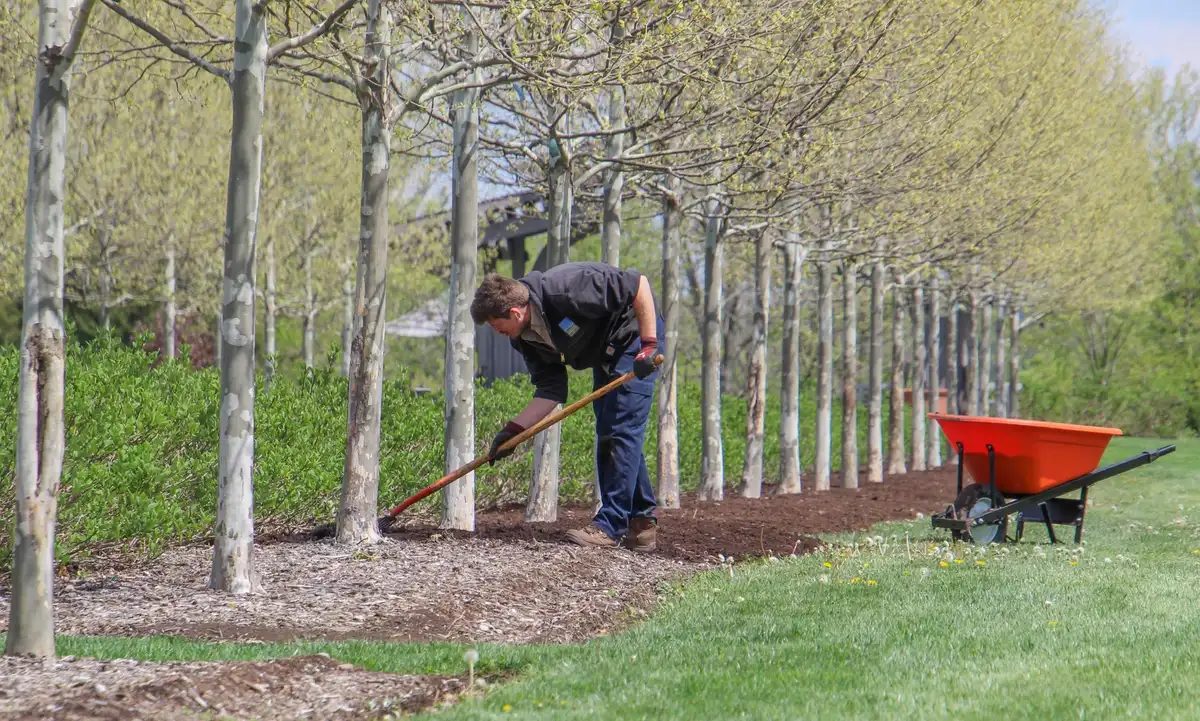
- Prepare the bed: pull weeds, tamp down soil, and make the planting area slightly lower than sidewalks or edging.
- Load strategically: sink the tines into the pile or wheelbarrow and lift a generous, controlled load.
- Deposit in small mounds: place modest piles around the bed rather than trying to rake a long strip in one pass.
- Spread and comb: use the pitchfork to distribute mulch and to break up clumps as you go.
- Level the surface: if you want a smoother finish, use the back of the pitchfork or a rake for light leveling.
- Clean and store: wipe off wet or sticky mulch before it dries on the tines to prolong tool life.
Practical tips to speed the job and protect your back
- Work from several small piles rather than hauling long loads across the bed.
- Alternate between lifting with your legs and turning your torso to avoid repetitive strain.
- Choose a long handle for wide beds; select a D-grip for raised planters.
- Use a lighter handle material to reduce fatigue; fiberglass is a good modern choice.
- Wear gloves to protect hands and improve grip when moving damp mulch.
- Have a wheelbarrow nearby to stage material and cut down walking time.
Common mistakes to avoid when using a pitchfork for mulch
- Overloading the fork. Too much mulch slips off and wastes effort.
- Using widely spaced tines for fine mulch; it falls through and slows the job.
- Neglecting post-spread cleanup. Mulch stuck to the tines can harden and corrode metal.
- Ignoring ergonomic setup; frequent bending leads to aches the next day.
When to bring the rake back into play
There are times a rake still helps. Use one when you want a perfectly smooth top layer or need to feather mulch up against walkways. But for the heavy lifting and primary distribution, a pitchfork saves time and effort. Keep both tools on hand and match each to the task at hand.










