
Show summary Hide summary
Short on countertop space but long on loose change, keys, and receipts? A handcrafted pebble bowl can tame the clutter and add a natural accent to your kitchen or entryway. This inexpensive DIY turns ordinary stones into a functional, eye-catching tray that holds essentials and sparks conversation.
Why a pebble bowl is a smart choice for countertop storage
Michaels holiday finds under $25: 20 new gifts that look like $50
Target wall-mounted find frees up countertop space: timeless style for small kitchens
A pebble bowl combines form and function. It creates a shallow, sturdy container that keeps small items within sight and reach. Natural stones bring texture and warmth to modern counters. And because you can make one from found or low-cost materials, it’s a budget-friendly upgrade.
Ideal uses:
- Keys and wallets near the front door
- Loose change and small electronics
- Spare office supplies or condiment packets
- Decorative fruit display if sealed with food-safe products
Materials and tools to collect before you begin
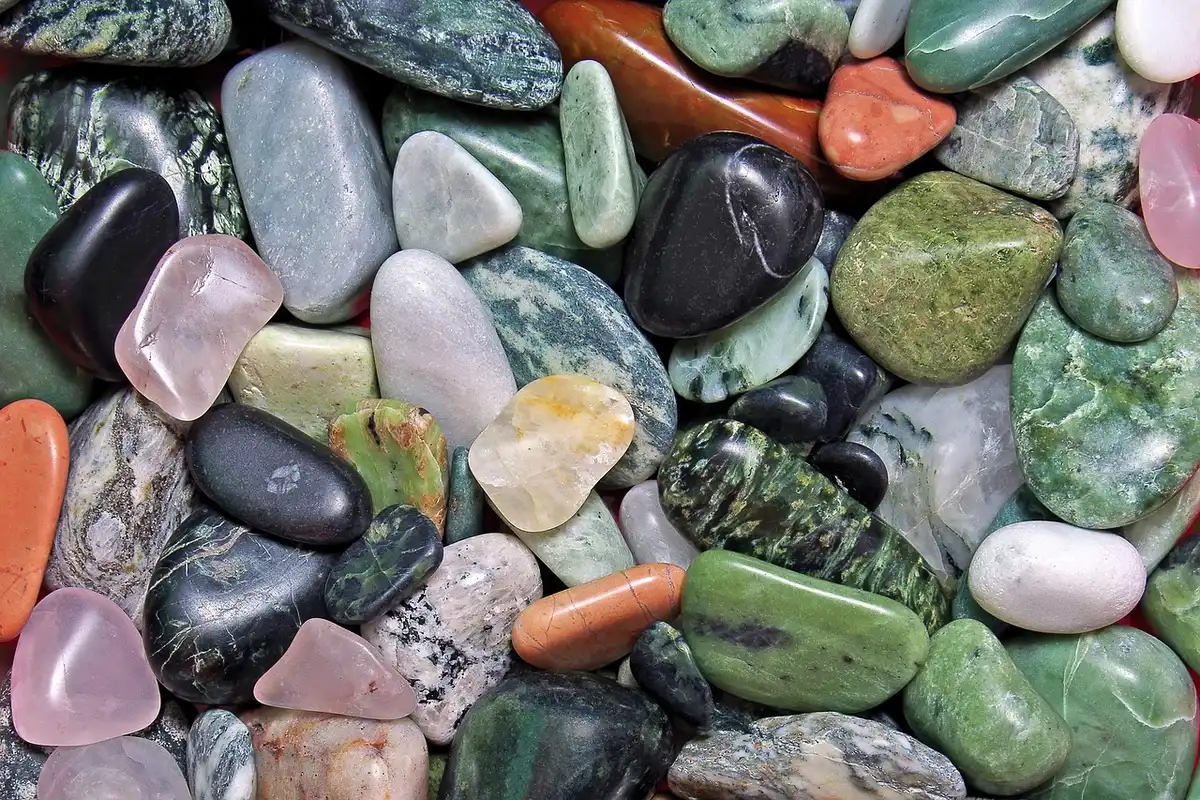
Gather everything first to keep the project smooth. You can source pebbles from your yard or buy bags of multi-toned river rocks. Choose a mold bowl that matches the shape you want.

- Small smooth pebbles or river rocks (varied sizes)
- A rigid bowl to use as a mold
- Plastic wrap or a disposable plastic bag to line the mold
- Strong adhesive: Super Glue, construction adhesive, or epoxy
- Food-safe glue or sealer if you’ll hold edible items
- Microfiber cloth and soap for cleaning stones
- Sandpaper or a sanding sponge
- Paint and brushes (optional, choose food-safe paint for edible use)
- Disposable gloves and a well-ventilated workspace
Step-by-step: Build a durable pebble storage bowl
Prep the stones and mold
- Wash pebbles in warm, soapy water to remove dirt and grit.
- Lay stones on a clean cloth and let them air dry completely.
- Line the inside of your chosen bowl with plastic wrap so it’s smooth and nonstick.
Form the base layer for stability
- Place larger, flatter pebbles into the lined mold to form a close-fitting base.
- Arrange stones so gaps are minimized. A tighter fit reduces adhesive needs.
- Apply adhesive to the touching faces of the pebbles only. Avoid gluing them to the plastic.
- Allow this first layer to set according to the glue manufacturer’s directions.
Build up the sides
- Stack subsequent rows of pebbles around the perimeter, offsetting joints for strength.
- Glue each stone in place and give it time to cure before adding more weight.
- Work slowly; patience prevents collapses and messy repairs.
Remove the mold and refine the bowl
- When the adhesive is fully cured, gently peel away the plastic and lift out the pebble shell.
- Sand any sharp edges or excess glue spots to smooth the finish.
- If you painted pebbles, touch up any missed areas and let paint dry completely.
Sealing, safety tips, and maintenance for long-lasting use
Protect your new organizer and ensure it’s safe for its intended contents. Humidity, spills, and frequent handling can break down adhesives over time, so finishing steps matter.
- Choose the right sealer: Use a clear, durable sealer made for stone if the bowl will sit in a kitchen or bathroom. For fruit or food contact, buy a certified food-grade sealer.
- Adhesive cautions: Epoxy and construction glue offer the strongest bonds. Super Glue works for lightweight, decorative uses.
- Allow ample cure time—overnight or longer—before filling the bowl.
- Clean the bowl with a damp cloth. Avoid soaking if adhesive isn’t fully waterproof.
- If you used painted stones, check that paint is non-toxic and safe for your use case.
Design ideas and practical placement tips
Play with pebble colors and bowl shapes to match your decor. Contrasting stones create a modern look. Monochrome pebbles offer a minimalist vibe. Place the bowl near entryways, on coffee tables, or by the stove to catch recipe cards and small tools.
Quick styling ideas:
- Line the bottom with felt for delicate surfaces.
- Mix a few polished stones with matte pebbles for texture contrast.
- Use waxed paper inside when holding fruit to avoid direct contact with glue or sealant.










