
Show summary Hide summary
- Essential supplies, approximate costs, and material choices for a DIY PVC shelf
- Plan your shelf layout and create a cutting list
- How to cut PVC cleanly and quick
- Dry fit, glue options, and step-by-step assembly
- Paint, prep, and finishing techniques for a polished look
- Practical uses, variations, and small upgrades
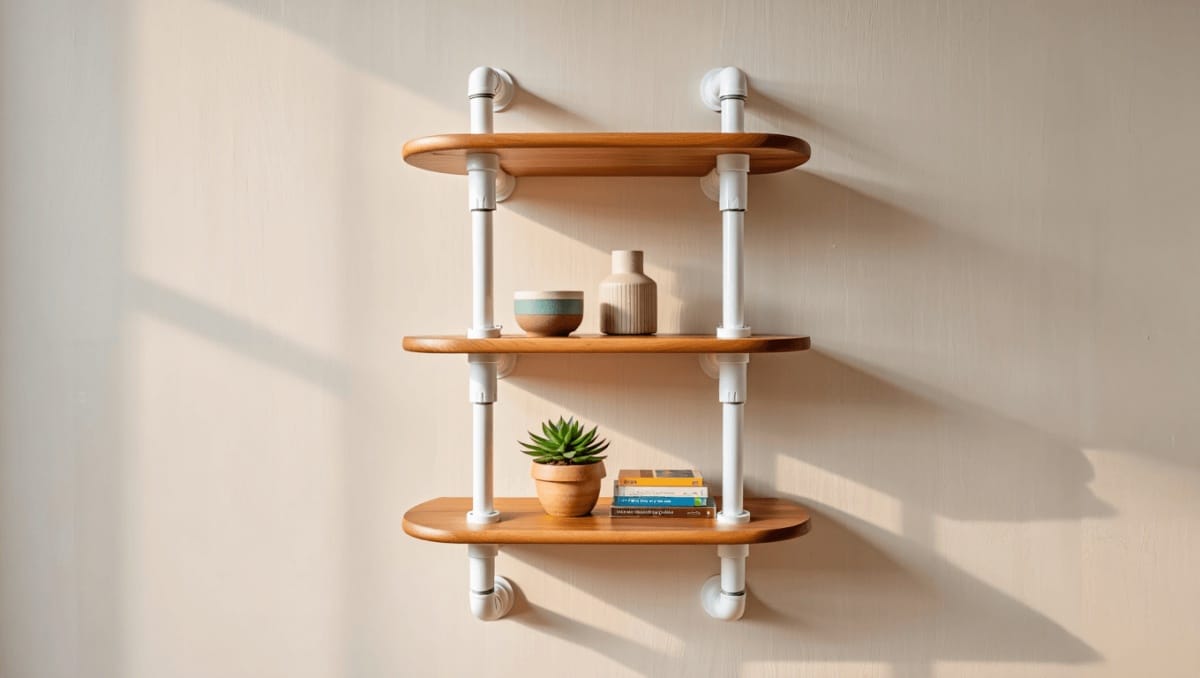
A smart storage solution doesn’t need to break the bank. With a few lengths of PVC pipe, some tees, and ready-made boards, you can craft a sturdy, eye-catching shelving unit in a single afternoon. This project is low-cost, beginner-friendly, and flexible enough to fit a bathroom, basement, or a living room corner.
Essential supplies, approximate costs, and material choices for a DIY PVC shelf
- PVC pipe — Standard Schedule 40 works well and is affordable. Expect roughly $0.40 per foot for half-inch plumbing pipe.
- PVC tees — These join sections of pipe. Plan on about $0.70–$1.00 each, depending on size.
- Shelf boards — Pre-cut melamine boards or plywood sheets. Custom-cut melamine runs about $7 per board online.
- PVC cement (optional) — Clear PVC glue if you want a permanent join. Small cans cost under $10.
- Cutting tool — A hacksaw works, but a Bates-style PVC cutter yields cleaner ends.
- Finishing supplies — Spray paint for plastic (e.g., Krylon Fusion For Plastic), 220-grit sandpaper, and acetone for surface prep.
- Small extras — PVC caps for feet, 1″ wood screws, and basic hand tools like a tape measure and marker.
Michaels holiday finds under $25: 20 new gifts that look like $50
Target wall-mounted find frees up countertop space: timeless style for small kitchens
Tip: You do not need “furniture-grade” PVC to get a durable rack. Schedule 40 plumbing pipe is less costly and performs well once painted.
Plan your shelf layout and create a cutting list
Decide the width, depth, and height first. Then break the design into repeated parts: vertical legs, shelf-length rails, short braces, and connector stubs.
- Measure the shelf board depth and width to determine pipe lengths for supports.
- Remember pipes usually come in 10-foot sticks. Lay out cuts to minimize waste.
- For a typical three-tier unit you might cut: four long legs, three full-width rails per tier, multiple short braces for each side, and a handful of short nipples for the tees.
- If you want a decorative top, use flexible electrical conduit for a curved arch. It bends more easily than plumbing PVC.
Planning ahead reduces scrap and keeps costs low. Mark every cut twice: once for position and once to confirm length.
How to cut PVC cleanly and quick
Accurate, burr-free cuts make assembly painless. Choose the tool that matches your budget and patience.
- If using a hacksaw, clamp the pipe and cut slowly to avoid angled ends. Sand the cut faces to remove burrs.
- For fast, clean work, use a ratcheting PVC cutter. It slices straight and leaves smooth edges.
- Always measure twice and cut once. Label each piece as you go so assembly is quicker.
After cutting, run 220-grit sandpaper around each end. This helps pipes slide into tees without sticking.
Dry fit, glue options, and step-by-step assembly
Dry assembly first
- Start by placing all pipes into the tees without glue. This confirms fit and alignment.
- Push each pipe fully into its fitting until it seats. A full insertion ensures stability.
- Always dry-fit before using any cement. Once glued, changes are difficult.
When to use PVC cement
- Glue only if you want a permanent structure. Clear PVC cement bonds quickly.
- Apply cement to the outside of the pipe and inside the fitting. Insert and hold for a few seconds.
- Work in small sections to avoid mistakes. Clean excess cement immediately.
Shelf attachment tips
- Place the boards on the frame and align them squarely.
- Pre-drill holes in the boards, not the pipes. Drive 1″ wood screws through the shelf into the PVC.
- The screws will bite into the plastic and hold the boards in place.
- Add PVC caps on the bottom of each leg to protect floors and help the unit slide.
Paint, prep, and finishing techniques for a polished look
Paint transforms the industrial look of plumbing pipe into custom furniture. Preparation is the key to a lasting finish.
- Lightly sand pipes with 220-grit to scuff the surface.
- Wipe dust away with a cloth dampened in acetone. Allow to dry.
- Use a spray paint formulated for plastic. Apply thin coats in a well-ventilated space.
- Optional: add wood trim, edge banding, or a coat of sealant to the shelves.
Safety note: Work outside or in a ventilated area when painting or handling acetone.
Practical uses, variations, and small upgrades
- Basement or laundry room storage for bins and supplies.
- Bathroom shelving for towels and toiletries — melamine resists moisture.
- Open living-room unit for books and plants. Paint to match décor.
- Add casters for a mobile storage cart, or screw the unit to a wall for extra security.
- Swap pipe sizes or tee counts to create wider or deeper shelves.
Small upgrades like rounded arches, wood trim, or contrasting paint create a custom look with little extra cost.










