
Show summary Hide summary
- Why faucets jam: what locks a faucet in place
- Tools to try first: preserve the faucet while you work
- Household remedies that often help loosen a stuck faucet
- When to accept damage: controlled ways to remove the faucet
- Techniques for common problem parts: clips, brackets and plastic nuts
- Checklist: quick plan before you start
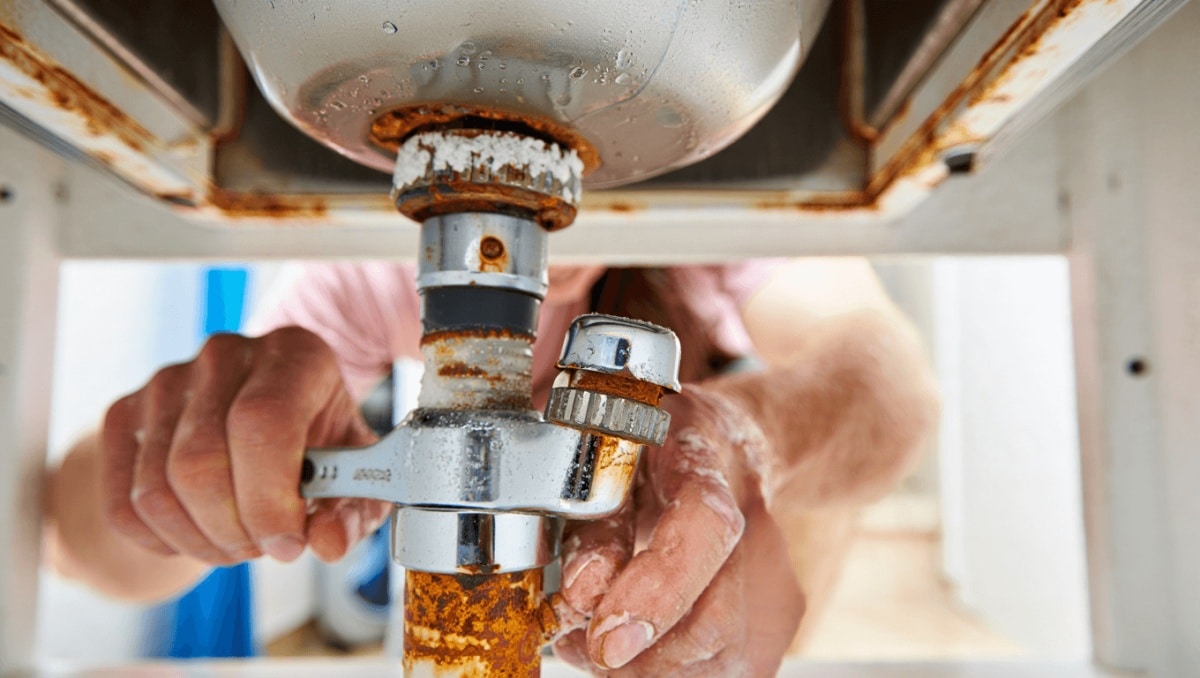
Underneath a sink, elbows tucked into cramped space, a single stubborn locknut can turn a simple faucet swap into a test of patience. Rust, mineral buildup and electrical corrosion can fuse metals together. The choice becomes whether to coax the old fixture loose or to accept a little destruction to get the job done. Below are practical, safe strategies that balance preservation and decisive removal.
Why faucets jam: what locks a faucet in place
Faucets seize for several predictable reasons. Hard water leaves mineral crust where threads meet. Oxygen and moisture produce rust. Electrochemical reactions worsen the bond when dissimilar metals touch. Leaks accelerate all of these processes by bathing the joint in water and minerals.
Michaels holiday finds under $25: 20 new gifts that look like $50
Target wall-mounted find frees up countertop space: timeless style for small kitchens
- Mineral deposits build up around threads and nuts.
- Rust welds steel parts together over time.
- Galvanic corrosion can fuse dissimilar metals, especially where water is present.
- Plastic clips and brackets can also crumble or lock in place.
Tools to try first: preserve the faucet while you work
Start with low-impact tools and tactics when you want to keep the fixture intact. Proper tools give leverage in tight spots and reduce the chance of accidental damage.
Essential equipment
- Basin wrench with a long handle or T-bar for leverage.
- Faucet removal wrench designed for single-handle bases.
- Wire brush to clear loose corrosion.
- Penetrating oil such as Liquid Wrench or CRC.
- Vinegar in a sealed bag for mineral deposits.
- Rubber gloves, safety glasses, and a flashlight.
Step-by-step gentle approach
- Clear visible scale and rust with a wire brush.
- Position the basin wrench or the faucet-specific tool carefully.
- Try tightening the nut slightly, then loosen. Small motion can free threads.
- Apply penetrating oil and wait the manufacturer’s recommended time.
- Tap lightly with a hammer to help the oil work into threads.
Work intentionally. Light, repeated attempts reduce the risk of snapping fittings or cracking porcelain sinks.
Household remedies that often help loosen a stuck faucet
When threads look encrusted with lime or hard-water buildup, chemistry can be kinder than brute force.
- Soak the area with white vinegar to dissolve mineral crust. Seal the area with a plastic bag if possible.
- Use a commercial descaler for heavy mineral buildup.
- Apply penetrating spray to the joint and allow several hours for penetration.
- Warm the metal with a hair dryer or heat gun to expand the threads slightly. Do not overheat plumbing or nearby finishes.
Patience matters. Many stuck nuts let go after repeated soak-and-wrench cycles.
When to accept damage: controlled ways to remove the faucet
After multiple attempts, you may decide the fixture can be sacrificed. The key is to remove the part safely without injuring yourself or damaging surrounding plumbing or cabinetry.
Tools and methods for destructive removal
- Nut splitter for nonstandard or smaller retaining nuts. It cracks the nut without excessive vibration.
- Oscillating multitool with a metal blade cuts through stubborn nuts cleanly.
- Hacksaw can work but is slow and awkward under a sink.
- Reciprocating saw is fast but risky in tight spaces—use with extreme care.
- Propane torch offers heat to expand metal. Only use if you can protect nearby plastic, finishes and plumbing.
Prioritize safety. Wear eye protection and gloves. Turn off water supply and remove hoses before cutting. Keep a fire extinguisher nearby when using heat.
Techniques for common problem parts: clips, brackets and plastic nuts
Not every stuck piece is metal. Plastic retaining clips and brackets behave differently and often come off with simpler moves.
- Retaining clips: Pry them off with a flat-head screwdriver. Wiggle gently to avoid breaking the sink surface.
- Plastic locknuts: These cut easier. An oscillating tool or even a sharp utility knife can remove them.
- Corroded metal brackets: Bend them out of the way or cut them if necessary.
Replace any damaged clip or bracket when installing the new faucet. New hardware is inexpensive and reduces future headaches.
Checklist: quick plan before you start
- Turn off cold and hot water at the shutoffs.
- Clear space under the sink and lay down a towel or bucket.
- Gather both preservation and demolition tools.
- Apply penetrating oil or vinegar and wait if you plan a gentle removal.
- Wear safety gear and keep a phone handy in case you need help.
Follow this plan, and you’ll avoid rushed decisions that cause broken parts or injuries. If the job becomes too complex, a plumber can remove a seized faucet quickly and with minimal damage.










