
Show summary Hide summary
- Easy DIY mantel garland with a pool noodle for spring
- What you’ll need to build your faux floral mantel decor
- Step-by-step: assemble your pool noodle mantel garland
- Styling ideas and seasonal variations to refresh your mantel
- Practical tips for a professional-looking mantel display
- Safety and durability considerations for home use
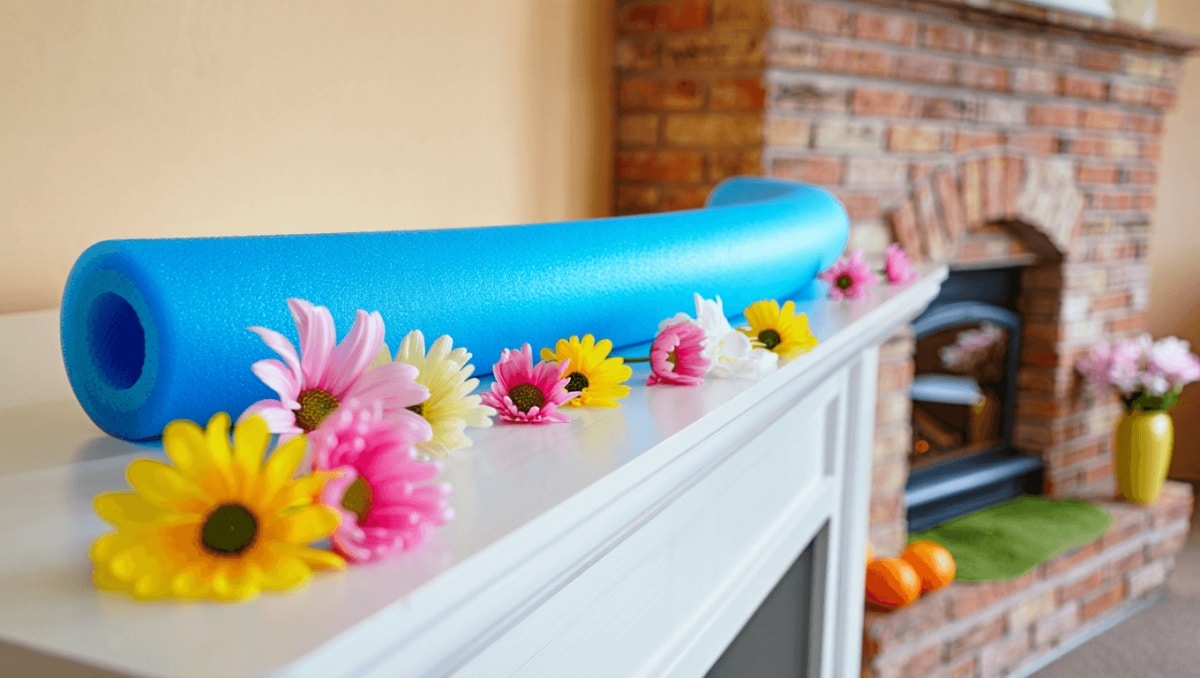
Refresh your fireplace without breaking the bank: a lightweight pool noodle and a handful of faux blooms can turn a plain mantel into a cheerful spring focal point. This simple craft borrows a floral-foam idea and makes it faster, cheaper, and reusable. Read on for the supplies, step-by-step assembly, and creative ways to style a DIY mantel garland that’s perfect for seasonal swaps and quick home updates.
Easy DIY mantel garland with a pool noodle for spring
Using a foam pool noodle as a base lets you insert wired faux stems just like floral foam. The noodle is flexible, affordable, and easy to hide under greenery. This method works on nearly any mantel and adapts to any color palette. It’s ideal for renters and anyone who wants a temporary, damage-free decor option.
Michaels holiday finds under $25: 20 new gifts that look like $50
Target wall-mounted find frees up countertop space: timeless style for small kitchens
What you’ll need to build your faux floral mantel decor
- 1 foam pool noodle in your preferred color
- Assorted faux flowers and greenery (roses, peonies, eucalyptus)
- Wire cutters or strong scissors
- Removable hooks or adhesive hangers (if your mantel lacks a front lip)
- Twine, ribbon, or lace for finishing touches (optional)
- Hot glue or floral tape for extra hold (optional)
Tip: Choose wired stems so you can bend and secure them easily. Pick a noodle color that either blends with the flowers or complements your mantel.
Step-by-step: assemble your pool noodle mantel garland
Prepare the base
- Trim the noodle to the mantel length with scissors or a box cutter.
- If your mantel has a thin front lip, cut a slit along one side of the noodle.
- Slide the noodle onto the lip so it sits flush and steady.
Mounting when there’s no lip
- Attach removable hooks to the mantel top, following package instructions.
- Position hooks so they face outward, then press the noodle onto the hooks.
- Use two or more hooks for longer mantels to avoid sagging.
Add flowers and greenery
- Trim flower stems to the length you need.
- Push wired ends directly into the foam, spacing blooms evenly.
- Layer greenery between flowers for depth and a natural look.
- Secure loose stems with floral tape or a dot of hot glue, if necessary.
Styling ideas and seasonal variations to refresh your mantel
- Spring: soft pastels, peonies, and baby’s breath for a fresh bloom look.
- Summer: bright gerberas, tropical leaves, and colorful ribbon accents.
- Autumn: warm-toned faux chrysanthemums, berries, and mini pumpkins.
- Winter/holiday: evergreen sprigs, pine cones, and string lights.
You can also wrap the noodle ends in twine or lace for a handcrafted finish. Add ornaments, feathers, or small signage to match events or parties. Swapping stems takes minutes, so you can update the mantel with the seasons or special occasions.
Practical tips for a professional-looking mantel display
- Vary heights and textures to avoid a flat appearance.
- Keep the color palette limited to two or three tones for cohesion.
- Use lighter stems near the ends to create a tapered silhouette.
- Test placement before securing hooks to prevent marks on paint.
- Store the noodle and stems in labeled bins for easy reuse next year.
Safety and durability considerations for home use
Make sure any adhesives you use are safe for your mantel surface. Avoid placing the garland near open flames. If using lights, opt for battery-operated LED strands and secure the battery pack out of sight. With careful mounting and quality faux stems, this project lasts through many seasons.










