
Show summary Hide summary
Patio pavers that sink can turn a pleasant outdoor space into a tripping hazard. The good news is that most cases are repairable without replacing the entire patio. The trick is to find the root cause, rebuild a stable base, and re-seat the stones so they sit flush and stay that way.
Why your patio pavers are sinking and how to spot the signs
Pavers usually settle because the support beneath them has shifted or washed away. This can happen slowly or after heavy rain. Look for these common indicators:
Michaels holiday finds under $25: 20 new gifts that look like $50
Target wall-mounted find frees up countertop space: timeless style for small kitchens
- Individual pavers sitting lower than surrounding stones.
- Uneven joints or gaps that collect water.
- Cracked pavers from uneven pressure.
- Pooling water on the surface after storms.
Addressing the visible slump without fixing the cause is a temporary solution. If the base is failing, the problem will likely return.
Essential tools and materials for a lasting paver repair
Having the right gear speeds the job and improves results. Gather these items before you begin:
- Pry tool: a flat screwdriver, small pry bar, or masonry lifter.
- Shovel and hand trowel for digging and leveling.
- Rubber mallet and a plate tamper or hand tamper for compacting.
- Level or a straight 2×4 to check flatness.
- Gravel or crushed stone for the base layer.
- Concrete or polymeric sand for the bedding and joints.
- Replacement pavers, matching size and style when possible.
For best results, choose polymeric sand when you need strong, weed-resistant joints.
Step-by-step repair method to lift and stabilize sunken pavers
- Mark the affected zone. Include a margin around the sunk area to ensure a smooth transition.
- Lift pavers carefully. Pry up the stones one by one and set them on a clean surface.
- Excavate the failing base. Remove sand and gravel beneath the stones to reveal the underlying surface.
- Preserve the edge. Leave a small lip of the old base at the perimeter so you can match the finished level.
- Rebuild the base in layers. First add 1–2 inches of compactible gravel. Compact thoroughly.
- Add a bedding layer. Spread concrete sand or fine aggregate over the gravel and screed it level with a board.
- Reset the pavers. Place the stones back into the leveled bed. Tap them into position with a rubber mallet.
- Compact the surface. Use a tamper to bed the pavers firmly into the bedding sand.
- Fill joints and clean up. Brush polymeric sand into gaps, sweep away residue, and activate the sand if required.
How to check your work
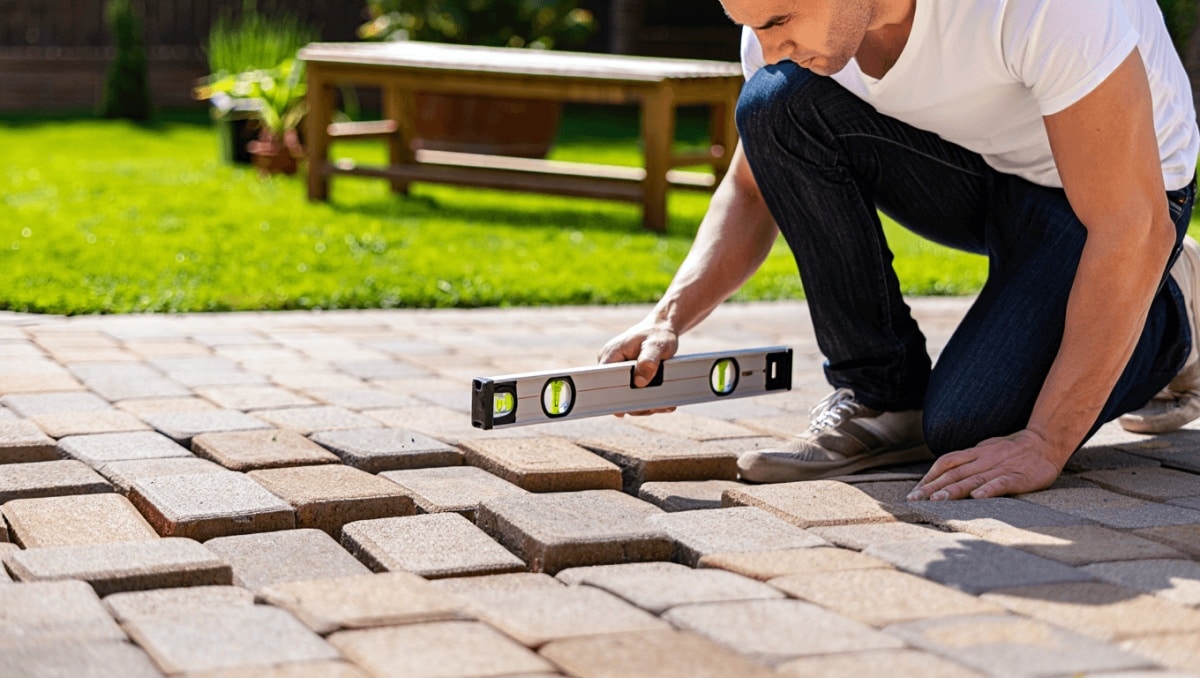
- Run a level or 2×4 across the repaired area to confirm flatness.
- Confirm joints are tight and sand is compacted between stones.
- Observe the area after the next rain to ensure no new washing or pooling appears.
Common mistakes to avoid when fixing pavers
- Skipping compaction. Loose base materials will settle and cause repeat sinking.
- Using the wrong sand. Play sand will shift; use bedding and joint sands designed for pavers.
- Ignoring drainage. Water will undermine any well-built base if it pools or flows across it.
- Replacing mismatched pavers. Try to match size and thickness to avoid uneven wear.
Compaction and proper material choice are more important than speed. Taking time upfront prevents repeated repairs.
Simple steps to prevent future sinking and protect your patio
- Improve surface drainage. Redirect downspouts and grade soil away from the patio.
- Seal or refill joints annually with polymeric sand.
- Inspect after storms. Catch early signs of erosion before they become larger problems.
- Allow for edge restraints. Proper edging prevents lateral movement of pavers.
Routine maintenance and addressing moisture issues keep a repaired patch from becoming a recurring headache.










