
Show summary Hide summary
- Why a thrifted picture frame is ideal for hidden storage
- Materials and tools you’ll need for this DIY thrift store flip
- Design choices: shallow shelf versus deep hideaway
- Step-by-step: build a box that fits your frame
- How to attach the frame and make a secure door
- Mounting options and safety tips for wall display
- Finishing touches to blend the cabinet with your room
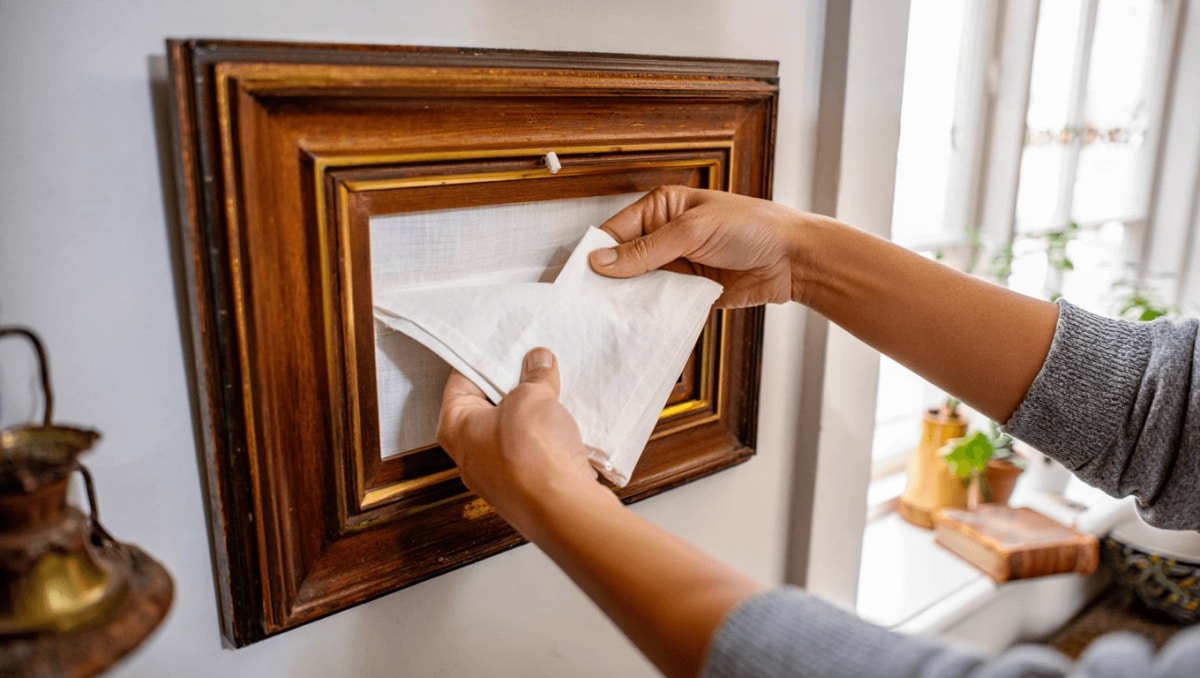
Scouting thrift stores for vintage frames can reward more than a good deal. With a few simple tools and a bit of planning, an ordinary picture frame can become a clever wall cabinet. The project is budget-friendly, quick, and hides essentials in plain sight — perfect for those who love DIY decor with a practical twist.
Why a thrifted picture frame is ideal for hidden storage
Frames are built to be lightweight and decorative. That makes them a natural choice for disguising a shallow storage cavity. You can match the frame size to a store-bought box or craft a custom compartment to fit your needs.
Michaels holiday finds under $25: 20 new gifts that look like $50
Target wall-mounted find frees up countertop space: timeless style for small kitchens
Hidden storage created from a frame keeps small items accessible yet out of view. Think remotes, medicine, routers, or chargers. Using a wooden frame simplifies drilling and hinge installation.
Materials and tools you’ll need for this DIY thrift store flip
- Thrifted picture frame (measure inside dimensions)
- Plywood or pine boards for the box
- Hinges (two small cabinet hinges)
- Strong flat magnets or magnetic catches
- Wood glue and finishing nails or a nail gun
- Sandpaper and wood filler
- Paint or stain to match your decor
- Drill with bits and a screwdriver
- Drywall anchors or screws for studs, if wall mounting
Design choices: shallow shelf versus deep hideaway
Decide what you want to conceal before cutting wood. The depth determines whether you add shelves.
- Shallow box (2–4 in.): ideal for remotes, small meds, keys.
- Deeper cavity (4–8 in. or more): hides routers, cable boxes, or larger items.
- Shelf-lined box: adds organization if you plan to store many small things.
Step-by-step: build a box that fits your frame
1. Measure and cut
Measure the frame opening width and height. Cut four pieces of wood to form the rectangle. Keep cuts straight for tight corners.
2. Assemble and reinforce
Apply wood glue at each joint and fasten with nails or a nail gun. For extra strength, add a thin back panel.
3. Fill and finish
Use wood filler to hide gaps. Sand all edges smooth. Then paint or stain the box to match the frame. Allow the finish to dry fully.
How to attach the frame and make a secure door
Turning the frame into a functioning door is the key to usability. Hinges keep the panel attached and prevent loss.
- Mark hinge positions on both the frame and the box. Align carefully.
- Pre-drill holes in the wood to prevent splitting.
- Screw in hinges and check that the frame opens and closes smoothly.
- Install magnetic catches or cabinet magnets to keep the door shut.
Mounting options and safety tips for wall display
How you hang the finished piece depends on its weight and contents. Choose a secure method.
- Light builds: picture frame wire and heavy-duty hooks can work.
- Heavy or loaded pieces: use drywall anchors or mount directly to a stud.
- If the box hides electronics, drill vents or leave a gap for airflow.
- Label the inside discreetly if you plan to store medicine or important items.
Finishing touches to blend the cabinet with your room
Small details make the flip look intentional. Match hardware finishes to room fixtures. Add decorative backing paper or fabric inside the cavity for a polished look.
Tip: Paint the frame and box the same color to make the door appear flush with the wall.










