
Show summary Hide summary
- Why a thrifted vase is a smart choice for a DIY soap dispenser
- What to look for while thrifting
- Tools and parts you’ll need for the project
- Step-by-step: make a vase into a working soap pump
- Safety and fit tips for a tidy result
- Creative finishes and where to place your new dispenser
- Gift ideas and refill strategies
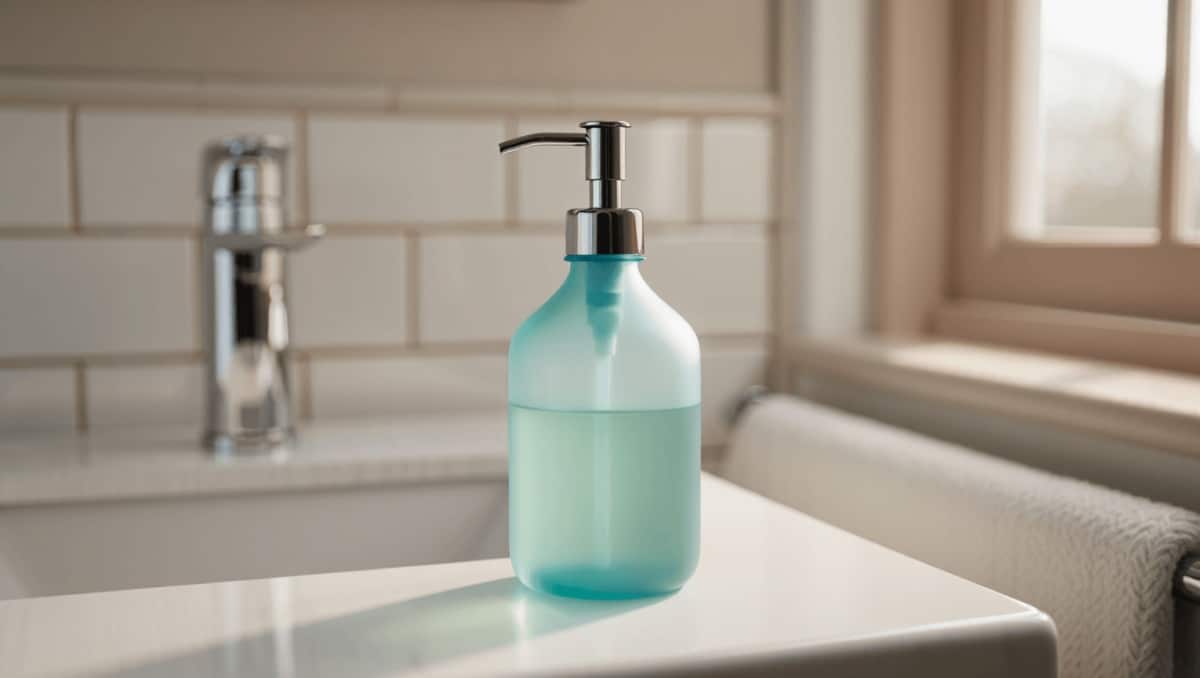
Give your sink a quick style upgrade without spending a fortune. A thrift-store vase and a few simple parts can replace clunky plastic soap bottles with a chic, personalized dispenser. It’s a small flip that makes a big visual difference.
Why a thrifted vase is a smart choice for a DIY soap dispenser
Vases are abundant at secondhand shops and flea markets. Many have the slim neck and sturdy base needed for a soap pump. That combination makes them ideal for a functional, attractive soap bottle.
Michaels holiday finds under $25: 20 new gifts that look like $50
Target wall-mounted find frees up countertop space: timeless style for small kitchens
- Unique looks: Vintage glass and patterns add charm.
- Eco-friendly: Reusing glass cuts plastic waste.
- Cost-effective: Thrifted pieces are often cheaper than specialty dispensers.
What to look for while thrifting
Not every vase will work. Take a moment to inspect each find before buying.
- Choose a narrow neck and small opening.
- Check height so the pump straw can reach the bottom.
- Avoid hairline cracks or chips near the rim.
- Prefer non-porous glass or glazed ceramics for easy cleaning.
Tools and parts you’ll need for the project
Gather these supplies before you start. Most are inexpensive and easy to source.
- Soap dispenser pump heads (available in sets or single units)
- Corks, rubber stoppers, or silicone grommets that fit your vase opening
- A drill and a ½-inch drill bit for making the pump hole in the cork
- Scissors or snips to trim the pump straw to length
- Liquid hand soap or concentrated refill
Step-by-step: make a vase into a working soap pump
- Clean the vase thoroughly. Remove labels and residues, then rinse and dry.
- Select a cork or stopper that fits snugly into the vase neck.
- Using a drill and a ½-inch bit, bore a hole through the center of the cork. Go slow to avoid splitting.
- Push the soap pump shaft through the drilled cork. Test-fit into the vase.
- Trim the pump straw so it reaches the bottom but leaves room for movement.
- Fill the vase with soap and press the assembled pump into place.
- Prime the pump until soap dispenses smoothly.
Tip: Reuse a pump from an old bottle for a greener option.
Safety and fit tips for a tidy result
- Clamp the cork while drilling to prevent slips.
- Wear eye protection when drilling or cutting the straw.
- If the cork is too loose, add a thin layer of food-grade silicone or hot glue to seal gaps.
- Measure twice: a too-short straw will leave soap unreachable.
Creative finishes and where to place your new dispenser
This simple project is also a small design statement. Consider these styling moves.
- Match pump finish to fixtures: brass, chrome, or matte black work well.
- Pair two similar vases for kitchen dish soap and hand soap.
- Add a paper tag or tiny label for a vintage apothecary look.
- Use scented soap for an added sensory upgrade.
Gift ideas and refill strategies
A repurposed vase makes a thoughtful present. Pair the dispenser with an eco refill pouch or a concentrated soap bottle. Explain the DIY steps on a card so the recipient knows how you made it.










