Show summary Hide summary
- Why a thrifted figurine makes a great lamp base
- What you’ll need to complete the upcycle
- Step-by-step: Turning a duck into a usable table lamp
- Choosing a shade and styling tips for vintage appeal
- Other accessories and finishing touches
- Ideas for other figurines and themes to try
- When to stop and when to research before you drill
Turning a thrift-store duck into a working lamp is a small project with big personality. It’s a smart way to add vintage charm, reuse a found object, and create a conversation piece for a bedside table or living room corner. With the right tools and a simple lamp kit, even a novice DIYer can craft a stable, attractive light that looks like it was always meant to be part of the room.
Why a thrifted figurine makes a great lamp base
Lowe’s flower-inspired find replaces your boring birdbath
Thrifted duck lamp: turn a thrift-store find into an adorable vintage lamp
Thrifted figurines offer character that mass-produced lamps rarely deliver. They come in unusual shapes and finishes. Often they have a story. Turning one into a lamp preserves that uniqueness while bringing function to form.
- They’re affordable. You can often find a ceramic or porcelain duck for a few dollars.
- They’re decorative. The sculptural quality adds instant visual interest.
- They’re versatile. Many figurines pair well with varied shades and bulbs.
Look for hollow ceramic or porcelain pieces. Solid wood works, too, but hollow bases simplify wiring and drilling. Avoid fragile, extremely thin pieces that may crack under pressure.
What you’ll need to complete the upcycle
Gathering the right supplies before you start saves time and limits mistakes. Most items are inexpensive and easy to find online or at a hardware store.
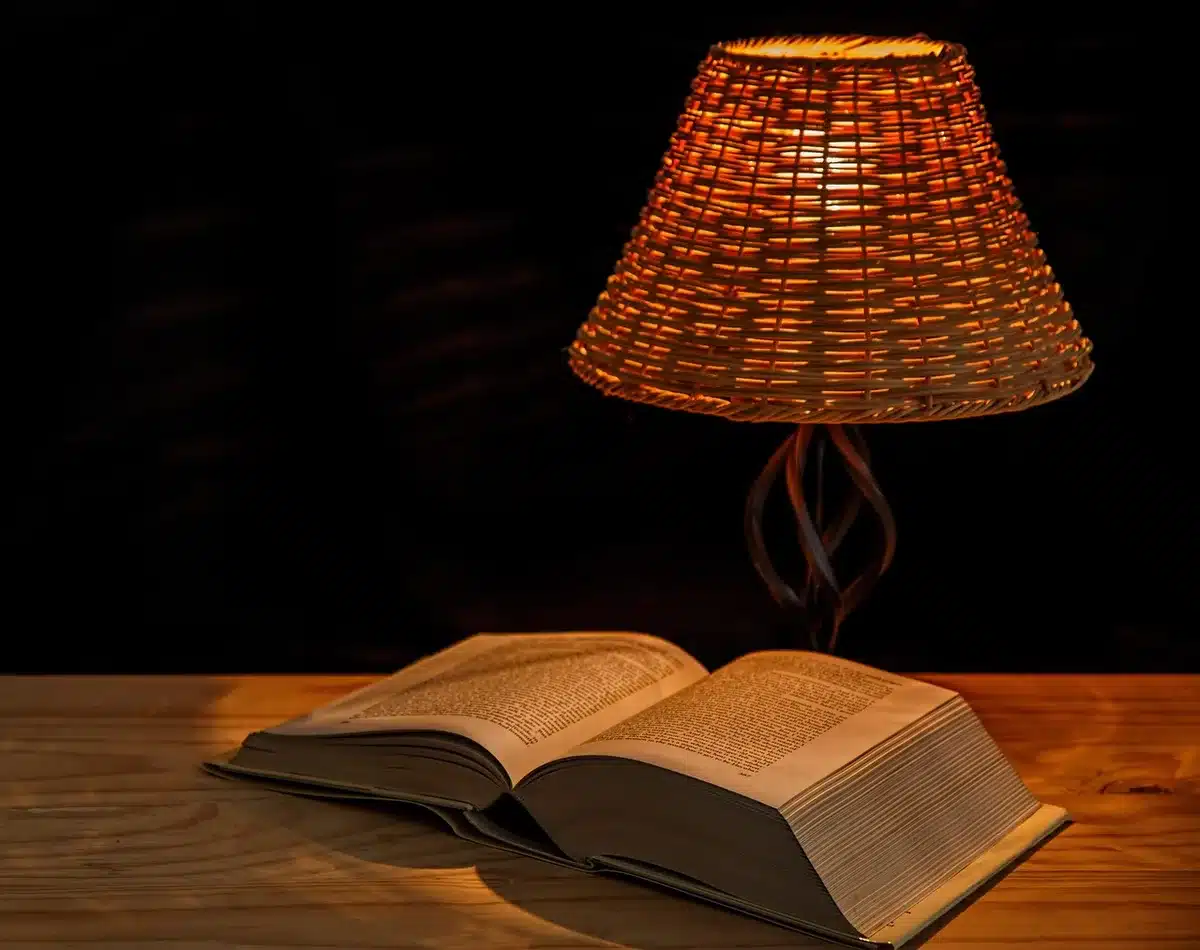
- Lamp kit (socket, cord, harp, finial). Kits in antique brass help the lamp read vintage.
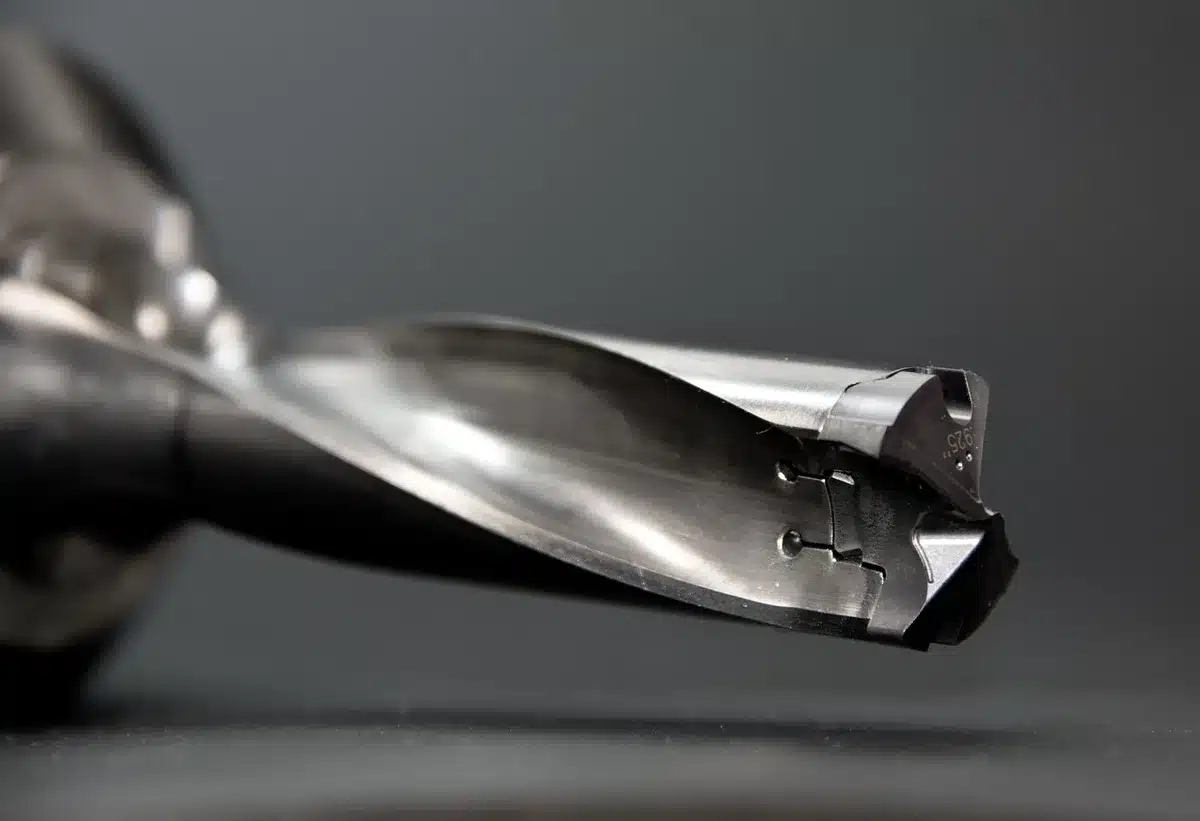
- Diamond drill bit sized to your kit’s pipe.
- Dremel or drill with variable speed.
- Painter’s tape to reduce chipping.
- Small bowl of water to cool the drill bit while cutting.
- Wooden base and construction adhesive, if the figurine needs stability.
- Protective gear: safety glasses and gloves.
Many lamp kits cost under $15 and come with the hardware needed to finish the job. Choose one that includes a three-way socket or extra-long cord if you want versatility.
Step-by-step: Turning a duck into a usable table lamp
Follow these steps for a neat, reliable finish. Work slowly and keep the drill bit cool to avoid cracking the glaze.
- Clean the figurine. Remove dust and labels using a soft cloth and mild cleaner.
- Plan hole placement. Mark where the pipe will exit and where the cord will run.
- Stabilize the piece. Place it on a towel or non-slip pad to prevent slipping.
- Apply painter’s tape in an X over the drilling spot. This helps prevent chips.
- Start drilling slowly at an angle until the ceramic gives. Then straighten up and continue.
- Keep the area wet. Spray or drip water to cool the diamond bit and reduce dust.
- Test fit the lamp pipe. Enlarge the hole gradually until the part passes through neatly.
- Thread the cord and assemble the lamp kit per the manufacturer’s instructions.
- Secure with washers and nuts. Use the kit’s hardware to anchor the harp and socket.
- Add a shade and test the light before final placement.
Practical drilling tips
- Drill at low speed. High RPMs raise heat and cause cracks.
- Use a diamond or carbide bit for glazed surfaces.
- If drilling the bottom for a cord, support the piece with a block to avoid blowout.
- Take breaks to let the bit cool and to clear slurry from the hole.
Patience is the best tool here. Rushing increases the risk of chips and breakage.
Choosing a shade and styling tips for vintage appeal
The shade finishes the look. Pick materials and colors that complement the figurine.
- Woven shades and natural fibers accent mid-century and rustic pieces.
- Plaid, gingham, or muted earth tones suit 1950s mallard styles.
- Solid pastels or bright hues work with glossy white or modern figurines.
- Consider the light output you want: opaque shades give soft ambiance, while translucent shades offer more task light.
For a cohesive effect, match the harp and finial to the hardware color on your lamp kit. A coordinated finish makes a DIY lamp look like a store-bought treasure.
Other accessories and finishing touches
- Add a wooden or brass base if the figurine tips easily.
- Paint the internal pipe or washers to blend with the base.
- Use felt pads under the base to protect surfaces.
- Choose LED bulbs for cooler operation and longer life.
Ideas for other figurines and themes to try
Once you’ve completed one lamp, the possibilities expand. Figurines, vases, urns, and even old pottery can become attractive lamp bases.
- Staffordshire-style dogs for a traditional look.
- Glossy animal figurines for playful bedside lighting.
- Tall vases or urns for sleek living room lamps.
- Stacked small finds glued to a wood base for eclectic designs.
The DIY process is similar no matter the object. Drill, wire, secure, and shade. Small adjustments make each piece unique.
When to stop and when to research before you drill
Not every thrifted find should be converted. Some pieces are valuable or collectible. Before you modify an item, look for markings.
- Check the underside for maker’s marks, signatures, or labels.
- Research unfamiliar marks online to gauge value.
- Skip any clearly antique or museum-quality object.
If a piece might be collectible, don’t alter it. A quick lookup can prevent a costly mistake.