
Show summary Hide summary
- Why thrifted handkerchiefs work so well for home decor
- Shopping and prepping: where to buy and how to clean
- Supplies you’ll need for a DIY handkerchief bowl
- How to make a handkerchief bowl: simple step-by-step
- Creative uses and styling ideas for your finished piece
- Extra tips for long-lasting results
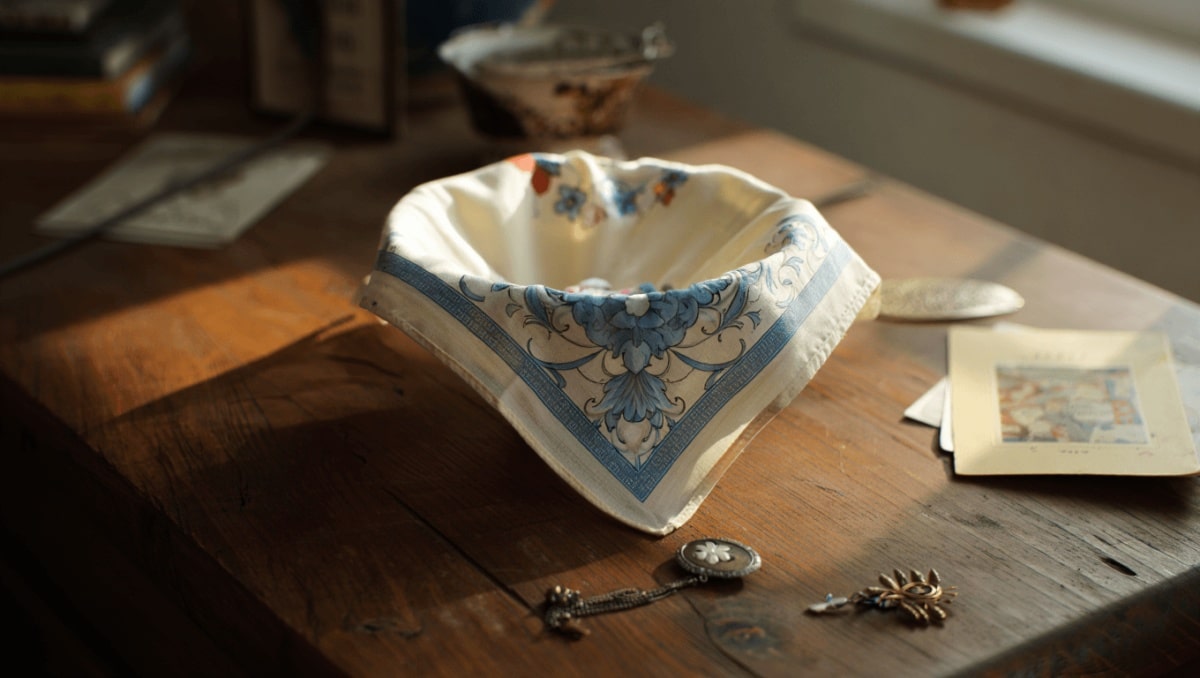
Vintage handkerchiefs are quietly making a comeback—not in pockets, but on tabletops. Thrift shoppers and DIY fans are turning these delicate squares into charming bowls. The result is a small, personal decor piece that blends nostalgia with function. If you like thrifty projects and vintage style, this easy craft may be exactly the upcycle you didn’t know you needed.
Why thrifted handkerchiefs work so well for home decor
Handkerchiefs offer a mix of soft texture and decorative print. Many feature floral designs, embroidered edges, or bold midcentury patterns. Those qualities translate beautifully into a small, sculptural bowl. Repurposing them also taps into sustainable decorating trends. Instead of throwing old linens away, you transform them into something visible and useful.
Michaels holiday finds under $25: 20 new gifts that look like $50
Target wall-mounted find frees up countertop space: timeless style for small kitchens
What makes a good handkerchief candidate
- Light- to medium-weight cotton or linen fabrics hold shape best.
- Simple stains can sometimes be removed; large holes are harder to salvage.
- Vintage prints and embroidered borders add instant character.
- Heirloom pieces bring a sentimental touch to the finished piece.
Shopping and prepping: where to buy and how to clean
Look for handkerchiefs at local thrift stores, estate sales, or online vintage shops. Scan for colorfast dyes and avoid heavy staining. When you bring a find home, give it a gentle wash.
- Always wash vintage linens before starting any craft. This removes dust and residual odors.
- Use a mild detergent and cold water for delicate fabrics.
- Air-dry flat to preserve shape and embroidery.
Supplies you’ll need for a DIY handkerchief bowl
- One vintage handkerchief
- Fabric stiffener (commercial or homemade)
- Two bowls: one large to act as a mold, one disposable for mixing
- Plastic wrap to protect the mold
- Latex or nitrile gloves to keep hands clean
- Tongs or a spatula, if you prefer not to use hands
Fabric stiffener is the key ingredient. It turns soft cloth into a lightweight container.
How to make a handkerchief bowl: simple step-by-step
- Cover your work surface. Use a waterproof sheet or old towel.
- Flip the large bowl upside down and wrap the base in plastic wrap.
- Pour a few tablespoons of fabric stiffener into the disposable bowl.
- Place the handkerchief in the stiffener and fully saturate it.
- Gently squeeze out excess liquid so the fabric isn’t dripping.
- Drape the soaked handkerchief over the wrapped mold. Smooth it or leave soft folds.
- Let the piece dry completely. Drying time varies by product and humidity.
- Once dry, peel the hardened cloth from the mold. The bowl will keep its shape.
Tip: For a firmer rim, apply a second coat of stiffener after the first layer dries.
Creative uses and styling ideas for your finished piece
- Entryway catchall for keys and sunglasses.
- Decorative jewelry dish on a dresser.
- Lightweight holder for remotes or coasters on a coffee table.
- Seasonal decor filled with potpourri or faux florals.
Remember, these bowls are decorative and light-duty. They won’t replace a ceramic bowl for heavy items.
Extra tips for long-lasting results
- Test fabric dyes for colorfastness before applying stiffener.
- Avoid prolonged exposure to direct sunlight to prevent fading.
- If you want a glossy finish, look for stiffeners that dry with sheen.
- Make multiple bowls from different handkerchiefs for a coordinated vignette.










