
Show summary Hide summary
- Why a deep, well-compacted base beats plastic weed barriers
- Pick the right joint material to lock out seeds and soil
- Installation tips that cut long-term weed headaches
- Maintenance habits that prevent weeds after installation
- Practical solutions for stubborn or existing weeds
- Water management and edge details that reduce regrowth
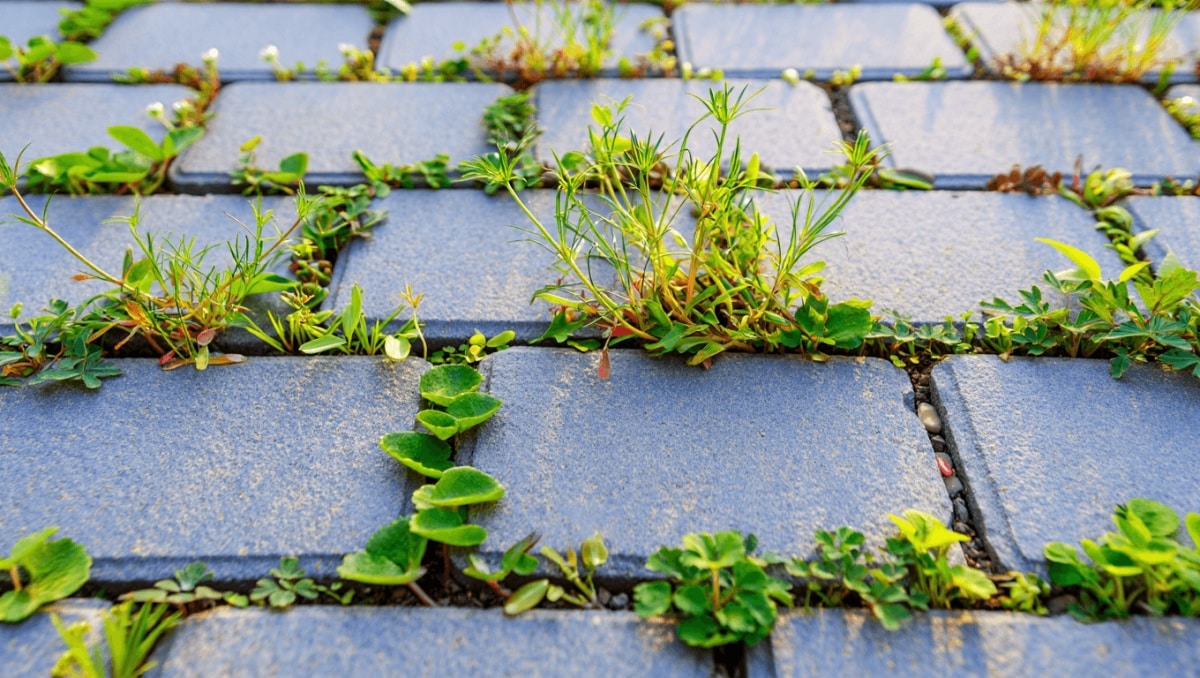
Pavers give patios and walkways a timeless look, but the tiny cracks between them are a favorite spot for persistent weeds. You can reclaim those joints without turning to plastic weed barriers. The trick is in how you build and care for the paving — solid layers below and smart joint filling above keep most weeds from ever taking root.
Why a deep, well-compacted base beats plastic weed barriers
Weeds sprout when soil, moisture, and sunlight meet. A properly built base denies them two of those ingredients. Start with a firm, well-draining foundation of crushed stone and sand.
Michaels holiday finds under $25: 20 new gifts that look like $50
Target wall-mounted find frees up countertop space: timeless style for small kitchens
- Depth matters: Aim for 4 to 6 inches of base material under pavers for patios and walkways.
- Begin with coarse crushed stone or clear stone. Compact it in layers to remove voids.
- Add a layer of coarse sand or small chip stone on top, about one inch, and compact again.
- Proper compaction prevents settling and reduces pockets where soil and seeds can collect.
A plastic landscape fabric or weed barrier under the base may sound useful. In practice it often traps water and interferes with drainage. That creates damp pockets that encourage growth. A thick, compacted base with good drainage is far more effective than plastic at stopping weeds.
Pick the right joint material to lock out seeds and soil
The material you use between pavers determines whether dust and seeds stay trapped or get washed away. Choose wisely and fill joints tightly.
Common sand types and how they perform
- Mason sand: Affordable and easy to work. It compacts well but can erode over time if not maintained.
- Polymeric sand: Contains binders that harden when moistened. It resists washout and blocks seed germination better.
Polymeric sand costs more, but it often holds up longer and reduces maintenance. Install it only on dry pavers and follow the manufacturer’s instructions for sweeping, compacting, and activating with water.
Installation tips that cut long-term weed headaches
- Sweep joint sand into cracks until they are completely filled.
- Use a plate compactor or tamp to settle pavers and pack the joints tightly.
- Avoid leaving loose soil or dusty debris on the surface after installation.
- If using polymeric sand, clear all excess from the paver faces before wetting.
Well-packed joints and firm compaction reduce movement and stop dirt accumulation. Less movement means fewer tiny crevices where seeds can lodge.
Maintenance habits that prevent weeds after installation
Even the best installation benefits from regular care. Small chores keep seeds, soil, and moisture from building up in joints.
- Sweep the surface regularly to remove dirt and organic debris.
- Rinse with a hose or use a low-pressure wash to clear dust from joints.
- Top up or reapply joint sand when gaps appear or after heavy rains.
- Reseal pavers every few years to reduce staining and make cleaning easier.
- Pull or remove any sprouts as soon as you spot them to prevent seed set.
Practical solutions for stubborn or existing weeds
If weeds already occupy your joints, remove them before repairing the base or refilling joints.
- Pull by hand, making sure to extract roots when possible.
- Use a stiff brush or a narrow tool to scrape roots and debris from cracks.
- Pressure wash on a low setting to clear out loose material, then allow joints to dry before refilling.
- Consider replacing worn joint sand with polymeric sand for longer protection.
Water management and edge details that reduce regrowth
Water control around a paved area matters. Standing or rerouted water brings sediment and seeds into joints.
- Grade the surrounding soil so runoff flows away from the pavers.
- Install edge restraints to keep pavers stable and prevent joint widening.
- Maintain gutters and downspouts so water does not pour onto paved surfaces.
Good drainage and solid edging keep joints tight and less hospitable to weeds.










