
Show summary Hide summary
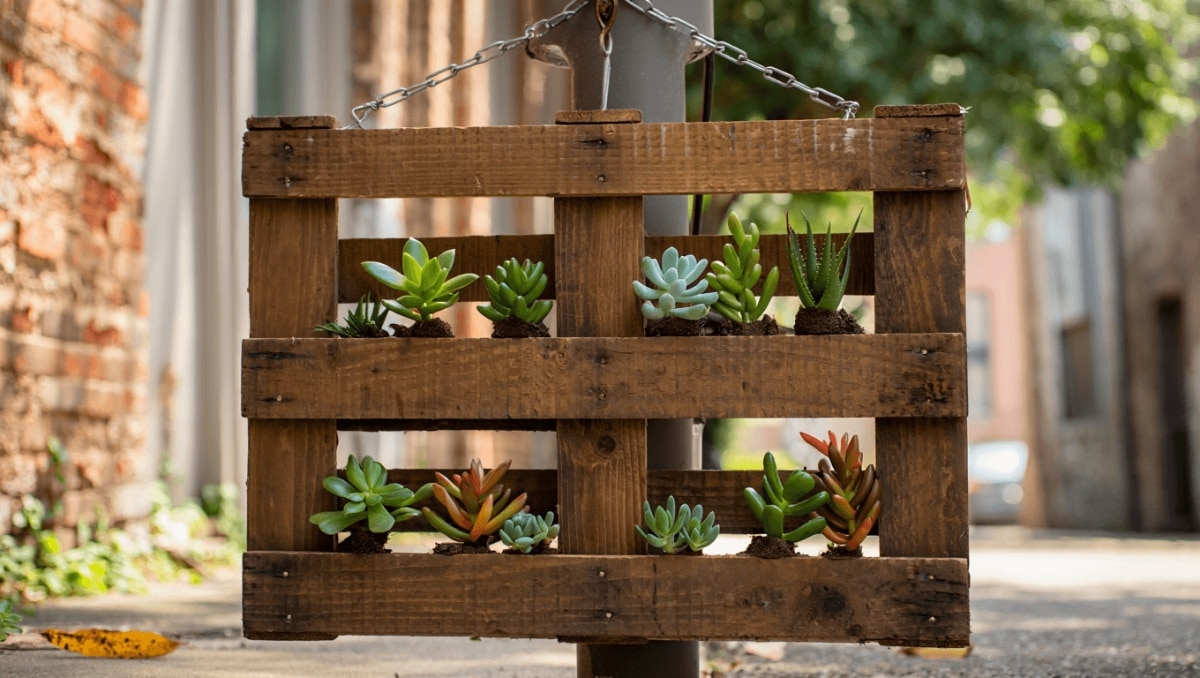
Turn a forgotten wooden pallet into a striking succulent display with minimal tools and big visual payoff. This easy DIY blends recycling, low-maintenance plants, and simple carpentry. Read on for practical tips, plant picks, and step-by-step instructions to build a durable pallet planter that fits a fence, balcony, or interior wall.
Why a wood pallet is ideal for a succulent planter
Wood pallets are strong, inexpensive, and available in many sizes. Their slatted design creates natural pockets for soil and roots. With a little preparation, a pallet becomes a long-lasting vertical planter.
Michaels holiday finds under $25: 20 new gifts that look like $50
Target wall-mounted find frees up countertop space: timeless style for small kitchens
- Size and structure: Common pallets are about 48 by 40 inches. That gives plenty of planting space.
- Health check: Look for the “HT” stamp. It means the pallet was heat-treated and not chemically treated.
- Drainage advantage: The gaps in the boards help excess water escape, which succulents prefer.
Essential materials and tools for a pallet succulent project
- Wood pallet (solid, heat-treated)
- Heavy-duty landscaping fabric or burlap
- Staple gun and exterior staples
- Galvanized nails or screws
- Well-draining potting mix or cactus mix
- Succulent cuttings or small plants
- Optional: sandpaper, wood sealer, outdoor paint
Step-by-step: Build a sturdy pallet planter
- Inspect the pallet for rot, nails, and that HT stamp. Discard treated or unsafe pallets.
- Sand rough edges and remove protruding nails.
- Decide orientation. Horizontal gives a low bed. Vertical saves floor space and looks dramatic.
- Staple landscaping fabric to the back and sides to create a soil pocket. Leave the top open for filling.
- Add a first layer of coarse gravel or broken pottery for extra drainage if desired.
- Fill with a light, well-draining succulent mix. Pack lightly to avoid compaction.
- Lay the pallet flat and press succulents into the soil. Use cuttings or small rosettes to fit between slats.
- Once planted, stand or hang the pallet. Water sparingly to help roots establish.
Quick safety and longevity tips
- Use galvanized fasteners to prevent rust.
- Consider a wood sealer if the pallet sits on the ground.
- If hanging, anchor to studs or use heavy-duty hardware.
Top succulent choices for pallet planters
Choose low-growing, hardy types that tolerate tight spacing and variable moisture.
- Hens and Chicks (Sempervivum) — Cold-hardy and compact.
- Sedum album (Coral Carpet) — Spreads to fill gaps.
- Sedum reflexum (Blue Spruce) — Trailing texture and color.
- Haworthia limifolia (Fairy’s Washboard) — Small rosettes for shaded spots.
- Sedum spurium and small Echeveria varieties also work well.
Care basics: light, water, and winter handling
- Light: Most succulents need bright light. Place the pallet where it gets several hours of sun.
- Watering: Water deeply but infrequently. Let the soil dry between waterings.
- Soil: Use a gritty, fast-draining mix. Avoid garden soil alone.
- Cold protection: Move the pallet to a sheltered spot or cover during hard freezes.
Display ideas and seasonal maintenance
A pallet planter is versatile. Lean it against a fence, affix it to a balcony railing, or hang it indoors as a living picture. Rotate exposure to even out growth. Refresh soil or replace plants every one to three years. Prune overgrown sections to keep the design tidy.










