Show summary Hide summary
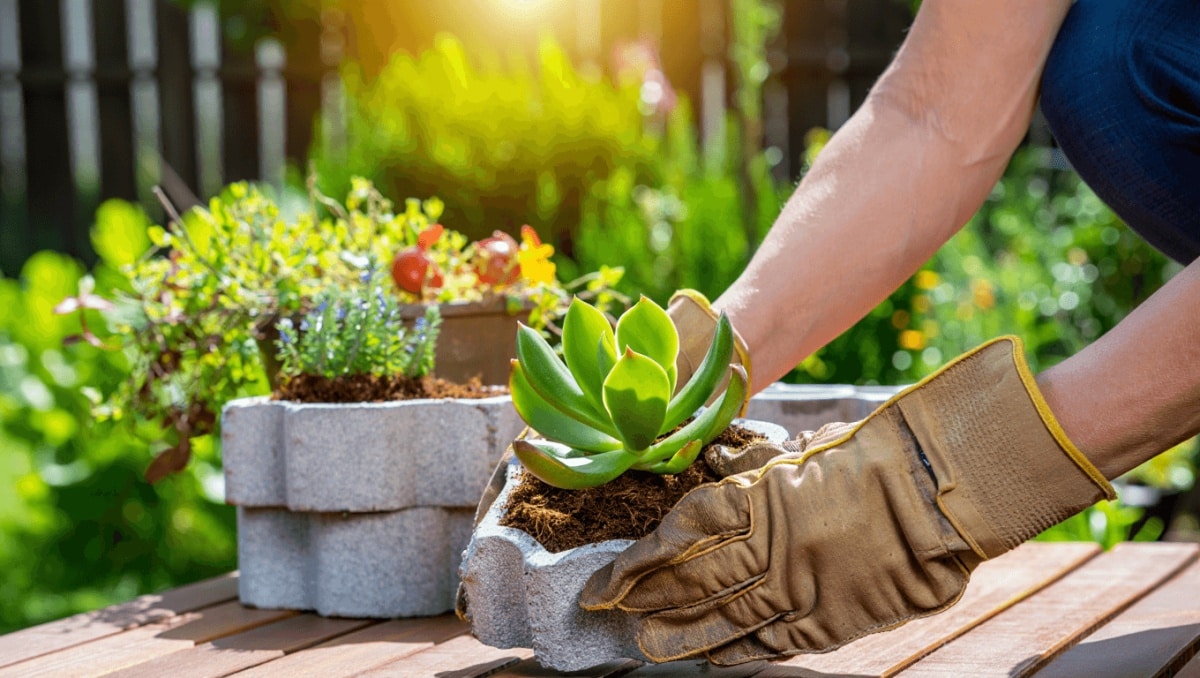
Too many backyard projects leave homeowners with heavy stacks of old concrete pavers and no clear way to dispose of them. Instead of hauling them to the dump, turn those blocks into attractive, sturdy planters that cost little and look custom-made. This guide walks through materials, assembly, painting, and planting so you can convert pavers into a modern cube planter with minimal effort.
Why turn concrete pavers into planters
Repurposing pavers saves money, reduces waste, and gives your garden unique, long-lasting containers. A single paver often weighs more than ten pounds. Moving them to a landfill can be costly and hard on the body.
Lowe’s flower-inspired find replaces your boring birdbath
Thrifted duck lamp: turn a thrift-store find into an adorable vintage lamp
- Eco-friendly: Keeps heavy material out of the trash stream.
- Budget-smart: Use what you already have or buy inexpensive patio stones.
- Durable: Concrete resists sun and rain and makes a substantial planter.
Materials and tools for a basic cube planter
Choose five matching pavers in the same thickness and size. A worn corner is fine, but avoid pieces with major cracks.
- Five concrete pavers of equal dimensions
- Landscape construction adhesive such as Liquid Nails or Loctite Exterior Construction Adhesive
- Clamps, scrap wood, or heavy sandbags to hold pieces while curing
- Exterior enamel-finish acrylic latex paint or a concrete colorant like QUIKRETE
- Paintbrushes, mortar (optional), and basic gardening soil
- Work gloves and a flat, level surface for assembly
If you lack reusable pavers, new square gray patio stones are affordable at most home centers.
How to assemble the cube planter step by step
- Clean each paver to remove dirt and dust. Fresh adhesive sticks better to a clean surface.
- Lay one paver flat as the base on a level surface.
- Apply a thick bead of construction adhesive to the side edge of the base.
- Press a second paver vertically against that bead to form a right angle.
- Repeat around the base so four vertical pavers form the box walls.
- Use clamps, wood braces, or sandbags to hold each joint tightly until the adhesive sets.
- Allow the adhesive to cure fully. Some products tack up in 15 minutes, but complete curing can take several days to a week.
Alignment and curing tips
- Work on a perfectly flat surface to keep the cube square.
- Check corners frequently during the tack-up period and make small adjustments.
- Leave supports in place for the full cure time to prevent shifting.
Painting and customizing your concrete planter
Painting is optional, but it instantly elevates the look. Concrete expands and contracts with temperature, so choose products made for masonry.
- Best paints: Enamel-finish acrylic latex or a purpose-made concrete colorant.
- Use a cheap brush for smooth coverage or a roller for a speckled concrete look.
- For a high-end finish, consider matte black, soft gray, or a color that complements your landscape.
- Want texture? Adhere thrifted china or tiles with construction adhesive, then cover seams with thin-set mortar.
Planting suggestions and placement ideas
These cube planters are deep and stable. They work well as focal points or grouped in clusters for a modern look.
- Spillers like creeping Jenny add movement over the edge.
- Succulent mixes create a low-maintenance display.
- Herbs or small annuals are great near a kitchen door.
- Use well-draining potting mix and place a thin gravel layer in the bottom if drainage is a concern.
Maintenance and longevity tips
- Check for hairline cracks each season and reapply paint or sealer as needed.
- If frost is common, move planters to a sheltered spot or elevate them slightly to avoid freeze-thaw damage.
- Clean with a mild detergent and rinse; avoid harsh acids that can erode colorants.