Show summary Hide summary
- Why choose a chandelier for a bird feeder
- What to gather before you start (materials and tools)
- Step-by-step: Convert the fixture into a working bird feeder
- Best spots to hang the feeder and how to fill it
- Maintenance tips to keep birds safe and coming back
- Creative touches and safety considerations
An old chandelier can have a second life far from your ceiling. With a few tools and a bit of imagination, that ornate fixture can become a standout DIY bird feeder that brings color and activity to your garden. This project is simple, sustainable, and eye-catching — perfect for thrifters and makers who love to reuse found objects.
Why choose a chandelier for a bird feeder
DIY chandelier bird feeder: turn an old chandelier into a charming feeder birds will love
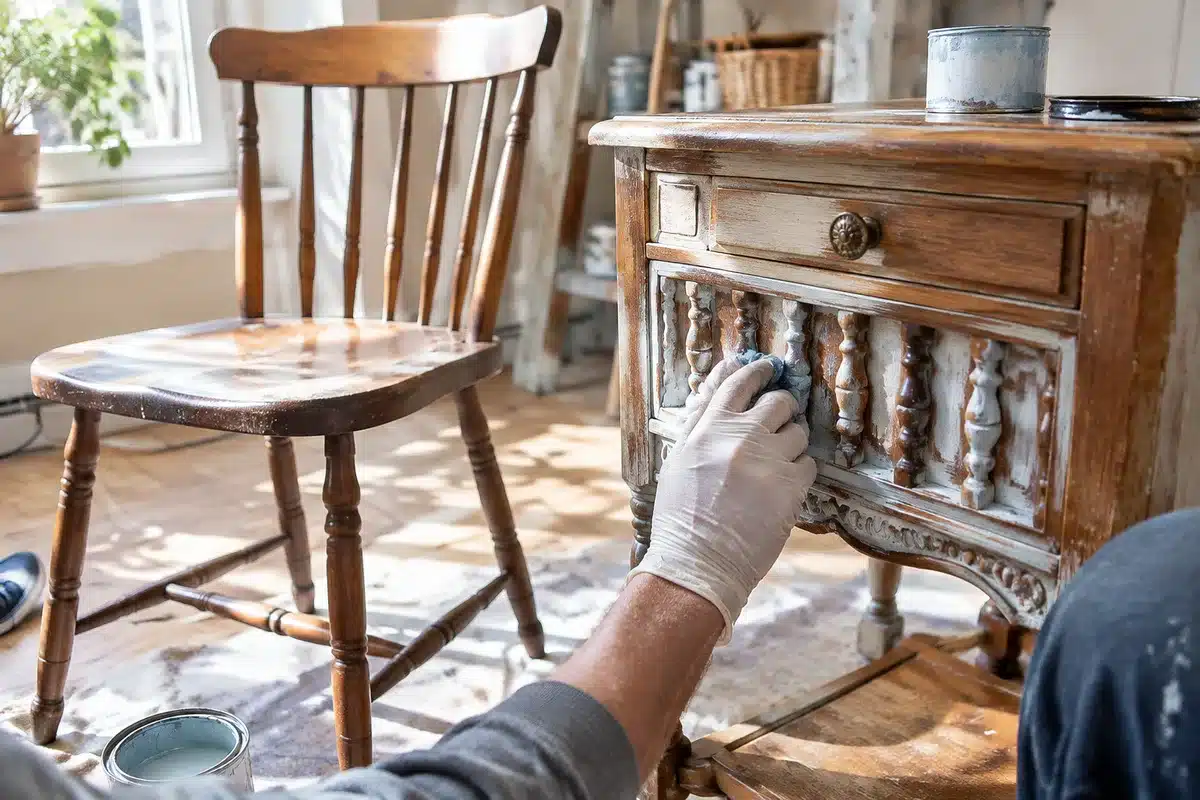
Thrifted furniture paint hack: use socks, skip the brushes
Chandeliers already come built with multiple arms and small platforms. That makes them ideal as a multi-station feeder. Instead of lightbulbs, you provide seed cups. The result is a functional piece of yard art that attracts songbirds and adds personality to outdoor spaces.
- Multiple feeding spots: Birds can feed at several bowls at once.
- Durable frame: Metal or wood chandeliers hold up outdoors when prepared properly.
- Unique style: Vintage, industrial, or crystal fixtures can match many garden themes.
What to gather before you start (materials and tools)
Collecting the right supplies will make the build smooth. You don’t need power tools for most parts, but choose a sturdy adhesive and safe cutting tools.
- An old chandelier — home, thrift store, or salvage shop
- Small bowls, teacups, or saucers for seed
- Heavy-duty adhesive such as epoxy or construction adhesive
- Wire cutters or snips to remove wiring
- Rust-proof spray paint for outdoor protection
- Chain, carabiner, or hardware for hanging
- Optional: solar string lights or waterproof beads for decoration
Step-by-step: Convert the fixture into a working bird feeder
1. Make it safe
Start by disconnecting electricity if the chandelier is still wired. Remove sockets, bulbs, and exposed wiring. Use wire cutters to trim internal wires back to the central hub. You want the frame stripped and free of electrical parts before going outside.
2. Clean and prep the frame
Wash away dust and cobwebs. Lightly sand rusty spots to help paint adhere. If you plan to paint, apply a primer suitable for metal or wood first. A few light coats of outdoor spray paint protect the fixture from rain and sun.
3. Attach seed bowls
Decide where the bowls will sit. The bobeches or candle trays that remain at the arm tips are natural mounting points. Use a strong glue or epoxy to fix cups or saucers securely. Press and hold, or weight the pieces while the adhesive cures.

- Arrange bowls dry to test the look and balance.
- Glue one at a time, following the adhesive’s cure time.
- Place a temporary weight in each bowl until set.
4. Balance and reinforce
Once the bowls are set, check that the chandelier hangs level. Add small washers or tie lines to redistribute weight if needed. Balanced hanging reduces strain on chains and hardware.
Best spots to hang the feeder and how to fill it
Choose a location you can watch from a window but that also offers some cover. Trees and pergolas are common choices. Hang the chandelier at a comfortable height for topping up seed and cleaning.
- Use a sturdy hook, chain, or carabiner to suspend the fixture.
- Try a variety of seeds in different bowls to attract more species.
- Keep a shallow water source nearby to encourage longer visits.
Maintenance tips to keep birds safe and coming back
Regular upkeep keeps the feeder sanitary and functional. Rinse bowls and replace old seed as needed. Move the chandelier out of heavy rain when possible to protect seed and glued joints.
- Clean bowls every 1–2 weeks, more in wet weather.
- Remove moldy or clumped seed immediately.
- Inspect chains and adhesive joints seasonally.
Creative touches and safety considerations
You can personalize the feeder while thinking about bird comfort. Avoid highly reflective crystals; flashing reflections can scare birds. Instead, try wrapped solar fairy lights for a soft glow when the sun sets. Small beads or colorful cups add charm without stressing feathered visitors.
- Decorate with non-reflective elements.
- Use weatherproof paints and adhesives.
- Consider removable bowls for easy cleaning.