Show summary Hide summary
If your yard slopes, stairs often become the smartest landscaping move. With a little planning and recycled lumber, you can build steps that last and look intentional. Read on for practical sourcing tips and a clear build method that keeps costs low and strength high.
Where to source affordable or free 6×6 landscaping timbers
Reclaimed 6x6s: build sturdy, budget-friendly stairs in a weekend
Large clothespins hack: transform them into unique home decor
Buying new 6×6 posts adds up quickly. Fortunately, several reliable avenues exist for finding reclaimed timbers.
- Online classifieds: Scan Facebook Marketplace, Craigslist, and neighborhood apps for listings.
- Local builders and contractors: Deck, fence, and pergola installers often have offcuts or scrap posts.
- Salvage yards and reclamation centers: These can yield treated timbers at a fraction of retail cost.
- Used playsets: Sellers frequently give these away if you haul and dismantle the structure.
- Municipal or commercial demolition: Ask for permission to collect posts from demolition sites.
Keep in mind that pulling nails or dismantling a playset takes time. Unearthing old fence posts can be physically demanding. Still, long, intact timbers are more valuable than many short scraps. For step treads aim for pieces at least 36 inches long. If you want a wider stair, target 48 to 60 inches.
Essential tools, materials and weatherproofing advice
Plan your build around the right tools and a simple supply list. Proper hardware and preparation keep the stairs stable for years.
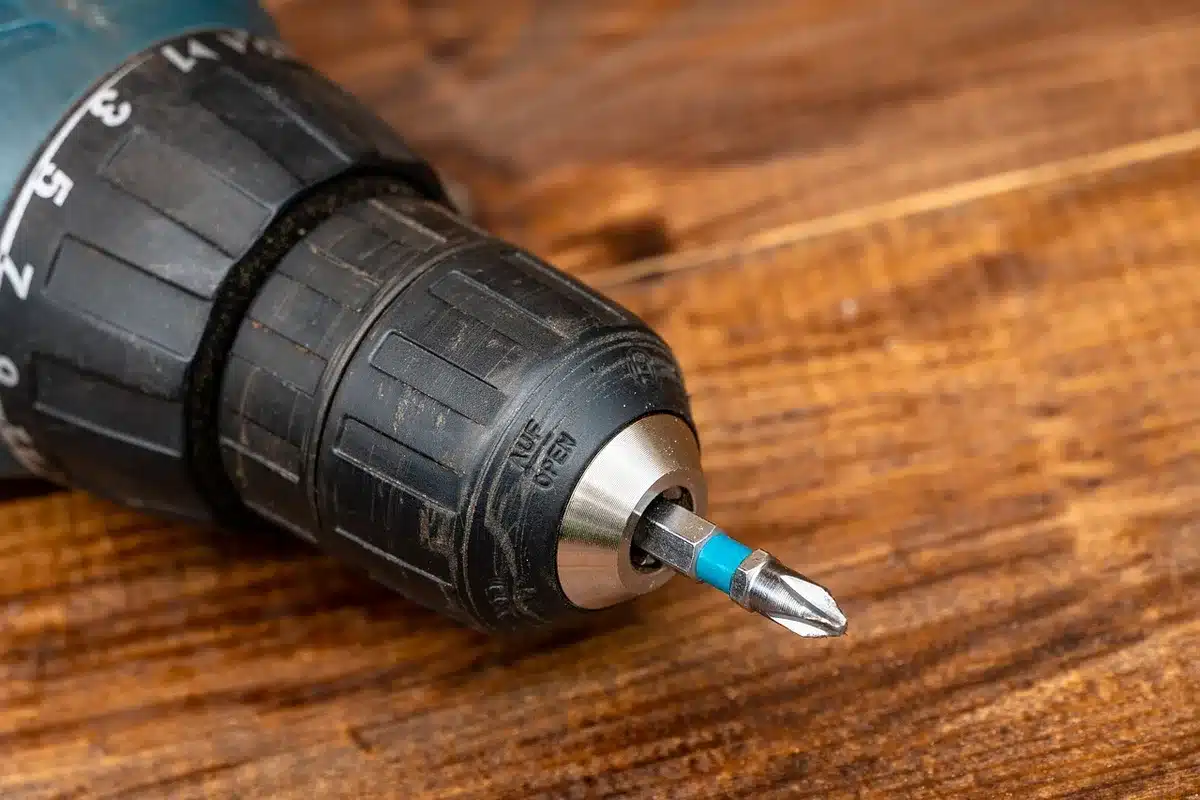
- Tools: circular saw, handsaw, drill/driver, long bit for timber screws, sledgehammer, shovel, level.
- Fasteners and anchors: long timber screws, rebar or steel pins, and heavy-duty lag bolts if needed.
- Site prep: gravel for a compacted base and a 2×2 stake for layout checks.
- Protection: a quality wood preservative or sealer for cut ends and exposed surfaces.
Always choose pressure-treated 6x6s for ground contact. Treated lumber resists decay better. Even so, no wood in the ground is permanent. Expect to replace contact timbers every 10 to 15 years, and plan that into your maintenance budget.
Practical layout and measurement tips for safe outdoor steps
Consistent step dimensions cut the risk of trips and give stairs a professional look. Start by measuring from the bottom landing to the top landing.
- Riser height: most outdoor risers fall between 4 and 7 3/4 inches.
- Tread depth: plan for at least 10 to 11 inches of usable tread.
- Use the timber thickness as your riser when it fits your design.
For a 6×6-based design, the timbers are typically 5 1/2 inches thick. That thickness can serve as the riser. Pair that with an 11-inch tread depth to create comfortable steps. Measure twice before cutting.
Step-by-step build process using reclaimed 6x6s
- Mark top and bottom landings. Use stakes and string to lay out the stair line.
- Calculate number of steps by dividing vertical rise by chosen riser height. Adjust to keep risers consistent.
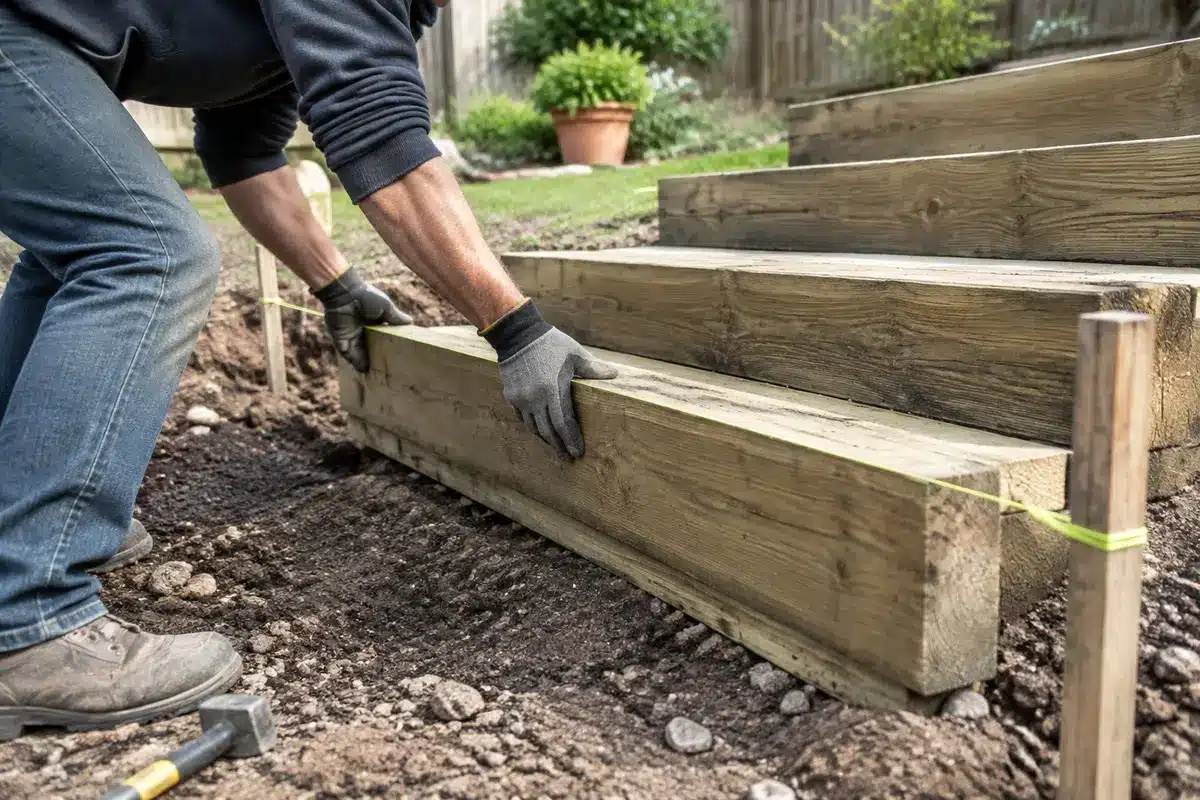
- Dig shallow trenches for sleepers at the bottom of each step. Make the lowest sleeper level with the bottom landing.
- Place a compacted gravel pad in each trench to improve drainage and reduce rot.
- Set the longest sleeper at the base. Pin it with rebar driven through predrilled holes.
- Install the next sleeper behind the first, offset by the tread depth. Secure with long timber screws driven into the face of the lower sleeper.
- Repeat, shortening each sleeper by one tread depth until you reach the top landing.
- Check level and plumb frequently. Small errors compound quickly across multiple steps.
The technique of stacked sleepers creates a solid foundation for each tread. With this approach, each step rests on a stable, pinned frame rather than loose soil. Keep each step identical in rise and run for safe, predictable footing.
When the slope changes: landings and longer runs
Natural terrain can make equal steps difficult. If the grade eases near the top, build a landing. Industry practice suggests a 36-inch landing whenever a tread would otherwise need to be deeper than 18 inches. Landings break runs and reduce irregular step heights.
Common mistakes and simple fixes to avoid on DIY stairs
- Skipping a gravel base: leads to settling and uneven steps. Compacted gravel prevents this.
- Using untreated wood for ground contact: accelerates rot. Always use treated material here.
- Ignoring level checks: minor tilts become major problems up the stair run. Level often.
- Overlooking timber length: short posts force awkward splicing. Aim for full-length pieces when possible.
When in doubt, take time on layout and foundation work. A slow, accurate start saves effort repairing or redoing an unstable stair later.