Show summary Hide summary
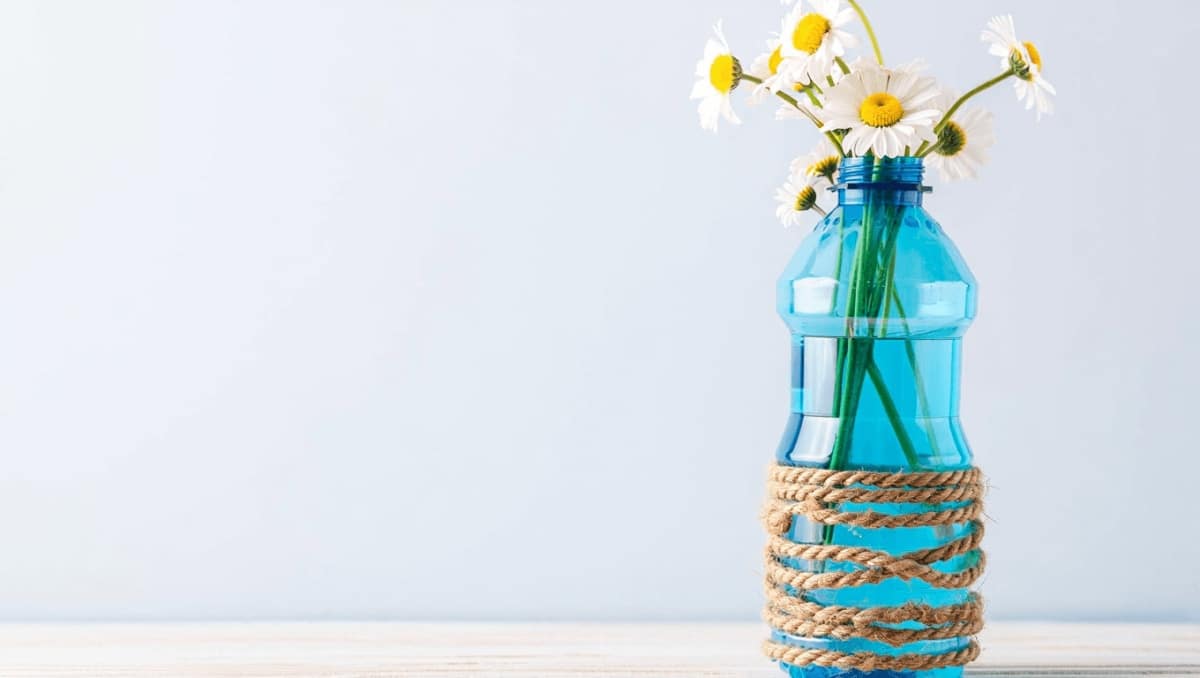
A plain plastic bottle and some rope can be the start of a chic, budget-friendly vase. With a few simple supplies and 30–60 minutes, you can turn discarded plastic into a decorative piece that suits rustic, coastal, or modern decor. The trick is choosing the right bottle shape, wrapping it carefully, and adding small details that disguise the original container.
Why detergent and soap bottles work well for recycled vases
Not all plastic containers behave the same. Dish soap and some smaller detergent bottles have a gentle curve that mimics vase silhouettes. That inward curve near the top helps hold stems upright.
Fireplace mantel makeover: ditch garlands for a fuller, more unique look
20 perennials to plant in October: fill your spring garden with nonstop color
- Durability: These bottles are rigid and stable, so they stand up to water and weight.
- Shape: A tapered neck or hourglass curve makes for a believable vase form.
- Availability: They’re common in most homes and otherwise headed for the trash.
Pick the right profile
A bottle with a handle or a very wide body is harder to disguise. Look for a handle-free bottle that narrows toward the top. If the neck is too tall, cut it down to create a balanced opening.
Supplies to gather before you begin your rope-covered vase
Gather materials so the project flows. You won’t need many specialty tools.
- Empty plastic bottle (dish soap, small detergent, or similar)
- Rope, twine, or thick yarn (white, natural, or colored)
- Strong craft glue or hot glue gun
- Sharp utility knife or heavy-duty scissors
- Optional: paint, napkin cutouts, beads, ribbon, or wooden accents
Tip: If the plastic is translucent and you plan a thin wrap, paint the bottle first to avoid color bleed-through.
Step-by-step: Transform a bottle into a rope-wrapped vase
- Rinse the bottle inside and out. Remove all soap residue and let it dry. Clean plastic prevents odors and staining.
- Decide where to cut. Mark a line so the opening will hold stems without being too wide.
- Use a utility knife or sturdy scissors to remove the top. Work slowly and keep fingers clear.
- If needed, sand any sharp edges or cover them with a glued-on rim of rope or thicker material.
- Apply a bead of glue at the bottle base. Press the rope down firmly and start coiling upward.
- Keep coils tight and adjacent to avoid gaps. Add glue in short sections to maintain control.
- When you reach the top, trim the rope and secure the end with a final dab of glue. Hide the tail under a thicker band or decorative trim.
Work tip: Warm the glue gun slightly less for rope projects so glue soaks in. That gives a neater finish.
Design variations and decoration ideas to personalize your vase
Rope alone can read coastal or rustic. Mix materials to change the mood.
- Two-tone wrap: alternate white and natural rope bands for contrast.
- Vertical accents: glue thin strips of fabric or leather down the sides for texture.
- Beadwork: string small beads and wrap them in sections, or glue beads into patterns.
- Decoupage motifs: adhere paper or napkin cutouts to the rope with decoupage glue for botanical designs.
- Painted rim: add a small painted band at the opening to mimic a ceramic lip.
- Mixed-media: glue wooden cutouts, tiny bows, or ribbon clusters as focal points.
Alternative coverings if rope isn’t your style
- Braided fabric strips create a boho look.
- Thick yarn gives a soft, cozy finish.
- Beaded strands make a glam statement when glued tightly.
Safety, upkeep, and other creative uses
Handle cutting tools carefully and work on a stable surface. If you plan to use fresh flowers, check for leaks before filling with water.
- Waterproofing: Test the finished vase with a small amount of water. Add a sealed inner cup if needed.
- Cleaning: Wipe rope gently; avoid soaking to preserve glue bonds.
- Other uses: Turn similarly wrapped bottles into utensil holders, plant pots (with drainage), or bathroom organizers.