
Show summary Hide summary
Garden paths and cracked driveways often host stubborn green intruders. A low-cost, do-it-yourself technique using backer rod and a good sealant can stop plants from returning. Read on for a clear, step-by-step approach that prevents weeds and protects pavement from water damage.
Why plants keep sprouting from pavement gaps
Michaels holiday finds under $25: 20 new gifts that look like $50
Target wall-mounted find frees up countertop space: timeless style for small kitchens
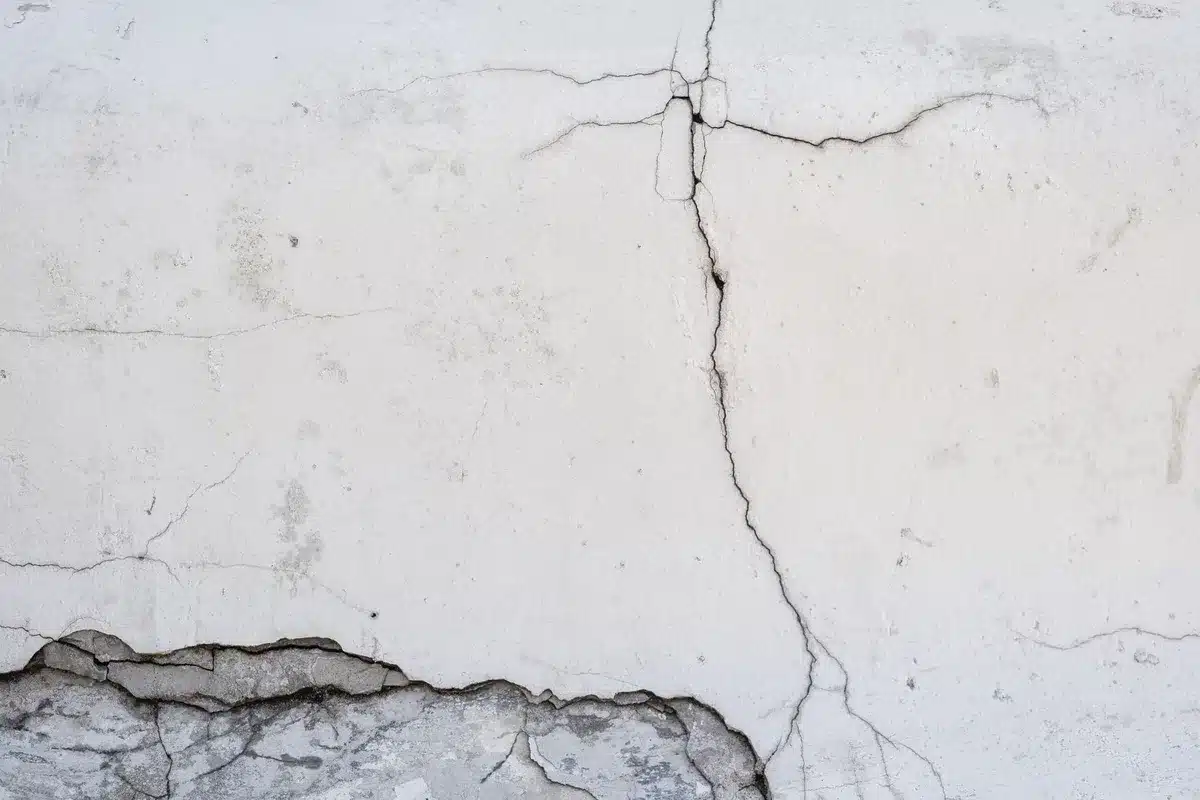
Even tiny pockets of soil and moisture under asphalt are enough for seeds to germinate. Rain and sprinkler overspray wash organic matter into fissures. Sun and wind settle dust there, too. Over time, roots widen cracks and loosen the surrounding material.
Sealing cracks removes the conditions weeds need: it cuts off light, limits moisture accumulation, and fills the space where roots try to grow.
What to buy: tools and materials for a budget-friendly repair
- Backer rod (foam rope) in the correct diameter for your crack.
- Asphalt or pavement crack sealant compatible with outdoor surfaces.
- Caulk gun if the sealant is in a cartridge.
- Wire brush or small screwdriver for clearing debris.
- Hand trowel, putty knife, or squeegee to smooth the sealant.
- Gloves and safety glasses.
- Optional: weed killer for stubborn growth before sealing.
Backer rod rolls are inexpensive. Sealant tubes range by brand, but both are widely available online or at hardware stores.
Step-by-step: seal cracks so weeds can’t come back
- Remove visible plants. Pull weeds, and use a weeding tool to lift roots from the fissure.
- Clean the gap. Scrape out loose dirt with a screwdriver or wire brush.
- Let it dry. Moisture trapped in the crack can prevent adhesion.
- Select a backer rod sized to fit snugly. It should compress slightly when pushed in.
- Press the backer rod into the crack until it sits below the pavement surface.
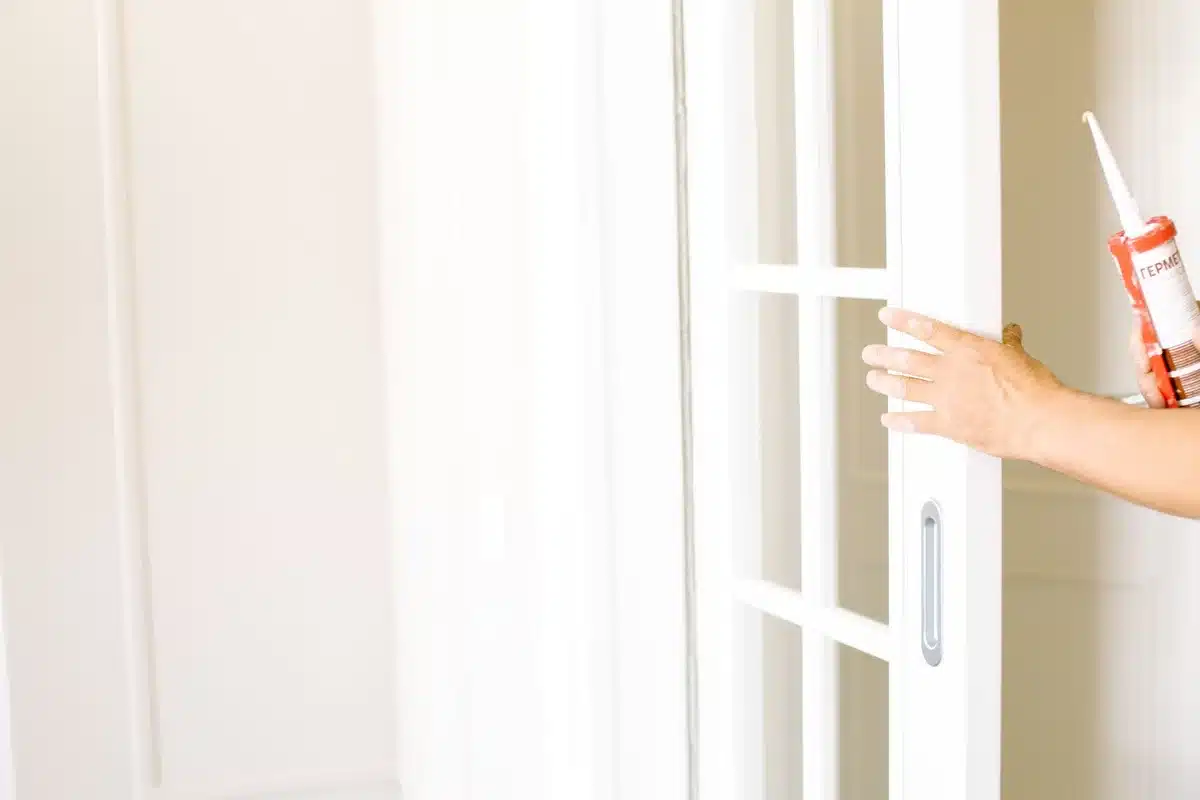
- Load the sealant into a caulk gun if needed.
- Apply the sealant over the backer rod at a 45-degree angle for even coverage.
- Smooth the bead with a putty knife or squeegee for a flush finish.
- Allow the sealant to cure per product directions, usually about 24 hours.
Do the work on a dry day: rain during cure time or high humidity can interfere with bonding.
Choosing the right backer rod and sealant
Match the backer rod diameter to the crack. Too small and the sealant will be thin. Too large and the rod won’t seat properly. For most driveway gaps, a quarter- to half-inch foam rod works.
Pick a sealant labeled for asphalt or concrete and for outdoor use. Look for UV resistance and flexibility. Flexible sealants move with temperature changes and resist splitting.
Drying time and longevity
Manufacturer instructions give cure time. Expect at least a day before light traffic. When done correctly, a sealed crack can remain weed-free for years.
Quick maintenance tips to keep weeds away
- Inspect sealed areas annually for splits or shrinkage.
- Clear debris from joints to prevent soil buildup.
- Address new cracks early; small repairs are cheaper than full resurfacing.
- Limit overwatering near paved areas to reduce moisture migration.
When a professional repair makes sense
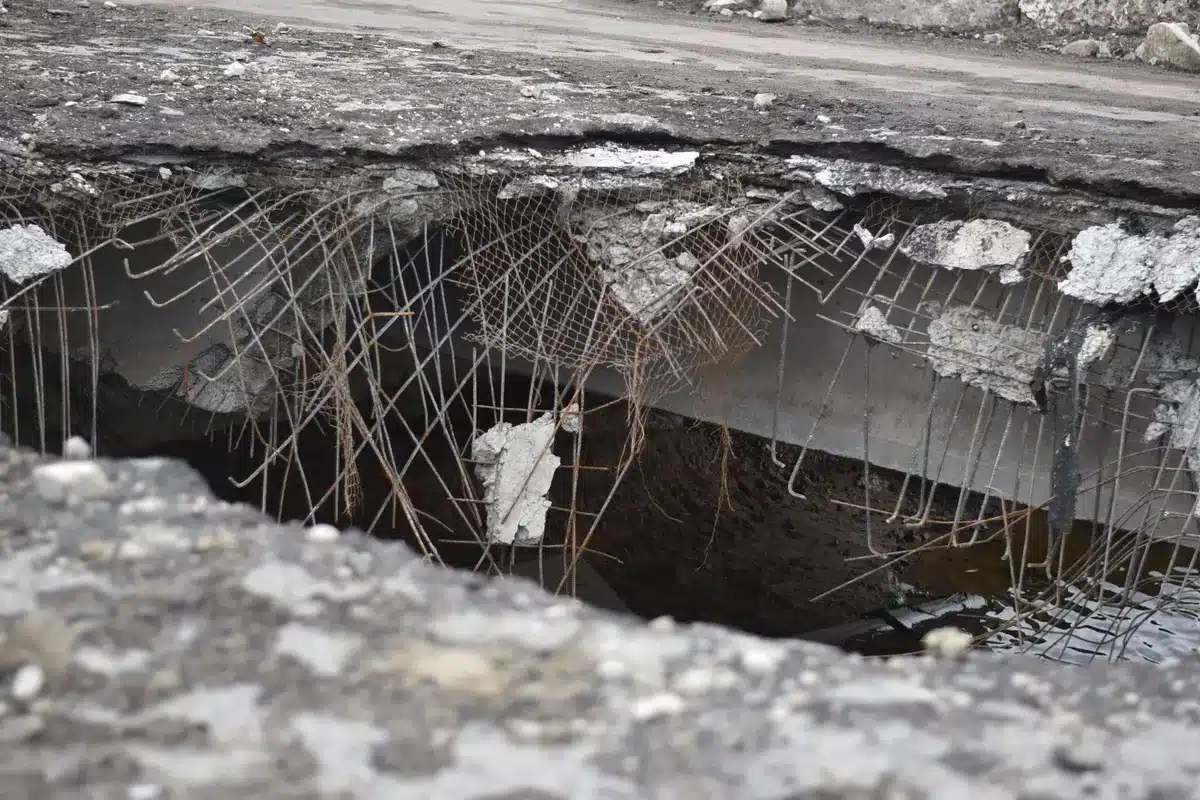
If cracking is widespread or the pavement is sagging, a DIY seal won’t solve the underlying problem. For structural damage, consult a paving contractor. Professionals can assess drainage, base erosion, and the need for resurfacing.
For routine weed prevention in narrow cracks, the backer rod and sealant method offers a simple, cost-effective solution. It keeps weeds from returning and helps preserve pavement integrity.











