Show summary Hide summary
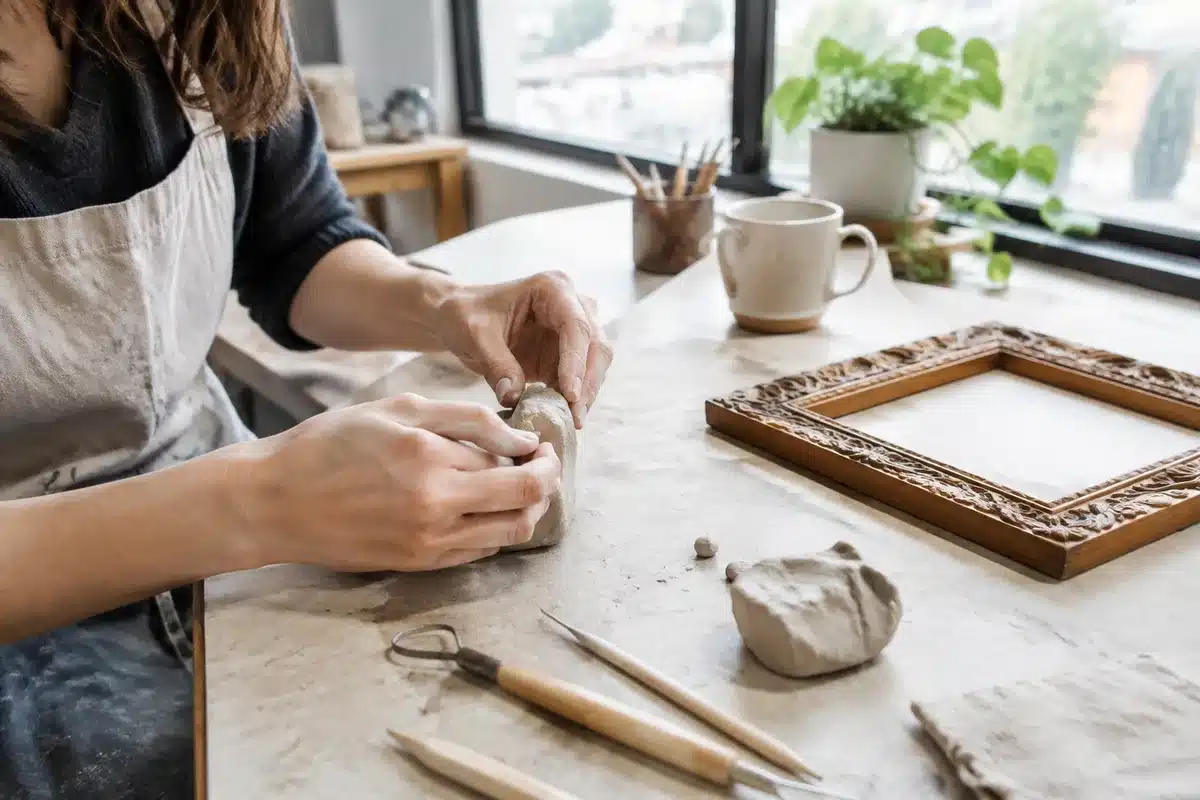
Finding a thrifted mirror with an ornate frame feels like striking gold — until you spot a chipped corner. Rather than discard the piece or spend hundreds on a new World Market-style mirror, a simple repair with polymer clay can restore charm and save money. This quick DIY blends sculpting, basic tools, and a little paint to make a secondhand mirror look polished and intentional.
Why rescuing a thrifted mirror is worth the effort
Broken secondhand mirror becomes World Market-worthy piece: DIYer reveals the trick
Mower deck hack: stop grass from sticking with this simple alternative to oil and WD-40
Thrifted mirrors bring character and scale to an entryway or living room. They cost far less than new decorative mirrors. Fixing a small flaw keeps a unique piece out of the landfill. Plus, a custom repair lets you match a finish or age the frame to your decor.
Essential materials and tools to gather
- Polymer clay (oven-bake) or air-dry clay in a neutral color.
- Adhesive — E6000 for most frames, or wood glue for solid wood.
- Spray paint in a matching metallic or antique tone.
- Basic sculpting tools: ball stylus, carving picks, and a small rolling pin.
- Fine-grit sandpaper or a Dremel for blending edges.
- Microfiber cloth, glass cleaner, Q-tips, and painter’s tape.
- Optional: gold leaf kit, rub-on wax for antiquing, and a small brush.
Step-by-step: reconstruct the missing corner with polymer clay
- Clean the mirror and frame thoroughly. Use a microfiber cloth and glass cleaner on the mirror. Remove dust from the frame with a soft brush.
- Dry the frame completely. Any trapped moisture will interfere with adhesion.
- Work a small piece of clay until it’s pliable. Soften the clay in your hands to prevent cracking.
- Roll the clay flat with a mini rolling pin. Match the thickness to the existing frame ornamentation.
- Press the clay onto the intact corner to create a negative impression. This gives you a template for shape and detail.
- Sculpt the missing elements using a ball stylus and carving tools. Create ridges, beads, or floral details to mimic the original.
- Follow the clay maker’s instructions to harden the piece. Oven-bake versions need baking; air-dry types must cure at room temperature.
- Trim and sand the hardened piece so the edges sit flush against the frame. A Dremel or fine sandpaper helps achieve a precise fit.
- Test-fit the piece and make any small adjustments before gluing.
- Attach the sculpted corner with a strong adhesive. Hold or clamp until set per adhesive directions.
Tips for matching texture and scale
- Make impressions from the original frame to copy repeating patterns.
- Use reference photos of the frame while sculpting details.
- If the frame has deep grooves, carve those before curing for cleaner lines.
- For large chips, build the repair in thin layers to avoid cracking.
Finishing and color-matching like a pro
Once the repair is secure, you’ll want to blend it visually with the rest of the frame. Small steps make a big difference.
- Protect the mirror glass with painter’s tape and a scrap of cardboard.
- Prime the repaired area if the clay brand recommends it.
- Spray paint the new piece in light coats to match the original sheen. Metallics like champagne bronze and warm gold work well for vintage frames.
- Use gold leaf or liquid gilding for ornate finishes. Apply sparingly for a natural look.
- Add depth with rub-on wax or dark glaze in recesses. Wipe off excess to create subtle aging.
- Lightly sand seams or feather paint layers so the repair fades into the original surface.
Safety notes and smart shortcuts
- Ventilate the room when using spray paint or strong adhesives.
- Wear gloves when handling glue and solvents.
- Use painter’s tape to shield mirror glass from overspray.
- For delicate antiques, test a small hidden area before applying paint or wax.
- If you prefer less sculpting, consider a pre-made wood applique or corner ornament as a shortcut.
Why polymer clay wins for quick frame repairs
Polymer clay is easy to shape, durable after curing, and accepts paint well. It lets you replicate fine details without specialized woodworking skills. Best of all, this approach makes a thrifted mirror appear intentional and high-end.