Show summary Hide summary
- Pick the right stone and mix sizes for long-lasting surface
- Layer the driveway correctly: base, binder, and wearing course
- Prepare the site thoroughly: excavation and soil testing
- Manage water: slope, crown, culverts, and drainage plans
- Contain the gravel: edge restraints and borders
- Shape the surface: why crowning matters
- Set the right depth: how much gravel is enough
- Top up on a schedule: replenishment and seasonal buying tips
- Keep weeds out: prevention and small treatments
- Maintain drains, fill potholes, and preserve the crown
Gravel driveways look simple but hide many traps. One wrong choice in material, grading, or upkeep can turn a cheap project into a recurring headache. Read on for practical, pro-level advice to get a durable, low-maintenance gravel driveway that handles water, traffic, and time.
Pick the right stone and mix sizes for long-lasting surface
Scrub Daddy sponges: keep them off your counter with this space-saving Amazon find
DIY garden edging: ditch pavers and bricks for an instant rustic upgrade
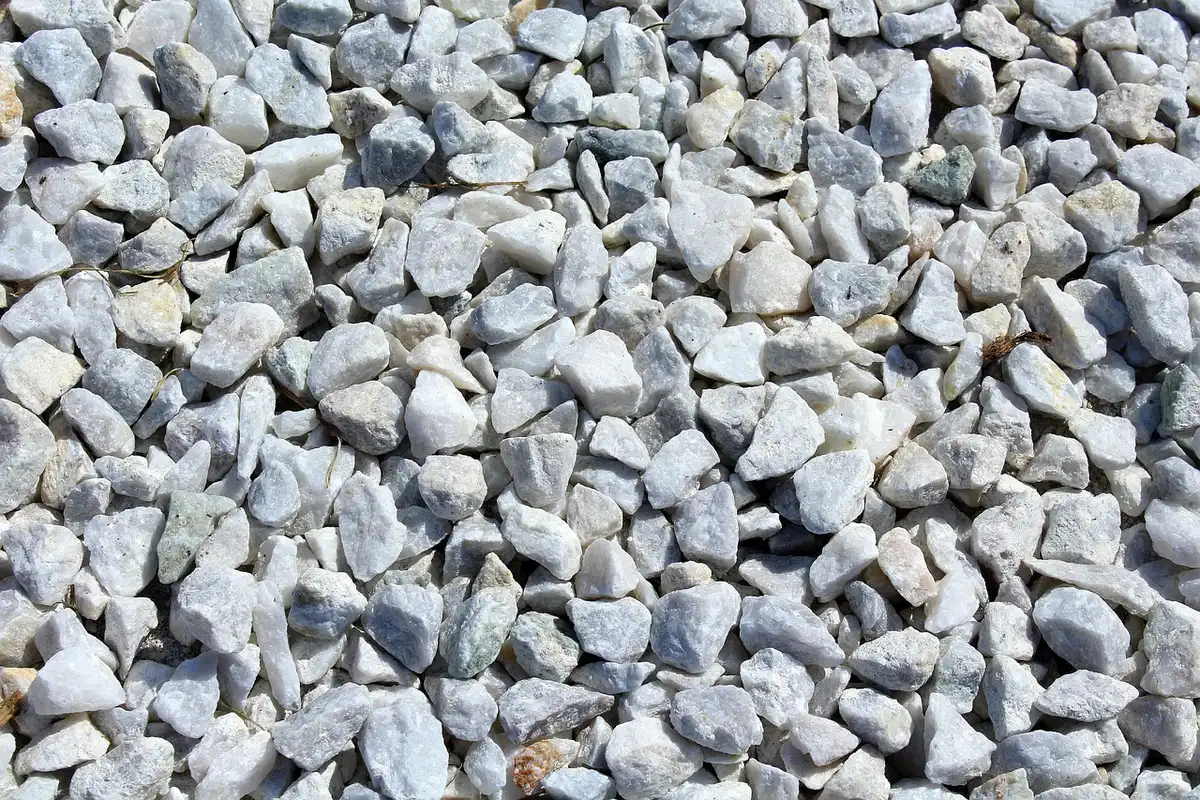
Many DIYers assume all gravel is the same. It is not. The rock’s shape and size determine traction, stability, and comfort.

- Angular crushed stone locks together and resists movement. Ideal for base layers and heavy traffic.
- Pea gravel and rounded stones feel nicer underfoot and look attractive. They shift more and suit low-traffic paths.
- Quarry process (crusher run) blends fines and larger rock. It compacts well but looks rough.
Use at least two grades: a coarse base and a finer wearing course. Mixing sizes wrong can create voids or early failure.
Layer the driveway correctly: base, binder, and wearing course
The structure beneath the top stones matters more than the surface. A smart layer plan prevents rutting and washouts.
Recommended layering strategy
- Excavate to a stable subgrade before adding materials.
- Install a compacted coarse base layer (2-inch to 3-inch rock) to spread loads.
- Add a binder layer with mixed fines to lock particles together.
- Finish with a 3/4-inch or pea gravel wear layer for driving and walking.
Order gravel for compacted depth, not loose depth. Contractors often compact materials to 60–75% of initial depth.
Prepare the site thoroughly: excavation and soil testing
Skimping on site prep is one of the fastest routes to a failed driveway. Proper excavation and a firm subgrade set the stage for decades of service.
- Dig down to firm soil or bedrock where possible.
- Test soil type—clay, silt, sand, or loam affect drainage and support.
- Correct soft spots with engineered fill or additional rock.
Poor subgrade equals more repairs. Fix weak spots before you add stone.
Manage water: slope, crown, culverts, and drainage plans
Most gravel driveway failures are caused by water. Designing where water goes is essential.

Key drainage moves
- Create a crown so the middle is the highest point. Aim for about 1/2 inch slope per foot toward the edges.
- Avoid concave shapes that collect water.
- Install culverts under driveways that cross ditches or low spots.
- Use properly sized pipes and keep inlets clear of debris.
Water routed correctly prevents potholes and erosion. Combine surface grading with subsurface drainage if needed.
Contain the gravel: edge restraints and borders
Without reliable edging, gravel migrates. That loss reduces depth and creates a messy border.
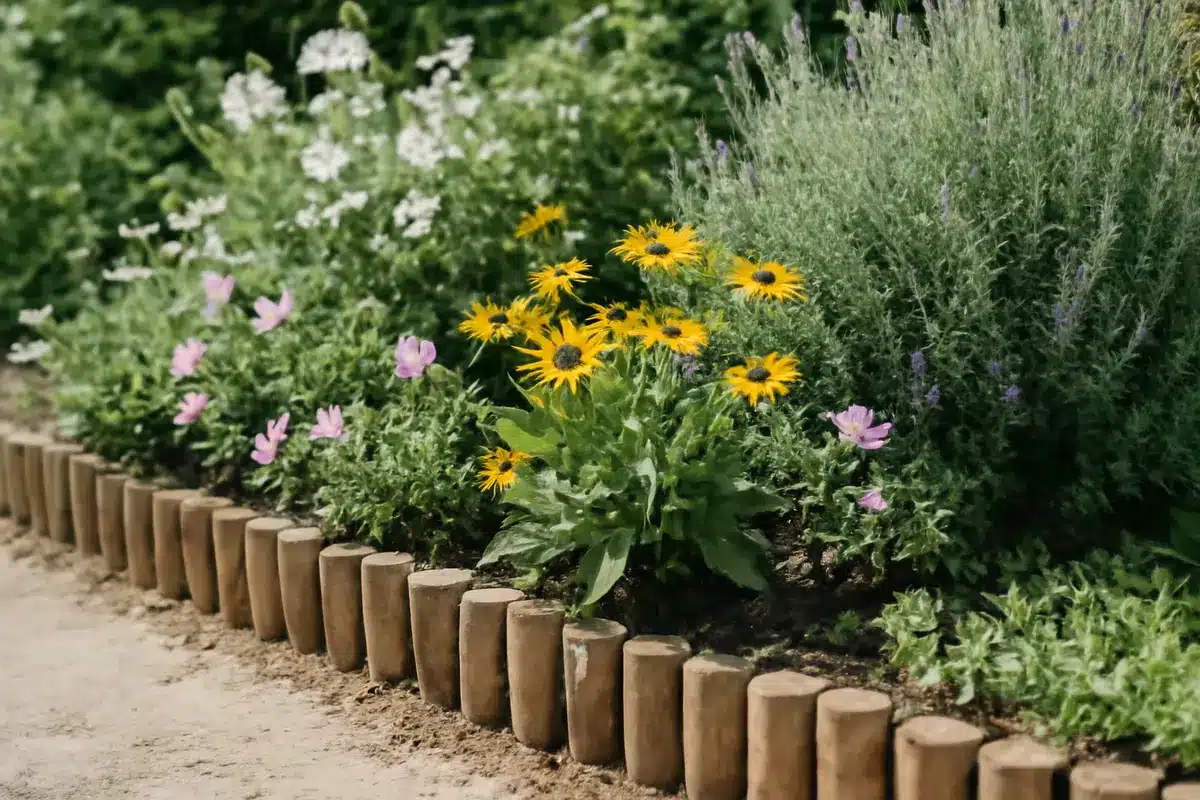
- Use stone, concrete, timber, or pavers as edging to hold material in place.
- Hammer-in metal edging is simple and effective for small drives.
- Make sure edging is installed level and anchored to resist vehicle impact.
Good edging keeps stones where they belong and reduces the frequency of topping off.
Shape the surface: why crowning matters
Shaping the driveway surface controls runoff. Crowning sends water to the sides and away from the base.
- A properly crowned surface discourages standing water.
- Regrade periodically to maintain the crown after freeze-thaw cycles.
- Use a grader or box blade to restore slope when needed.
A flat or cupped surface invites erosion and potholes. Small grading actions now save big repairs later.
Set the right depth: how much gravel is enough
Depth depends on soil, traffic, and climate. Too little material leads to early failure.
- Light residential use on firm soil: 4–6 inches of compacted gravel.
- Driveways with heavier vehicles or soft soils: 8–12 inches or more.
- Always account for compaction when estimating material quantities.
Underbuilding is common and costly. Plan for actual packed depth, not loose piles.
Top up on a schedule: replenishment and seasonal buying tips
Gravel naturally moves and gradually reduces in depth. Regular topping keeps the surface functional.
- Inspect annually and add stone every 3–5 years for most drives.
- Buy in fall or winter for lower prices and arrange spring delivery.
- Refresh high-wear areas first, like wheel paths and entrances.
Regular top-offs extend life and avoid large repairs. Small deliveries more often beat infrequent major replacements.
Keep weeds out: prevention and small treatments
Plants exploit any organic matter or fine soils. Controlling growth preserves the look and function of the driveway.
- Install a weed-prevention fabric under the gravel where appropriate.
- Excavate deep enough to reduce topsoil that feeds plants.
- Pull weeds or use targeted treatments as soon as you see growth.
Some dirt will still arrive over time. Expect occasional weeding even with the best prep.
Maintain drains, fill potholes, and preserve the crown
Maintenance keeps small issues from becoming expensive ones. A modest routine keeps the surface safe and tidy.
- Clear culverts, ditches, and pipes regularly.
- Fill potholes promptly with compacted material.
- Regrade to preserve the crown after heavy storms or seasonal shifts.
- Repair edging as it loosens or breaks.
Neglected drainage, potholes, and broken edging accelerate decline. A few hours a year prevents major cost.