Show summary Hide summary
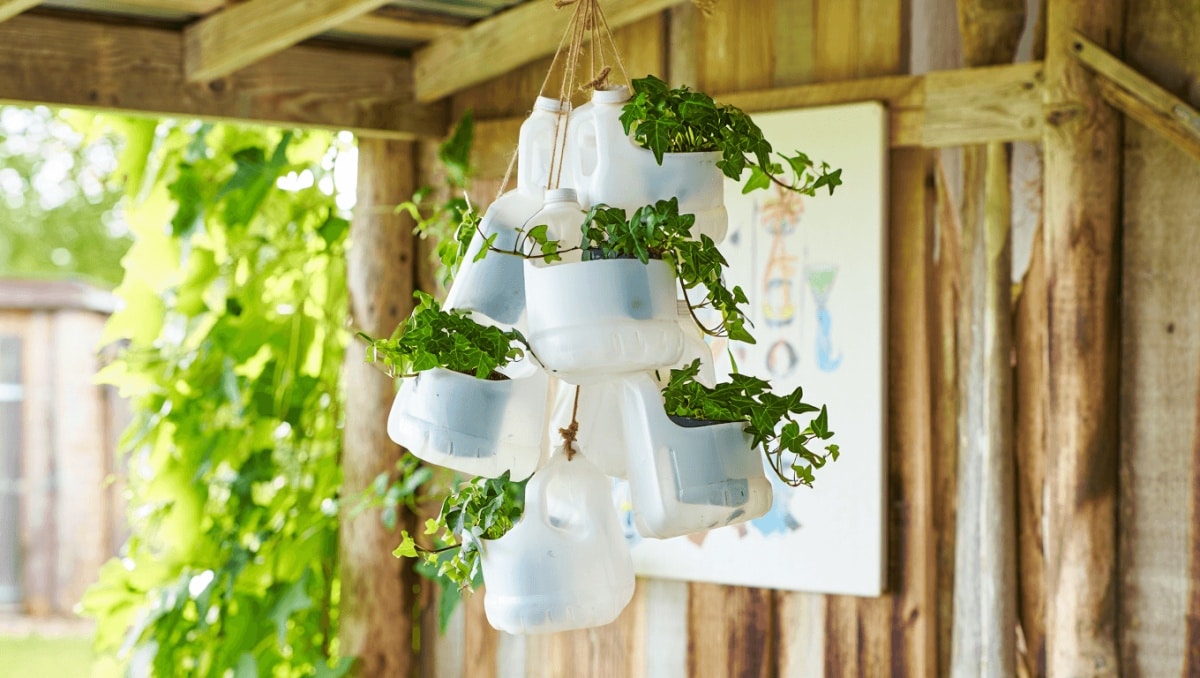
Seen a stack of empty milk jugs and felt guilty tossing them? Turn that waste into a statement piece for your porch or windowsill. With a few simple tools and a little imagination, those familiar plastic containers become charming hanging planters that save money and cut waste.
Why milk jugs are a smart choice for hanging planters
Plastic milk jugs are lightweight, durable, and shaped to cradle soil and roots. Their handles make hanging easy. They come in sizes that suit herbs, annuals, and small trailing plants. Best of all, repurposing them keeps plastic out of the trash and gives you low-cost planters in minutes.
Tuna can planters: turn empty cans into adorable hanging decor
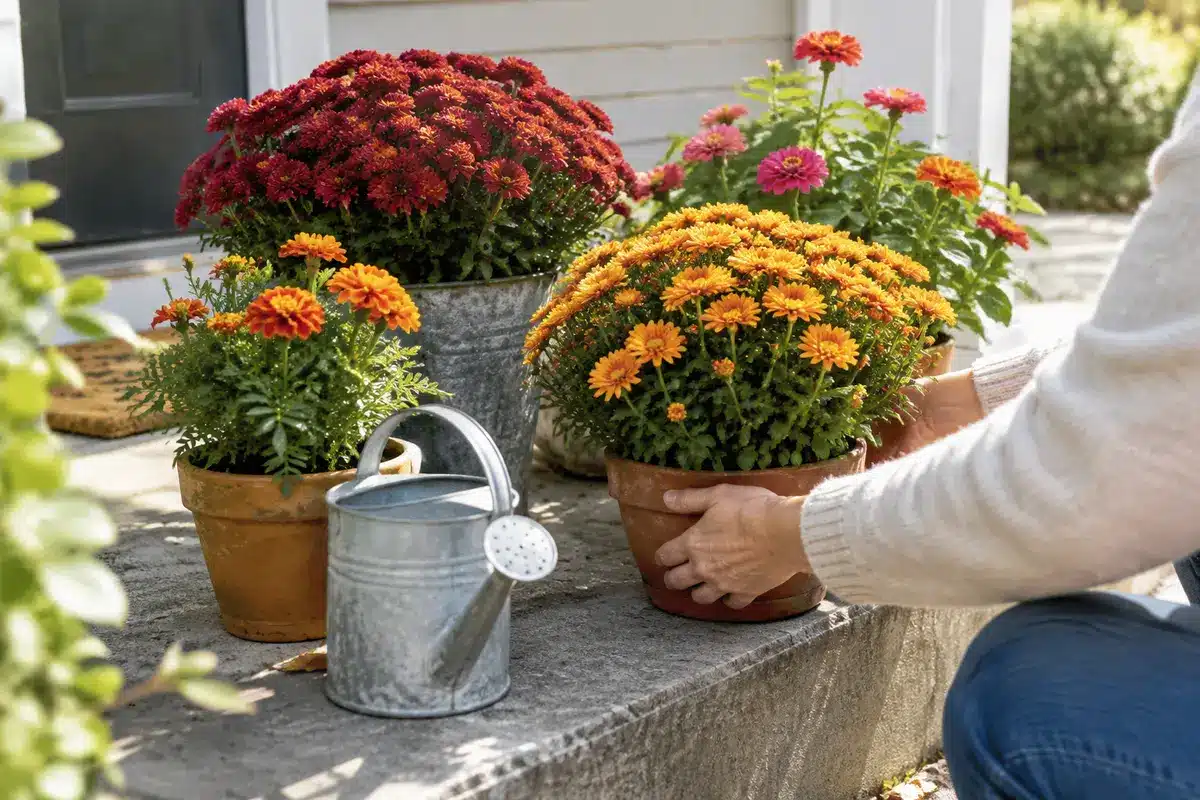
Flowers to plant in pots in October: 12 must-try varieties
Tools and materials you’ll need
- Clean plastic milk jugs (any size)
- Sharp scissors or utility knife
- Awl, hole punch, or drill bit for drainage and hanging holes
- String, twine, or thin rope for suspending
- Potting soil and chosen plants
- Optional: paint, washi tape, or scrap fabric for decoration
Safety tip: Cut on a stable surface and keep fingers away from the blade.
Step-by-step: turn a jug into a hanging planter
- Rinse the jug thoroughly to remove any residue. Let it dry.
- Decide where to open the jug. You can remove the top, cut the jug in half, or slice a front panel for a pocket-style planter.
- Create drainage by punching several holes in the bottom. Good drainage prevents root rot.
- Make hanging points: use the handle or punch four evenly spaced holes near the rim.
- Thread string or twine through the holes and tie securely. Test the hanger’s strength before filling.
- Decorate the exterior if desired. Allow paint or glue to dry fully.
- Add potting mix and plants. Water gently and hang in your chosen spot.
Pro tip: Cutting across the middle of a gallon jug yields two usable planters from one bottle.
Creative styling ideas for upcycled jug planters
- Paint bold stripes or a neutral wash for a farmhouse look.
- Use waterproof decals or patterned tape for quick, no-mess flair.
- Wrap the handle in macramé or twine to hide knots and add texture.
- Convert small jug bottoms into tabletop mini planters.
- Label each planter with chalkboard paint for herbs and kitchen gardens.
Best plants and placement for milk jug planters
Choose plants that match the jug size and light where you plan to hang them. Trailing ivy, petunias, small ferns, and many herbs adapt well. For sunny spots, pick drought-tolerant varieties. In dimmer areas, opt for shade-tolerant greens.
- Porch rail or eave: trailing flowers and vines
- Kitchen window: basil, parsley, chives
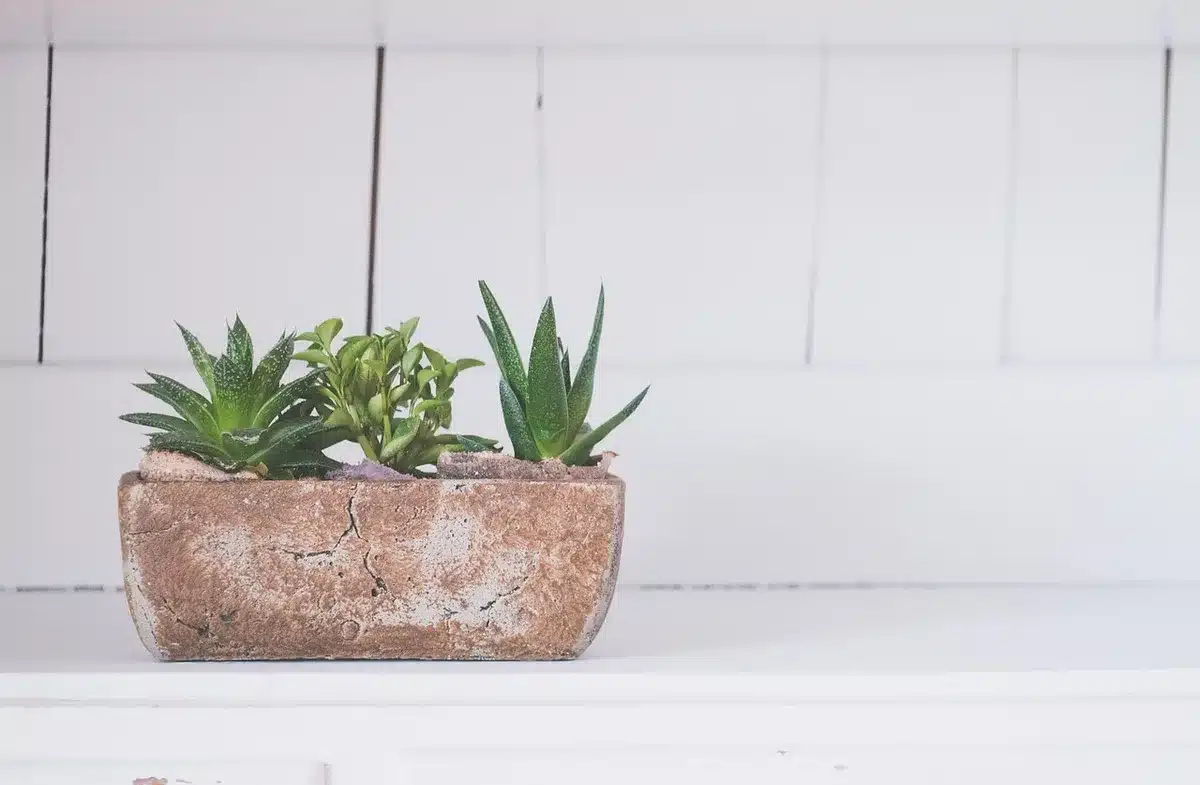
- Indoor display: pothos, peperomia, small succulents
Water in moderation and ensure excess drains away. Rotate planters occasionally for even light exposure.
Cleaning, longevity, and environmental notes
Thorough cleaning before reuse reduces odors and bacterial buildup. Over time, plastic can weaken in sun and weather. Replace planters as they show wear. While upcycling extends a jug’s life, recycling remains important when the plastic reaches the end of usefulness.
Reminder: This DIY keeps useful materials in play and offers a quick, creative way to green small spaces.