Show summary Hide summary
A well-styled ottoman doesn’t have to come from a store. With a little creativity and an old plastic bucket, you can build a chic footstool that fits your space and style. This quick DIY blends simple tools, foam, and fabric to create an affordable accessory that looks custom-made.
Why turn a bucket into a DIY ottoman
Water-resistant patio pillows: turn old shower curtains into covers
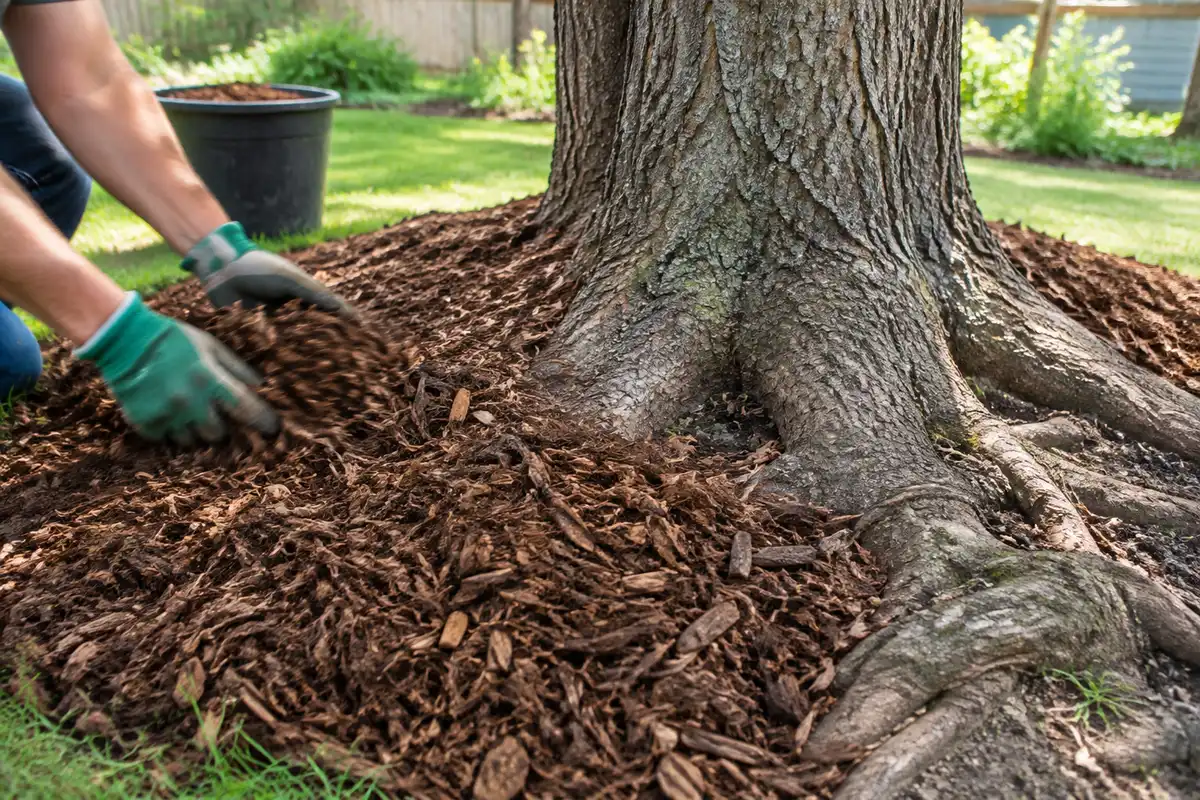
Best mulch for bumpy lawn: how to smooth and level around exposed tree roots
Upcycling a 5-gallon bucket is a smart way to save money and reduce waste. The shape is already useful, and the project moves quickly. Most builds finish in a day, once glue and adhesives cure. The result is a compact ottoman ideal for small living rooms, entryways, or beside a reading chair.
Materials and tools to gather
- One 5-gallon plastic bucket with lid
- Foam sheets in two thicknesses (about 1″ and 1.5″)
- Upholstery fabric like velvet, faux leather, or old quilt pieces
- Fringe, ribbon, or decorative trim (optional)
- Hot glue gun, upholstery glue, or strong craft adhesive
- Staple gun (optional) or heavy-duty stapler
- Utility knife, scissors, and a ruler or tape measure
- Pencil or marker for tracing
- Handsaw or serrated knife for cutting thicker foam (if needed)
Tip: Choose glue that bonds foam and fabric. Test a small scrap before attaching the final pieces.
Step-by-step: how to make a bucket ottoman
1. Prepare the bucket and lid
Clean the bucket and remove any labels. Make sure the lid fits securely. This project works best when the lid stays in place.
2. Create the padded top
Trace the bucket lid onto a thick foam sheet. Cut a circle slightly larger than the lid so it wraps the edge. Glue the foam circle to the lid and press until set. Secure edges firmly so fabric will sit smoothly.
3. Add side padding
Wrap a thinner foam sheet around the bucket sides. Aim for about 1.5 inches of thickness for a cushioned feel. Trim and glue the foam edges together so there are no gaps.
4. Cover with fabric
Drape your chosen fabric over the padded bucket. Pull it taut and fasten the excess under the base or inside the bucket with staples or glue. Work in small sections to avoid wrinkles.
5. Finish details
Add decorative trim around the bottom edge, a fringe along the lid, or a metallic band for contrast. These accents transform a simple footstool into a styled piece.
Design variations and fabric ideas
- Velvet in jewel tones gives a luxe look.
- Faux leather offers a modern, easy-clean surface.
- Outdoor fabric makes the ottoman patio-safe.
- Rope or braided trim creates a coastal or rustic vibe.
- Patchwork or upcycled quilts deliver a boho feel.
If you prefer storage functionality, note that the layers of foam may prevent opening the lid. You can redesign the layers to allow access, but that adds complexity.
Safety, tips, and troubleshooting
- Use a sharp utility knife with care when trimming foam.
- Wear gloves if using strong adhesives.
- Allow glue to dry fully before use; drying times vary by product.
- This piece is meant as a footstool. It is not designed to support prolonged adult sitting.
- Test the fabric tension and trim excess to prevent loose seams.
How long and how much
Cost depends on materials. Foam and fabric are the main expenses. Many people complete the work in a few hours, plus curing time. It’s an affordable way to add a designer look without buying a brand-new ottoman.