Show summary Hide summary
Choosing how to stagger tile rows can transform a room from ordinary to polished. A small shift in layout changes the eye’s path, hides imperfections, and reduces trip hazards. The simple one‑third offset is a favorite among professionals for delivering a balanced, natural look without complex pattern work.
Why a one‑third stagger creates a cleaner, more balanced look
Christina Haack reveals chic alternative to subway tile backsplashes
Affordable customizable window covers: ditch traditional curtains
Instead of aligning each row halfway across the tile, the one‑third offset shifts each course by roughly a third of a tile’s length. The result is a subtle, stair‑step rhythm that feels intentional and less mechanical.
- Visual flow: The pattern directs the eye smoothly across the floor or wall.
- Natural appearance: Uneven or handmade tiles blend better with a third offset.
- Reduced edge mismatch: The stagger avoids placing a tile end next to a center crown.
The biggest functional benefit is less lippage. Tiles that bow slightly in the middle can create raised edges when paired with a half‑offset. A one‑third shift spreads those high and low points more evenly, producing a flatter surface.
How to plan and mark a one‑third tile layout
Tools you’ll want on hand
- Tape measure and carpenter’s pencil
- Straight edge or chalk line
- Tile spacers, level, and trowel
- Tile cutter or wet saw
- Optional: tile leveling clips or wedges

Step‑by‑step layout for a one‑third offset
- Dry‑lay a few rows to see how the pattern reads in the room.
- Mark the field tile’s length, divide it mentally into thirds, and note the 1/3 and 2/3 marks.
- Snap a chalk line for your starter row, keeping the cut pieces at walls even and pleasing to the eye.
- Begin the next row with a tile offset by one of the third marks from the row below.
- Continue the sequence so seams form a staggered, repeating stair pattern.
If math feels tricky, place a full tile and mark a guide on a scrap board. Use that template to position subsequent rows.
When the one‑third rule works best—and when to skip it
The technique shines with long planks and larger tiles. It gives wood‑look tiles and rectangular porcelain a natural, plank‑like rhythm. It also helps in busy, high‑traffic rooms where a flat surface matters.
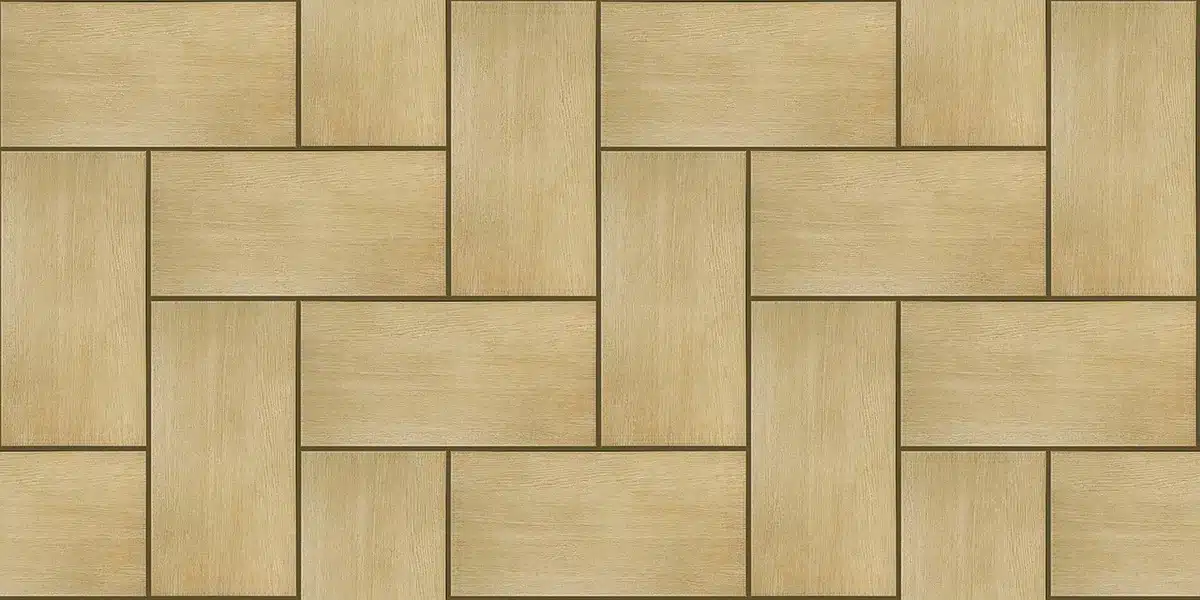
- Use it for: long or large tiles, natural stone, wood‑look porcelain, floors with heavy foot traffic.
- Avoid it when: tiles form a planned mural or when small squares make the difference negligible.
- For decorative or printed tiles, prioritize pattern alignment over stagger rules.
Practical tips to avoid lippage and achieve a professional finish
- Dry‑lay and inspect for bowed or warped pieces before setting them.
- Mix tiles from multiple boxes to even out color and size variations.
- Use a quality thinset and the correct trowel notch for the tile size.
- Employ a tile leveling system where seams meet to reduce height differences.
- Check every few rows with a long level; correct issues while adhesive is still workable.
- Leave consistent grout joints and maintain expansion gaps at perimeters.
Small changes in layout yield big visual returns. A one‑third offset is a simple, reliable way to make a DIY tile job look considered and professional while improving the finished surface’s feel and durability.